


Rustic Gallery Shelf #1

by
Jim Cox
4 Materials
$18
1 Hour
Easy
How I put pics on a new and easy shelf for a tired wall at home using very little lumber, time, and some rustic cedar (aka reclaimed privacy fence)
I did another wider shelf for the canvas prints here
http://www.hometalk.com/diy/build/shelves/rustic-gallery-shelf-2-31570706
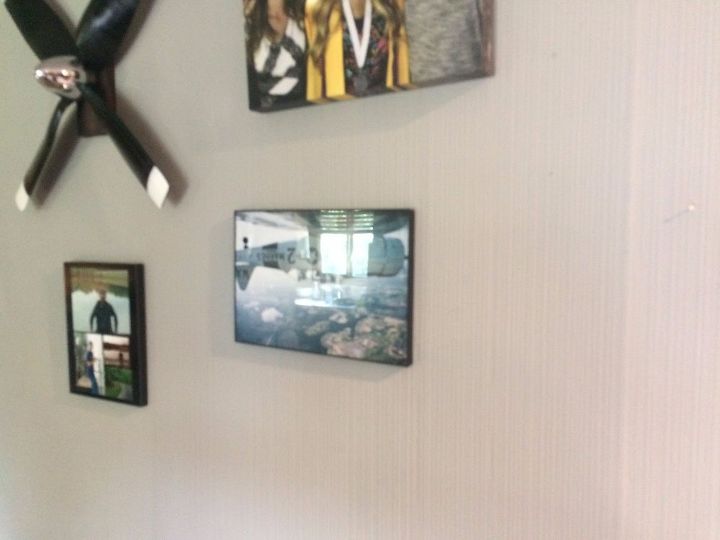
My ugly wall. It's textured wallpaper over paneling. Until I can afford drywall, I painted it a polite gray. I never could get the pics to line up right, or the aviation bits and pieces I had collected.
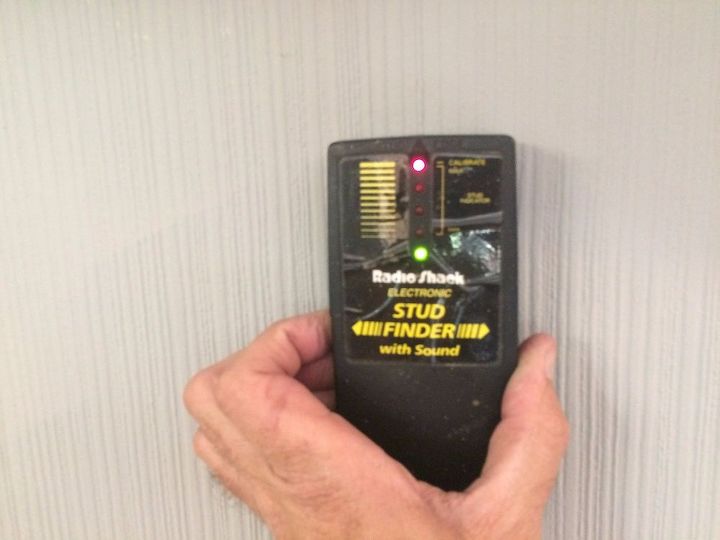
First find the studs. A stud finder pays for itself in aspirin  . You want to hit studs not wires!
. You want to hit studs not wires!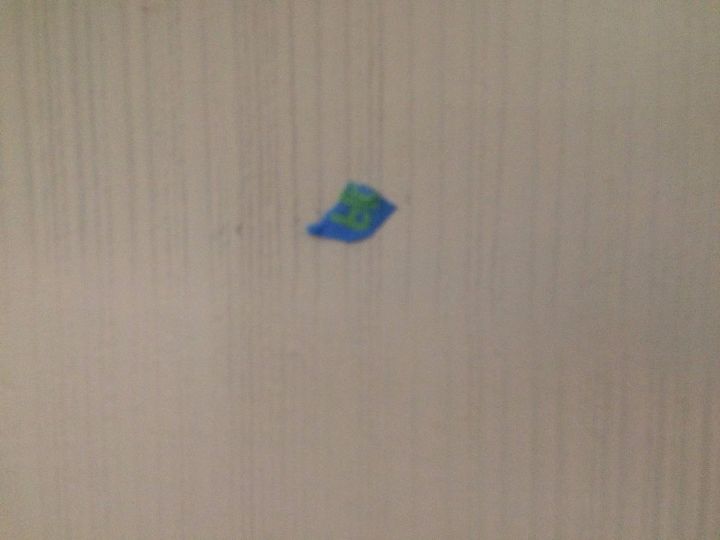
I mark the studs with a bit of masking tape. The lines in the wallpaper mean I don't have to line them up with where I put the boards. On a plain wall I could use a level in a vertical position too.
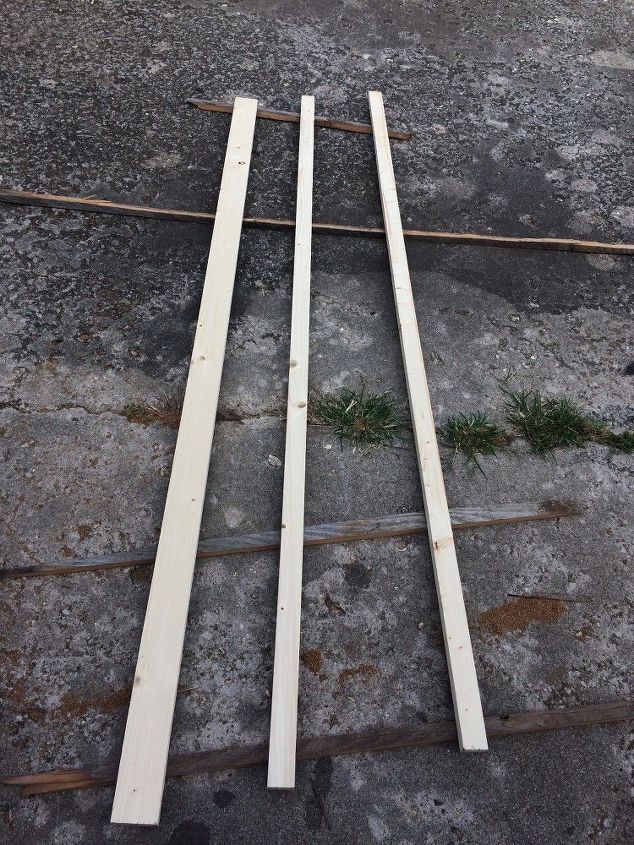
A pair of 1x2s and a 1x3 all 6' long for the two shelves I'm making. I put them on some scrap wood in my driveway to stain.
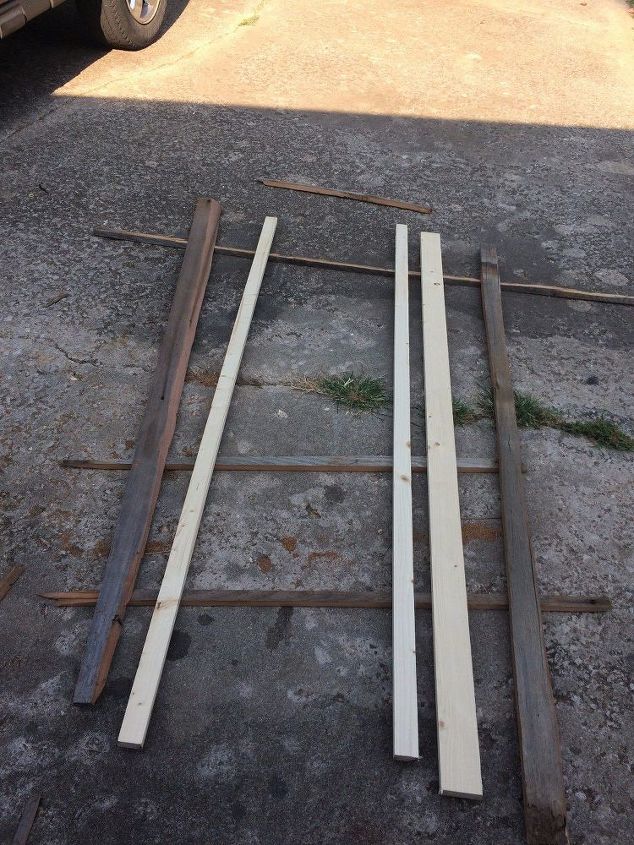
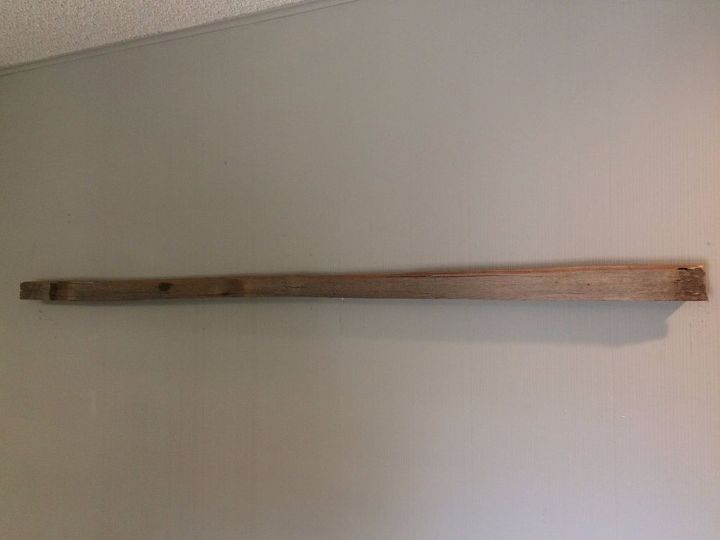
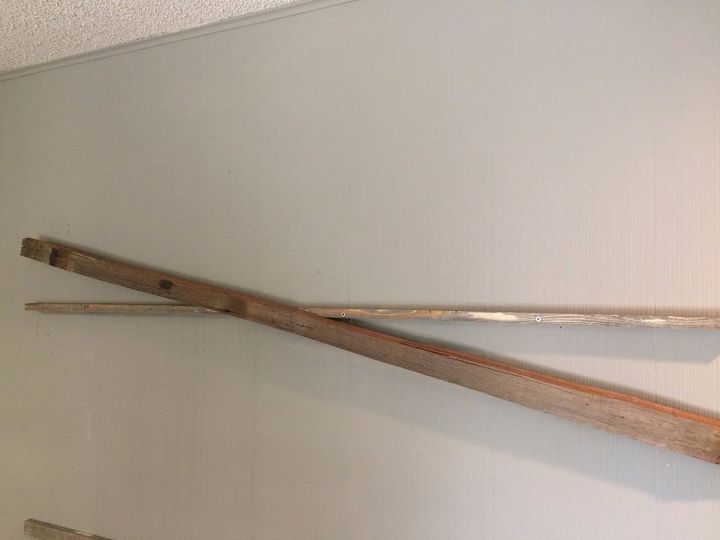
Here they are paired up with the reclaimed cedar board I chose. The 45 degree 'split' gave me both brown and gray. These dull colors will make the pics look even brighter. For this project we're using the 1x2 and the cedar on the left.
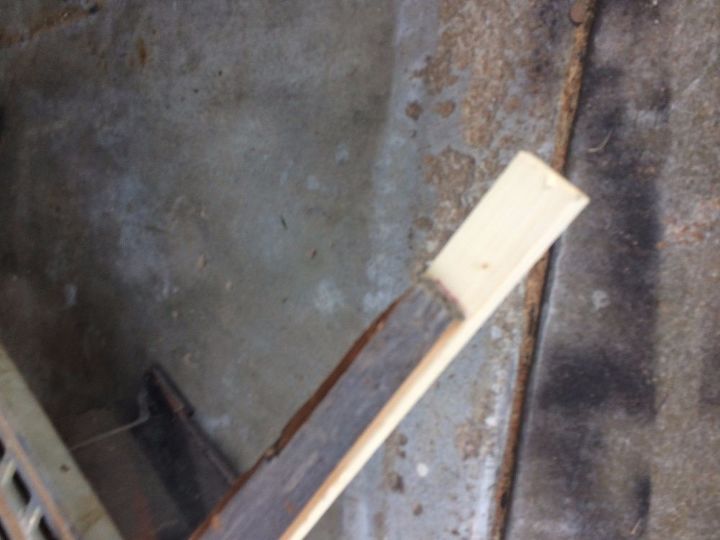
The lumber was a bit longer than the reclaimed cedar so I had to trim it
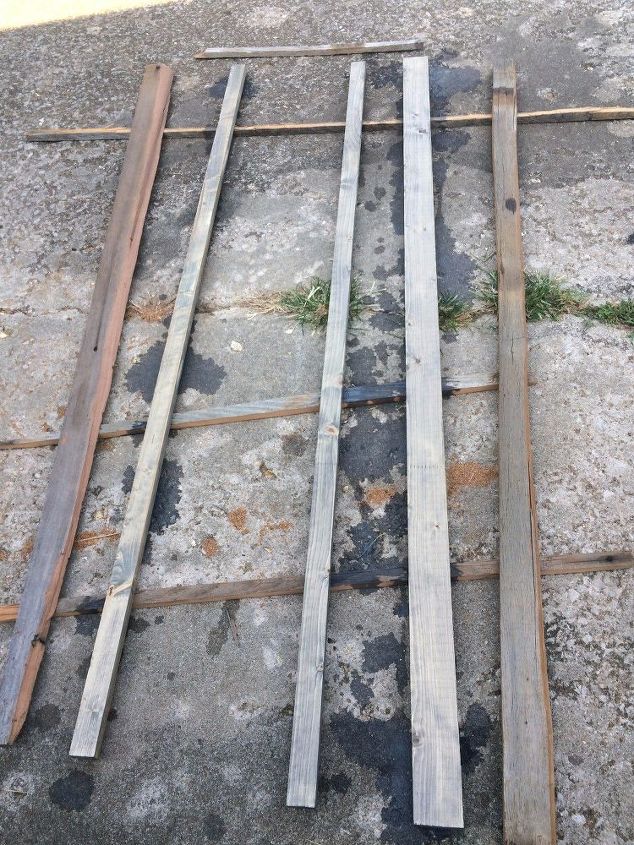
Here's the lumber stained Minwax gray ( I don't like the gray it doesn't cover well. I should have used a can of $4 spray paint )
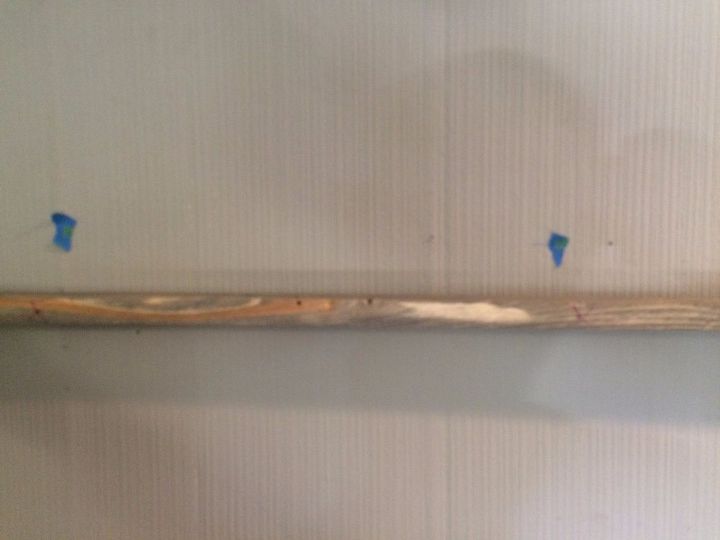
Here I am holding the 1x2 up against the wall, so I can mark the stud locations on the board (see my sharpie marks) this will make things go much faster. We will use these marks to drill.
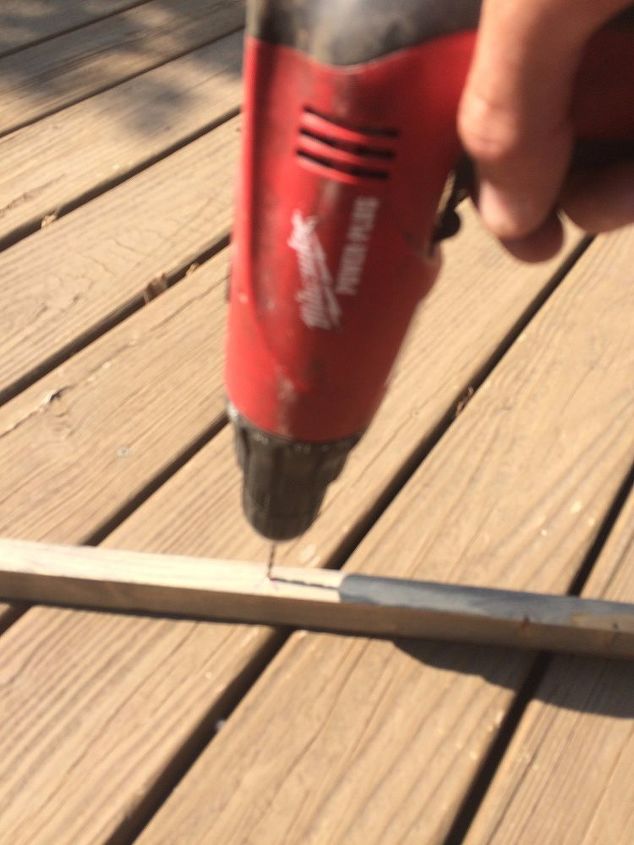
Pre-drill the board for your screw holes
Load the screws into your board. These are 3 1/2" long, so I know they'll go thru the board and into the wall studs. (FYI Walmart was cheaper than the home improvement stores on these screws)
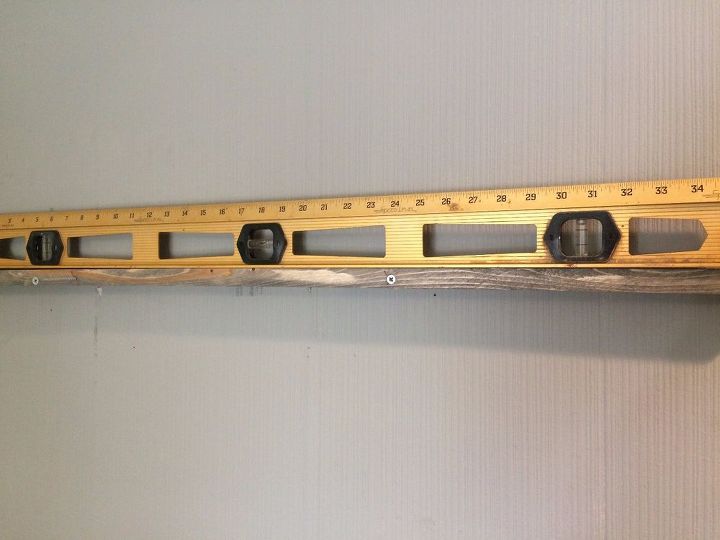
Attach with one screw into a stud while holding shelf as straight as possible. Put your level on the board, and run in the next screw. Pine isn't always straight, so be sure to use the level for each screw as you work your way left and right.
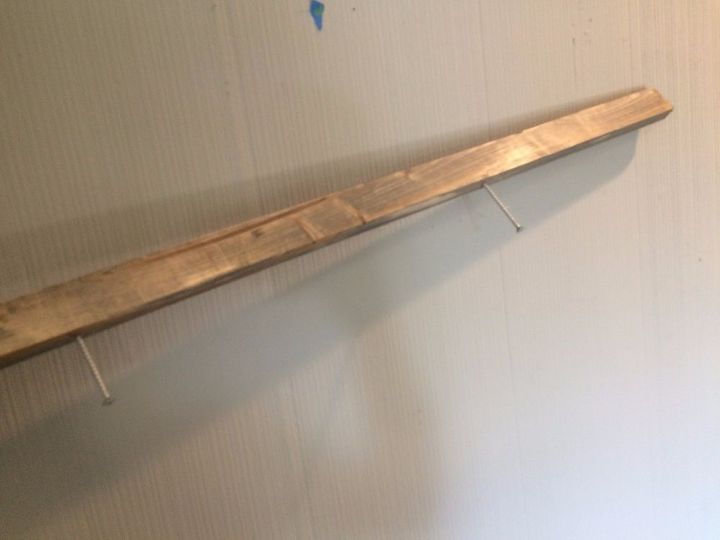
Attach the cedar board with one nail right in the middle. Leave the ends loose for now.
Turn the cedar back and forth until you get the 'level' appearance you're after. This board wasn't straight on both sides, so I had to eyeball it for what looked best.

End view of 1x2 and reclaimed cedar
When you're happy with the alignment of the front board, add a nail at each end to secure.
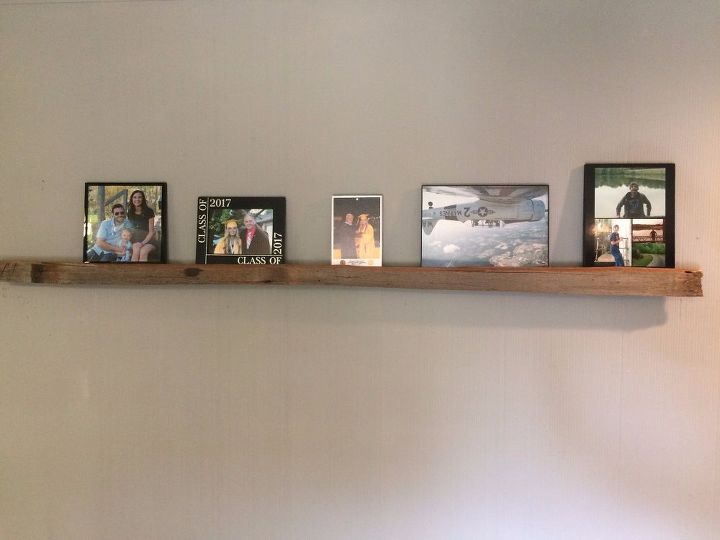
Add some pictures  . This shelf is done. I did a second shelf at the same time for wider canvas prints. See my other projects. I rounded up the cost of most of the materials, both shelves were right at $20 total.
. This shelf is done. I did a second shelf at the same time for wider canvas prints. See my other projects. I rounded up the cost of most of the materials, both shelves were right at $20 total. (Yes, the 4th/Airplane pic is rightside up  )
)
)Comments
Join the conversation
2 comments
-
Job well done! Love it :)
-
Saw this just in time because I'm painting my hallway and changing the lights. Will be using this for the pictures. Thanks.


Frequently asked questions
Have a question about this project?