


How To Make A DIY Reclaimed Wood Wall
Since we started working from home over 25 years ago, the steps to the offices are used A LOT. I mean we use it even more than the bedrooms on the third floors. So, to make them look a little more appealing, I wanted to add some character to the focal point wall on the landing. Over the years, this area was used to store our extra supplies, then turned into a place to store my decorative serving platters from my mother and my husband’s extensive collection of coffee maker. The wall was very dull and only held two shelves on it.
Before buying the product, I determined the amount of material I needed.
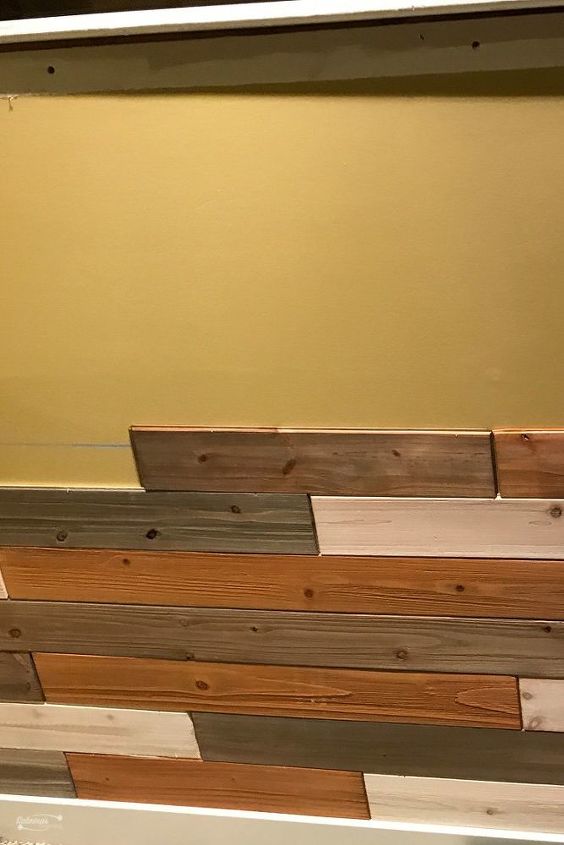
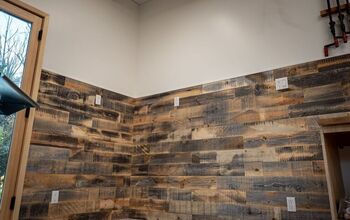
We made sure the wall is horizontally level. It was level. We then started from the bottom and worked our way up.
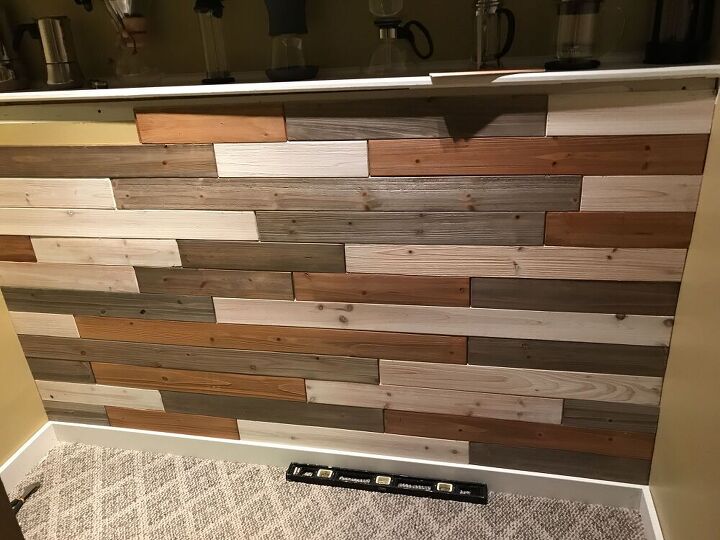
This is the bottom half done. We decided not to put the shoe molding back up under the shelf because there wasn't enough room.
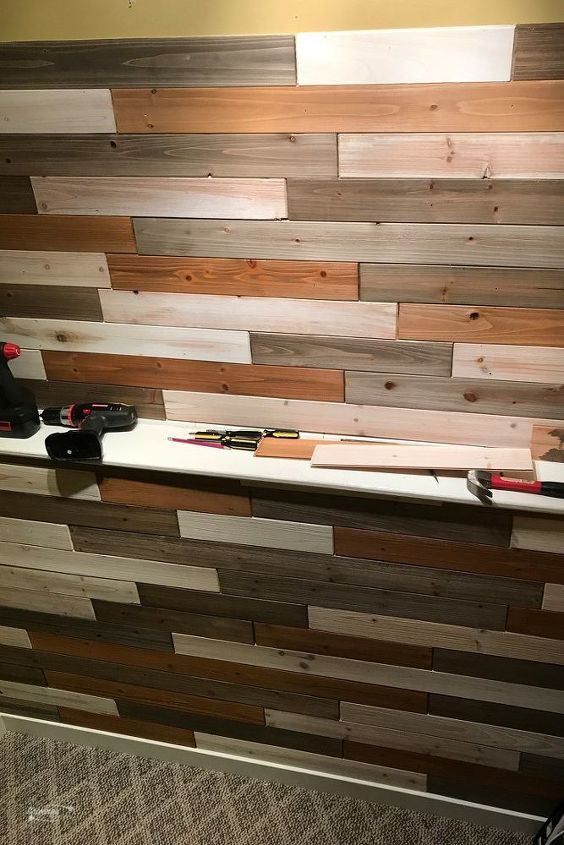
We then did the same thing to the top. First made sure the wall was level then started from the bottom to the top. Since there were tongue and groove, it made it pretty easy.
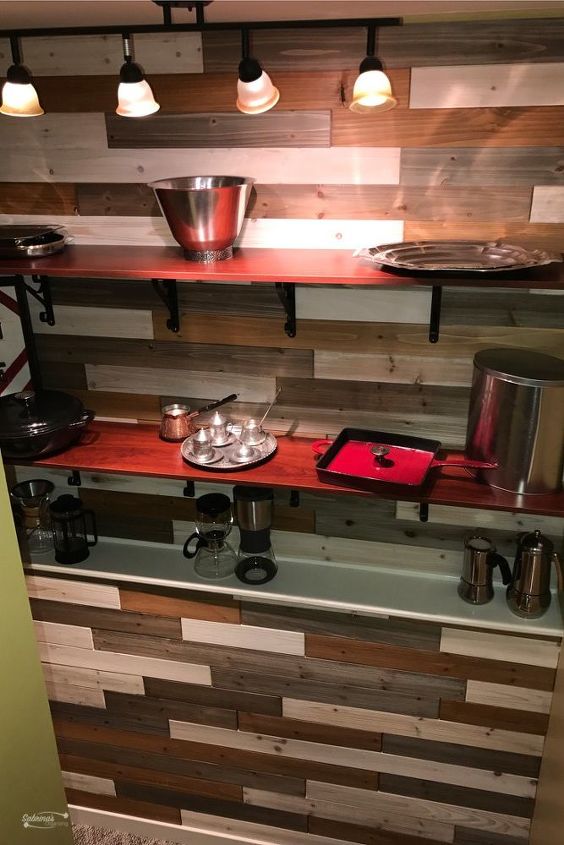
Here's the final wall. We are planning on painting the shelves when we paint the wall a lighter color. Stay tuned. Visit the blog for more details.
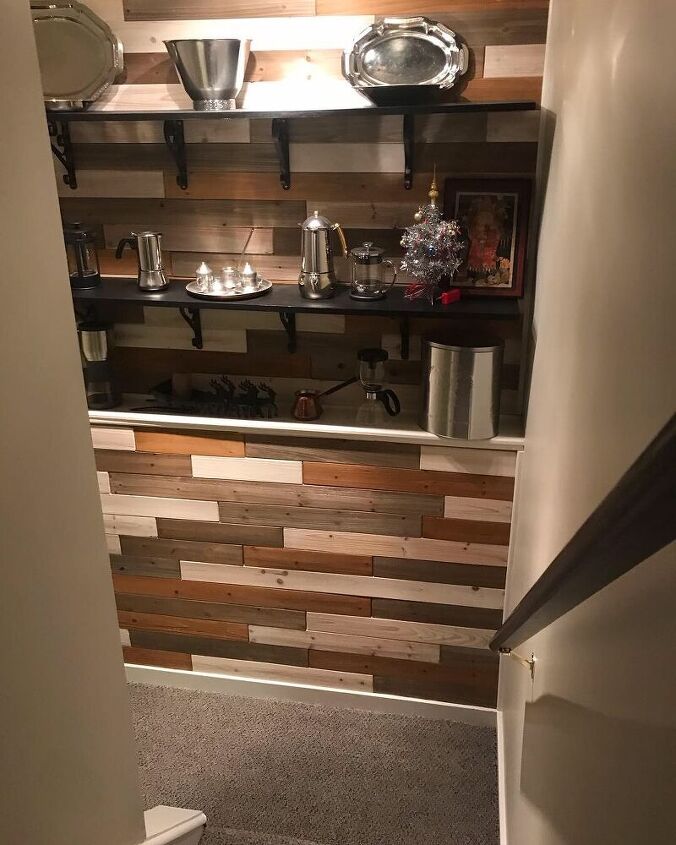
We recently updated the rest of this room. First we changed the carpet to a grey color loop style. Then, we painted the shelves black to match the railings. We also added molding and caulked the holes around the edges. What do you think?

Comments
Join the conversation
-
I updated this post recently and wanted to reshare it with you. We added carpet. Painted the railings back and painted the walls. Check it out here: https://sabrinasorganizing.com/diy-reclaimed-wood-wall/


Frequently asked questions
Have a question about this project?