


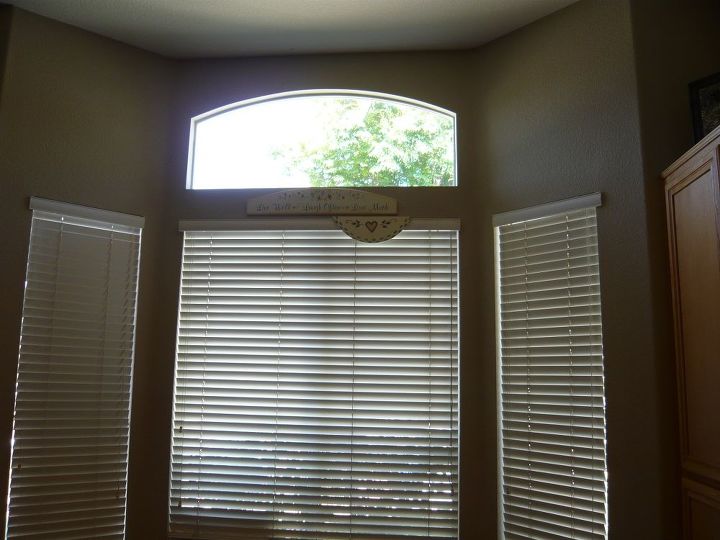
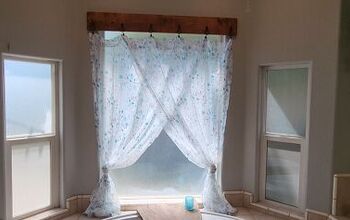
Transom Window Treatment

Comments
Join the conversation
-
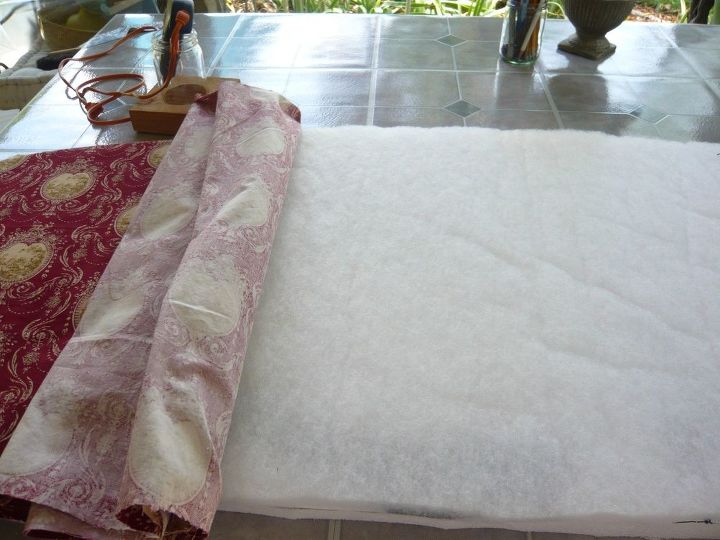
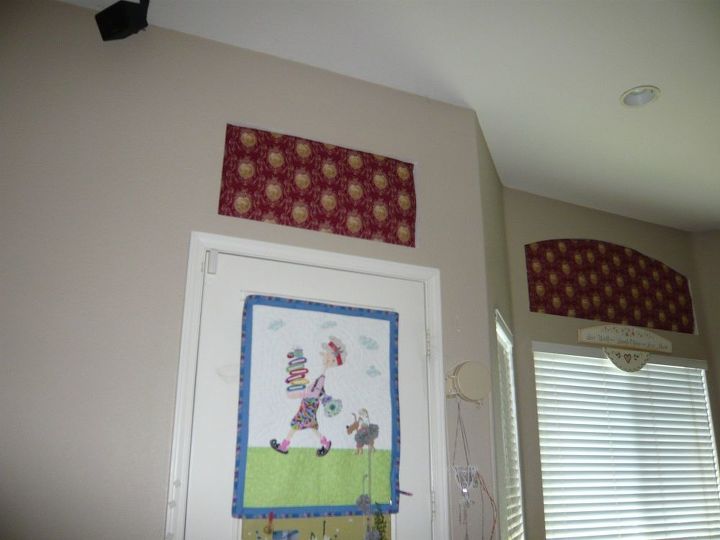
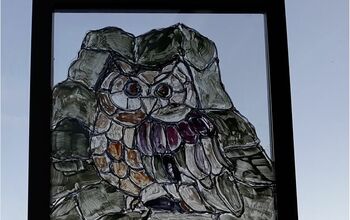
Depending on where you are in the country, assuming PA, the West facing windows will absorb the afternoon sun. In some cases that can be a good thing. In the south, it can be extreme, as in my case. In the North, it can be a good thing, if heat is what you are looking for. I chose to block as much as possible for when temp approach 110+ it is unbearable. Keep in mind, that my house has about 15 transom windows and enough light is not the problem - heat is the problem.
-
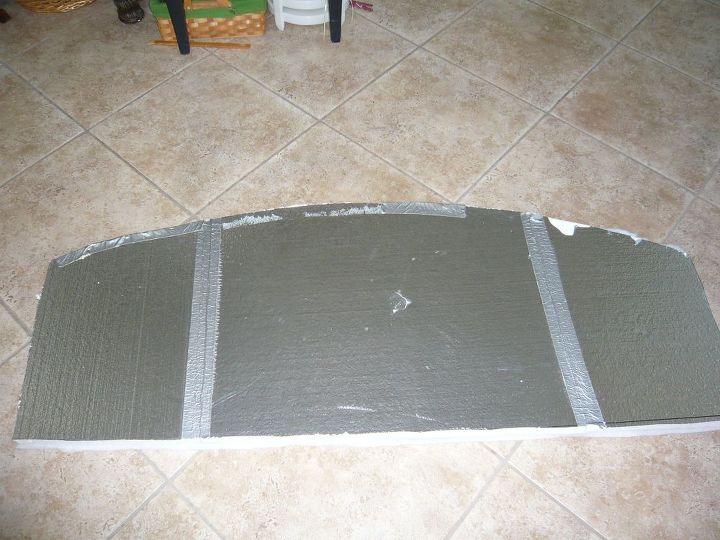
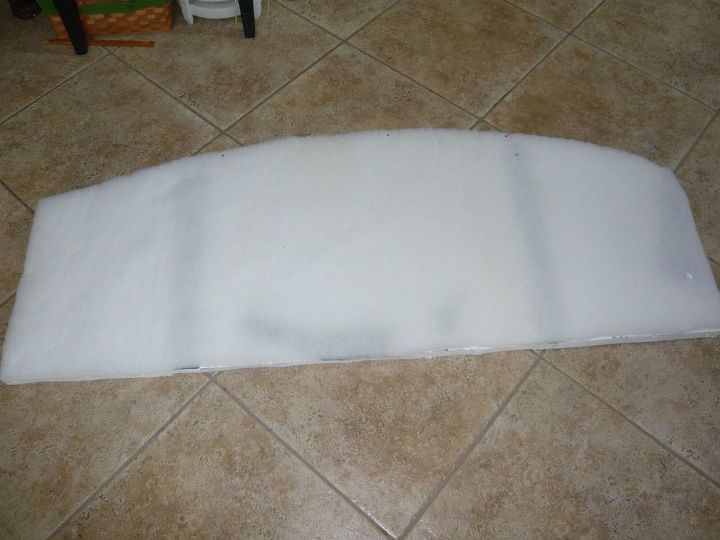
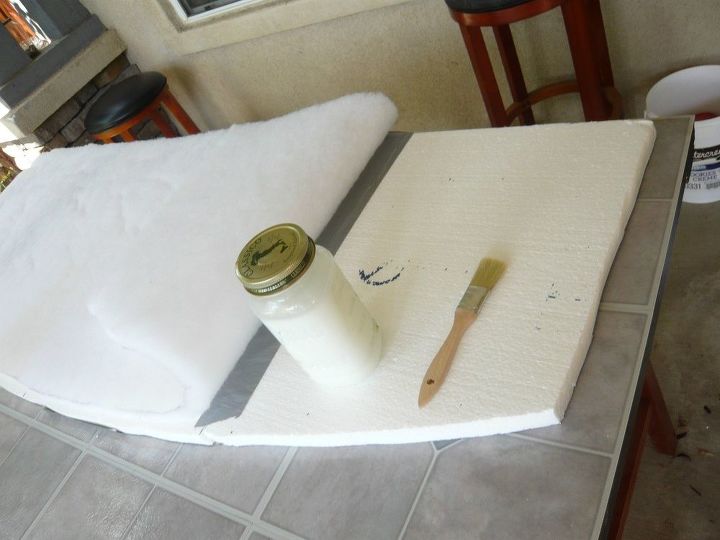
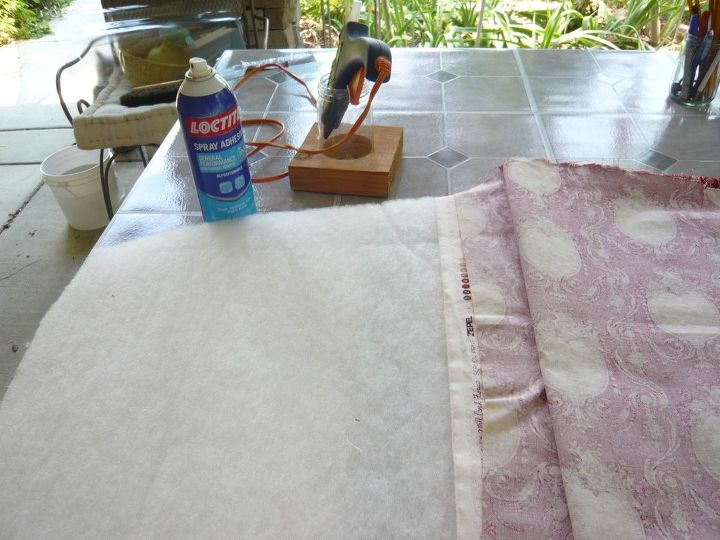
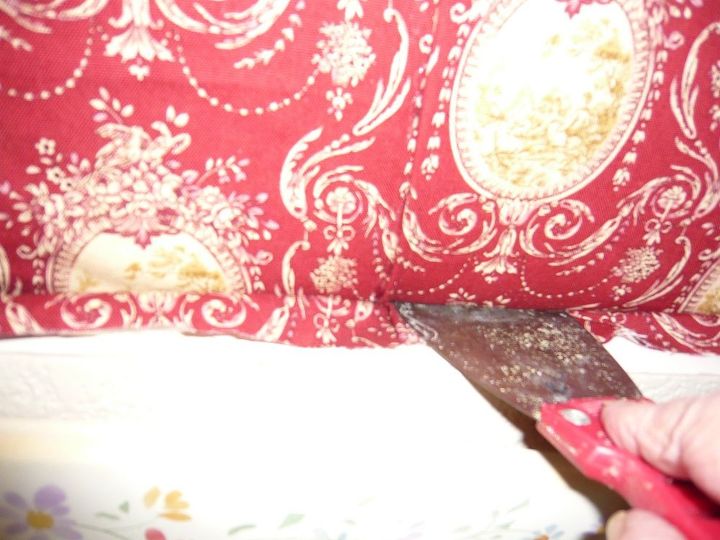
This is a problem with transom windows in all areas that are hot. I did the same on my front door with that kind of window. Mine were more subdued and made them blend in. I also made sure the outside and inside were done, so there were no trashy sides. It was a job but I too used home made modpodge. Spray glue was horrible.
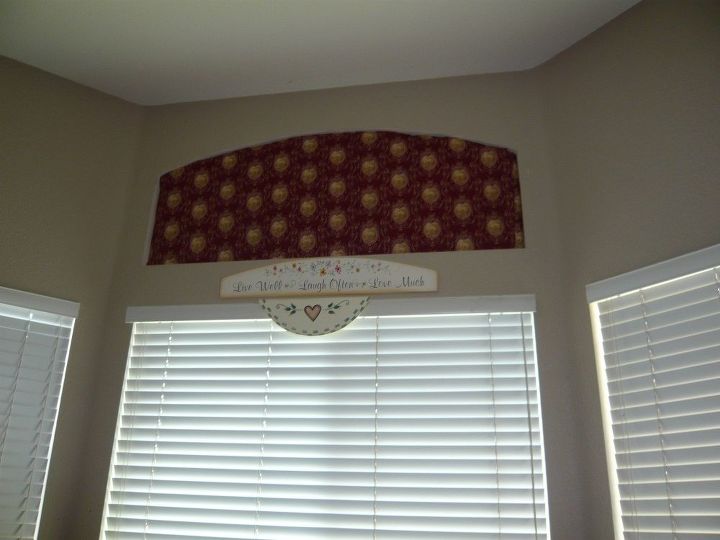
You gave great instructions


Frequently asked questions
Have a question about this project?
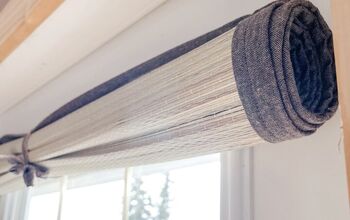
Was there anything else you used to secure this to the window, or is it simply wedged in holding itself within the framing? I'm planning on making insulating window covers for my RV and I'm not sure how I will hold them in yet. If you have any suggestions I'm open to suggestion. Thank you!
Hi! It's lovely! I'm just wondering: does it look "trashy" from the outside?
Thanks
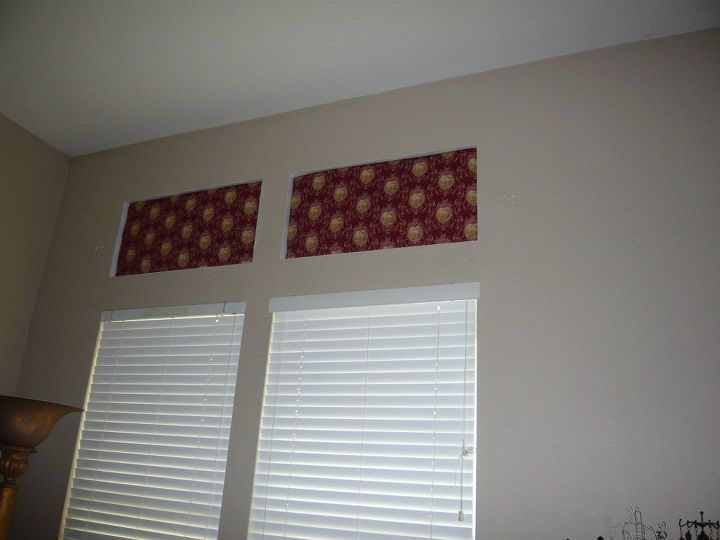
What does it look like from the outside. Can you provide a picture please. Thanks love this idea.