


How to Make METAL Flowers

by
Eamon Walsh
$20
5 Hours
Medium
I decided to have a go at making some more metal flowers after the great reaction I got from making these copper daffodils: https://youtu.be/5Du3QAkrT4c
I hope from the pictures you realize they are meant to be lilies! They are quite easy to make but there is a bit of welding (nothing fancy) grinding and some heating of the metal to make a bit more pliable.
{
"id": "4229421",
"alt": "",
"title": "",
"video_link": "https://www.youtube.com/embed/txJr5Kp9U7s",
"youtube_video_id": "txJr5Kp9U7s"
}
{
"width": 634,
"height": 357,
"showRelated": true
}
Have a look at the video above or follow the guide below. The materials needed for this project are some sheet metal, 6 mm metal rod and some metal primer, white or off white, green and some yellow paint.
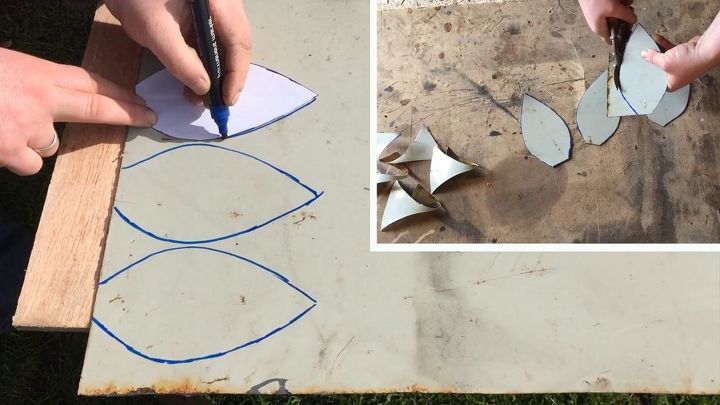
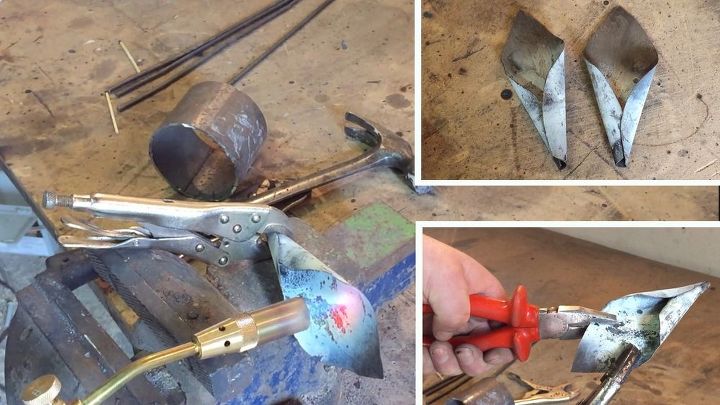
I started by using a template to mark the flower onto the sheet metal. I found this shape online. I then cut the shape out using a tin snips.
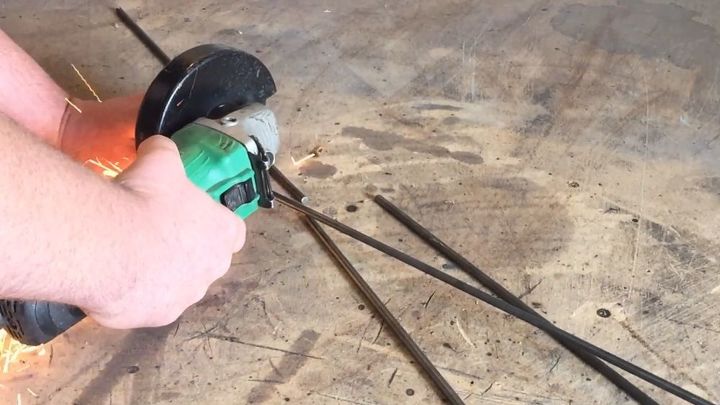
I cut the 6 mm steel rod into approx 455 mm (18 inches) pieces using my angle grinder.
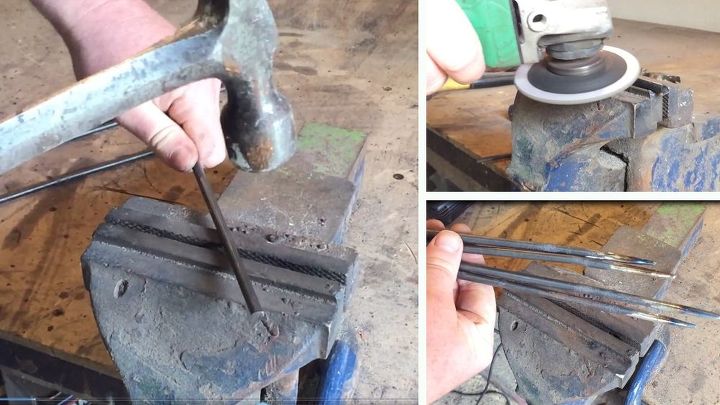
I hit the stem (6 mm rod) a few times with a hammer on my vice to put a few small twists and bends to make it look more realistic. Then using a grinding disc in an angle grinder I tapered off the stem (rod) into a point.
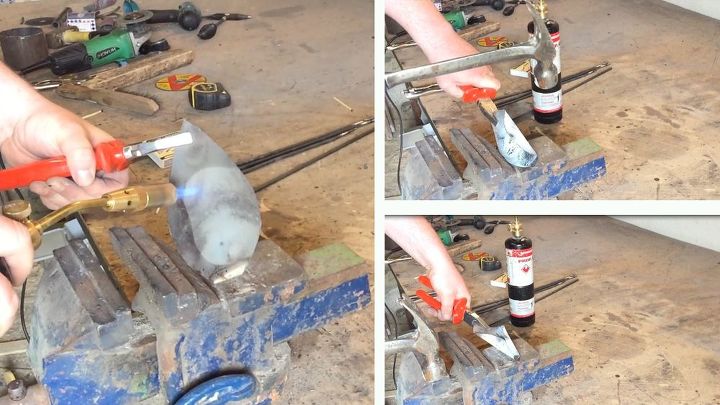
To form the shape of the flower I first heated the sheet metal with a blow torch (to make it more pliable) and then started to hammer it into shape. This process would be easier if the metal was heated in a furnace first, the blow torch cannot heat the whole flower shape to the same temp at the same time.
I continued heating, hammering and using a pliers to form the shape I wanted.
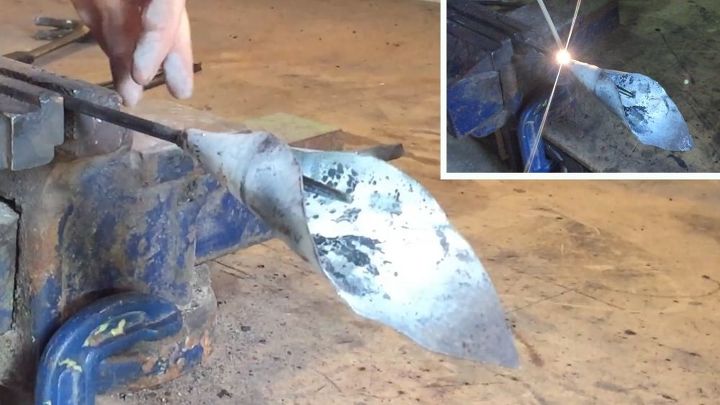
To attach everything together I first put the stem (rod) into a vice to hold it and then pushed and twisted the flower onto it. With my welder turned well down (the sheet metal is very light) I tacked the flower into place.
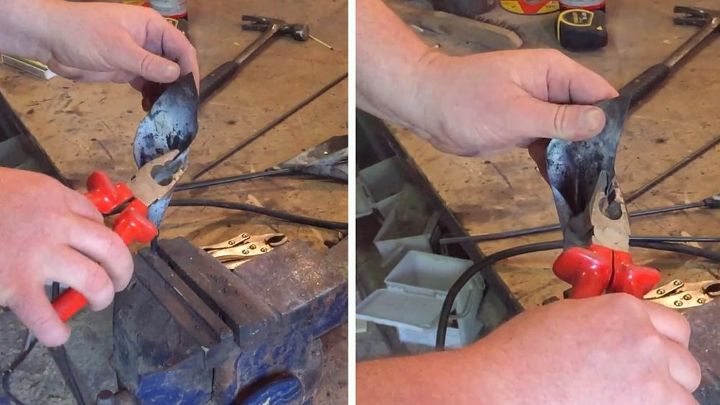
After it cooled down I did a few more adjustments with pliers while it was held in a vice.
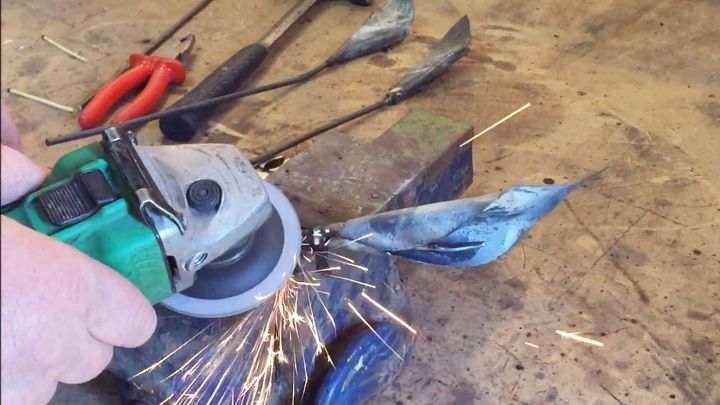
I then used a grinding disc to smooth out the where I welded them together.
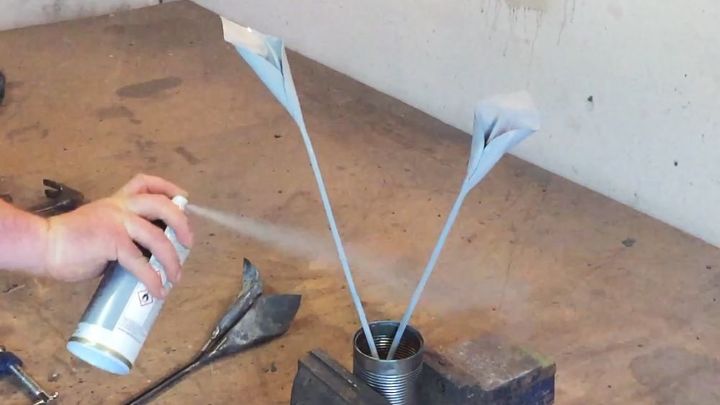
I then applied a coat of a metal primer.
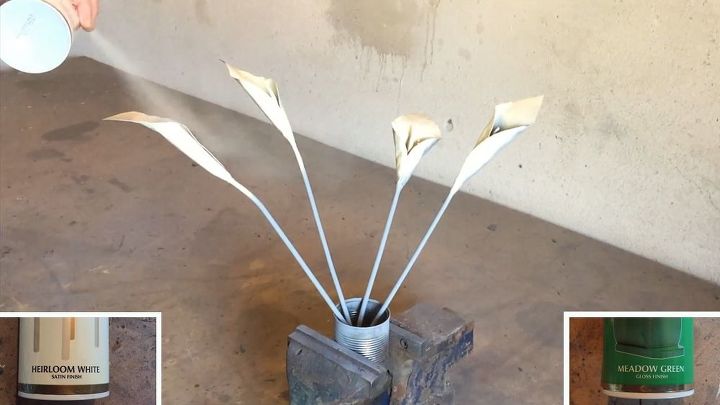
After the primer had dried I started to paint the flower part. I used an off white color (2 coats) but I think if I was making more I would use a whiter color. When this had dried I then applied some green paint to the stem.
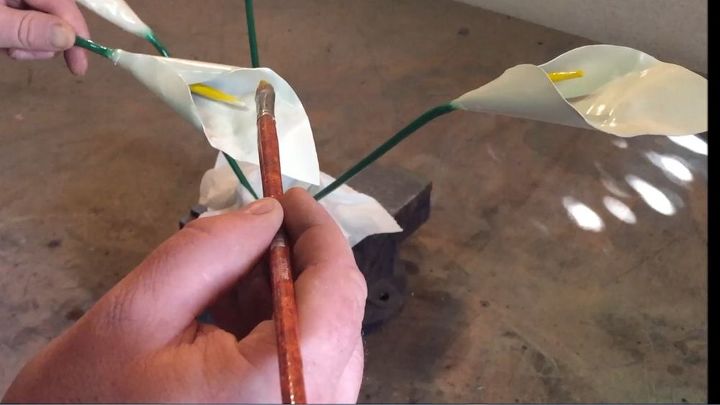
Using a small brush I then painted on some yellow paint onto the center of the flower. I not sure what the real name of this part is. I think it’s the stigma, style or filament.
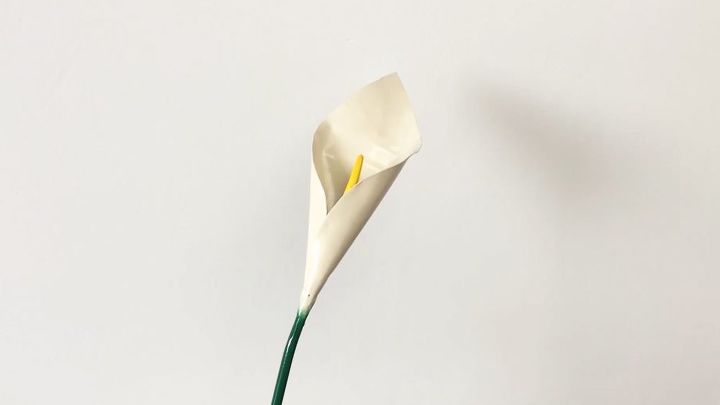
A finished lily. This is what a single one looks like.
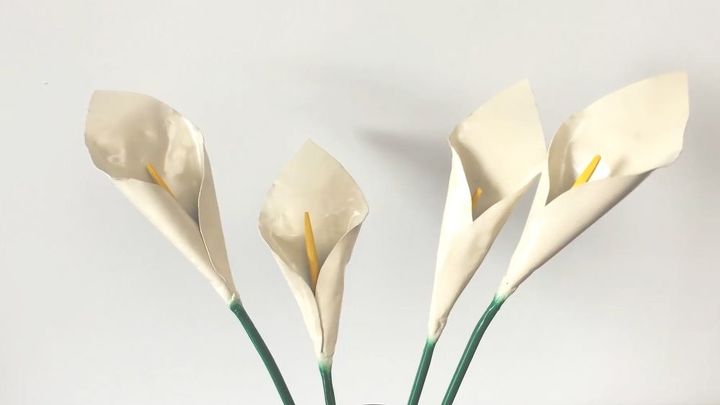
I hope you like these and will have a go making them. I think if I had spent a little more time forming them they would look a bit better or if you are lucky enough to have access to a furnace even a small one and get more even heat into it, it will bend more easily. That being said I am quite happy with how they turned out.
Comments
Join the conversation
1 comment
-
I really like your site and ideas. You use quality material and the finished produce is "store bought" worthy.


Frequently asked questions
Have a question about this project?