


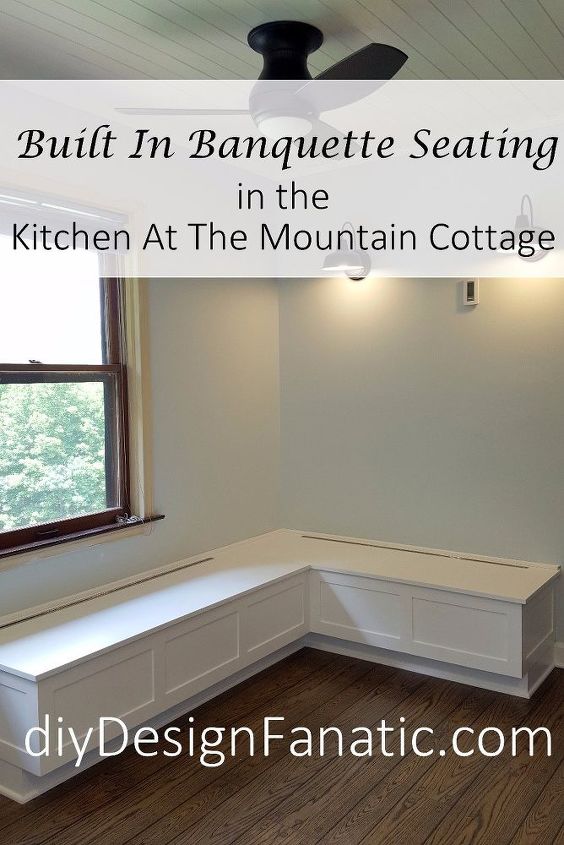
Built in Banquette


Comments
Join the conversation
-
We had storage like this in our porch & it had 2 wall outlets. One, we plugged into, drilled a hole to the outside (properly insulated around the hole) and used it for Christmas lighting. Because it was accessible from inside, it was warmer to unplug from!
The other plug was used by drilling a hole in the side of the banquette, so the cord extended from it. It really just meant that the cord ended up being about 3" shorter than if it was plugged into a visible wall plug. That would depend on where the outlet was, in relation to the edge of the banquette. You could always use a short extension cord to make up the difference too.
As for the baseboard heater, I wouldn't be surprised if it were removed during renovation for a less intrusive one, or perhaps it wasn't a functional one and didn't need to be there. Whichever is the reason, I would think that removing it would make for a cleaner look & having heating inside a storage area that small would be asking for a problem.
-
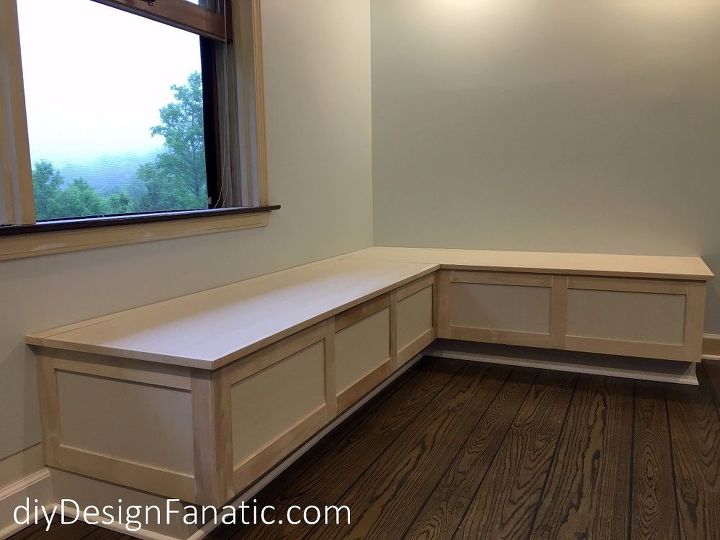
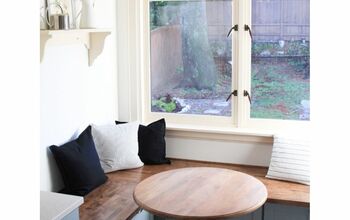
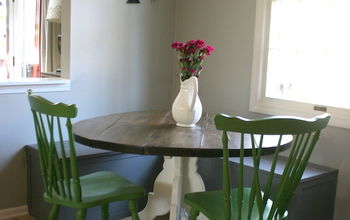
This is goin' to be terrific at your Bungalow. I'm glad you are cushioning your benches because sliding butts across the benches you would get a lot of wear and tear. This is a beautiful job and I adore your idea!!!! I'll be excited to see the homemade table..........


Frequently asked questions
Have a question about this project?
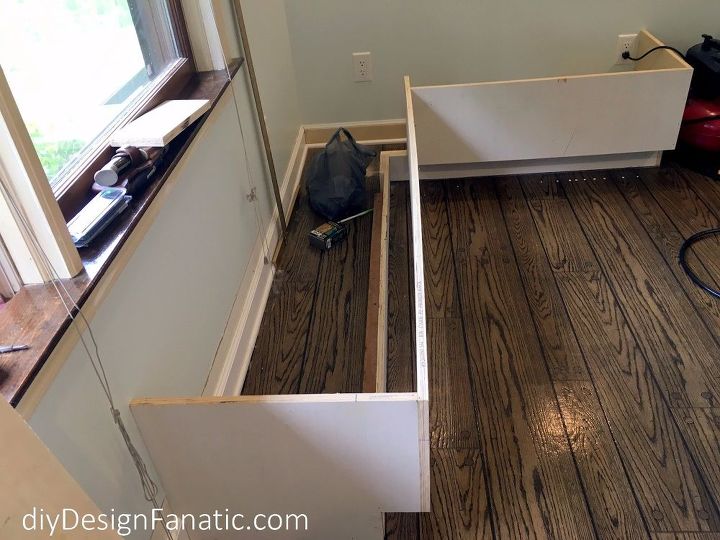
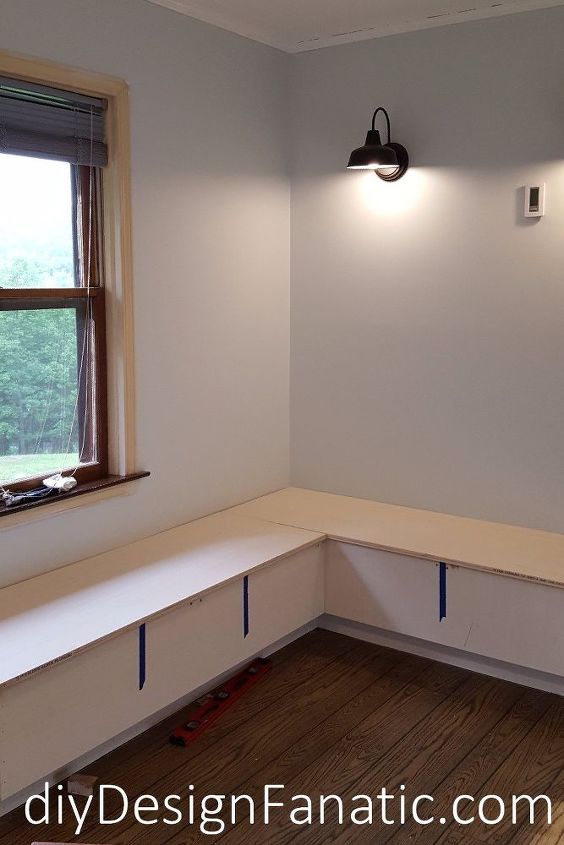
Looks very nice and well built. But why did you remove he baseboard heater and did you move the electric outlets ?
Beautiful job. Did you move the floor register and the outlets?
How are you heating the room now that the baseboard heater is gone?