


Vintage Laundry Center

by
A
5 Materials
$50
2 Days
Easy
In my other post, Laundry Center Rearrangement, I did a little juggling with some cabinets and created a laundry center in my utility room. I loved the purpose but it looked BORING! I had an idea and decide I had nothing to lose - this is how it played out...
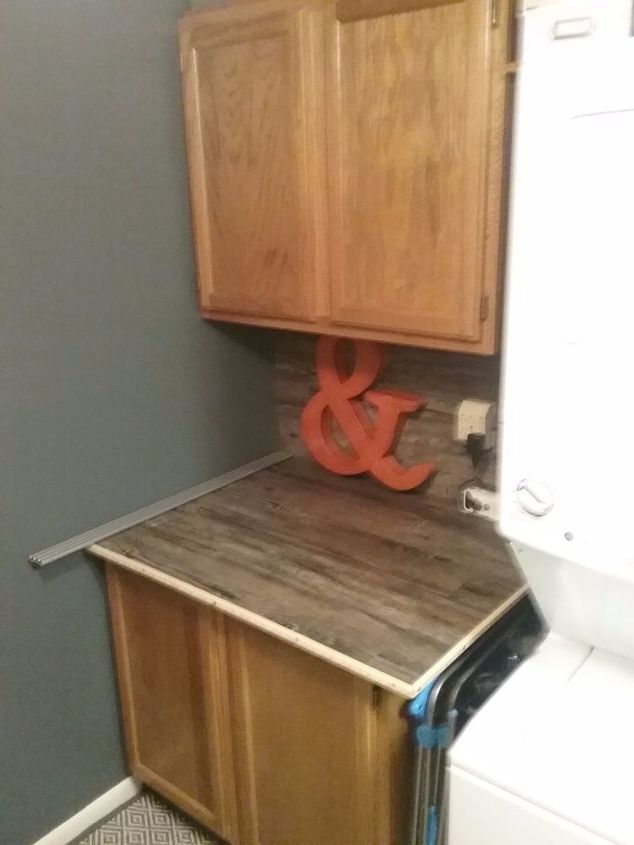
This is the new laundry center. There just isn't any harmony. Dark gray walls; White appliance; brown cabinets; and gray wood (vinyl) planks. . I would have loved to have the gray washer/dryer but that was another $200 and I wasn’t willing to spend it for an appliance in my utility room.
We were in desperate need of something to unify this area of the house! No, I'm not totally insane...the utility room is open to my kitchen and my powder room is located in there, so there is some exposure.
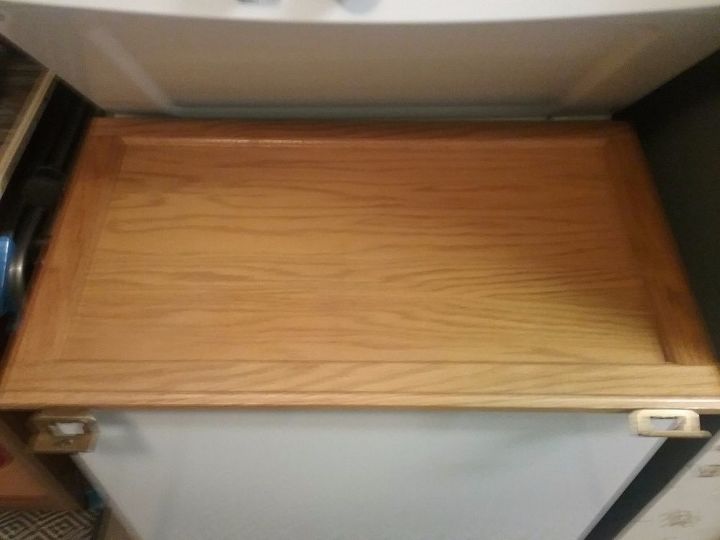
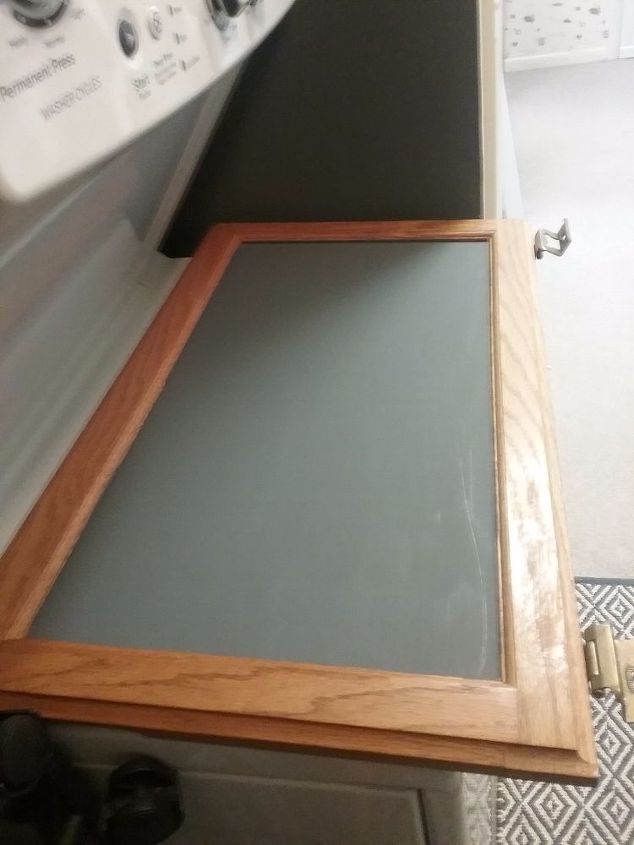
I removed the doors, marking the tops with L or R so that they would go back on correctly.
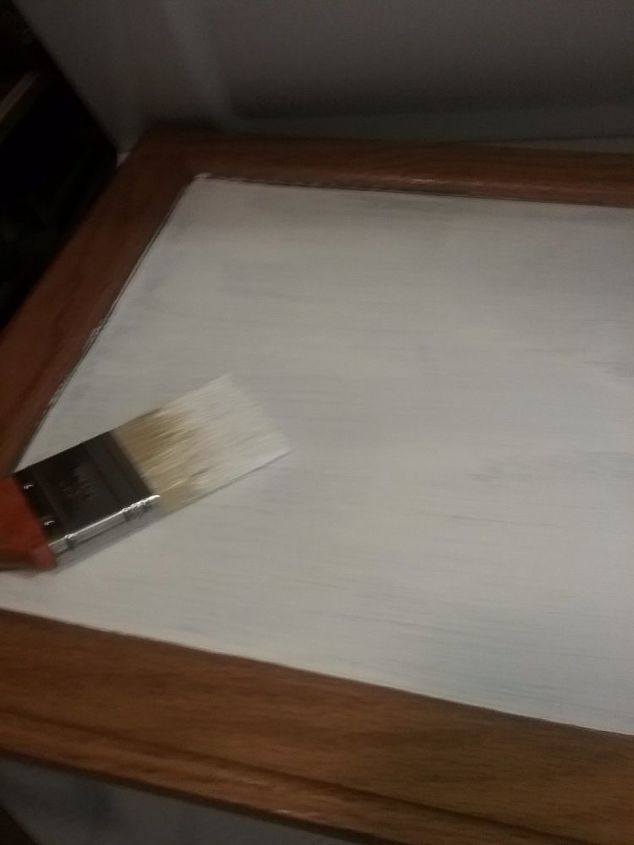
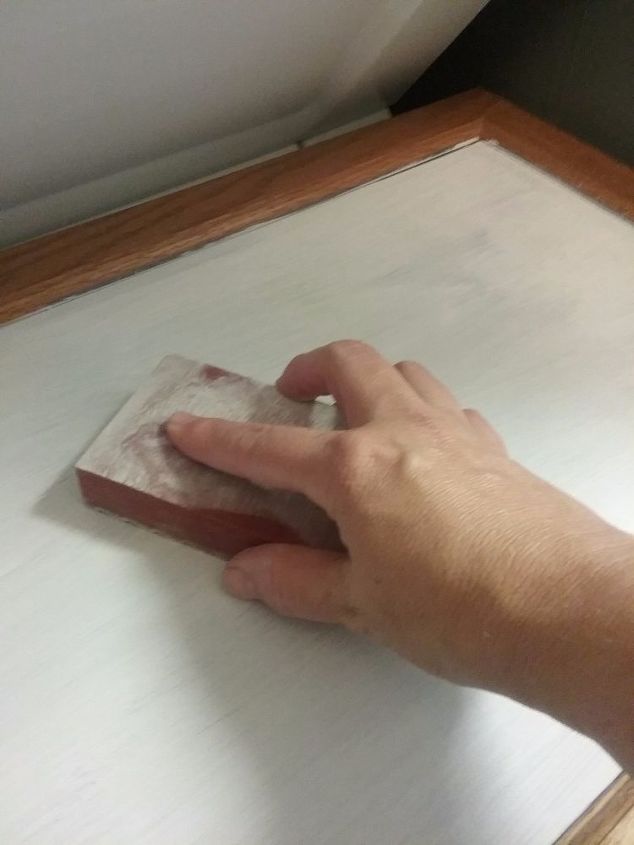
I painted the cabinet door insets with a dark gray chalk paint. I then layered this with a thinned out white chalk paint. It was streaky, but that was fine. Once the white was dry, I sanded it down so some of the gray began to show through and the streaks weren’t as noticeable.
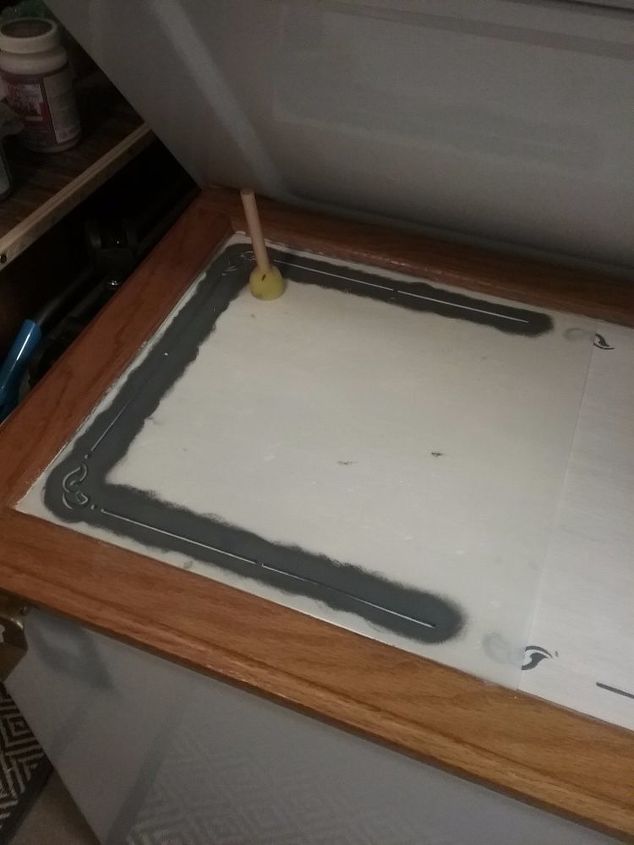
Using a border stencil, I applied the gray chalk paint and made a simple line and scroll border around the inset.
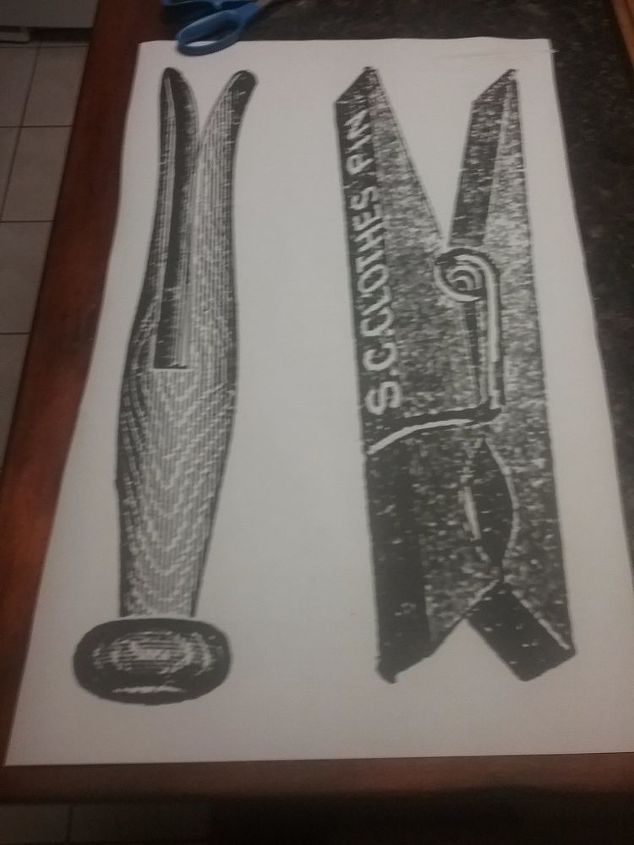
I had chosen two different clothes pins to grace the cabinet doors. I enlarged them on my computer using Microsoft Publisher and saving them as a jpeg file. I was able to email that to our local reproduction business and for $1.92, I got a perfect print out of my graphics.
Using Mod Podge, applied the clothes pin graphics to the doors. I did this by first cutting carefully around the graphic; applying a layer of MP to the back of the graphic; centering it on the door; and smoothing it out so that no wrinkles remained. The final coat of MP was applied after the beveled edge was painted.
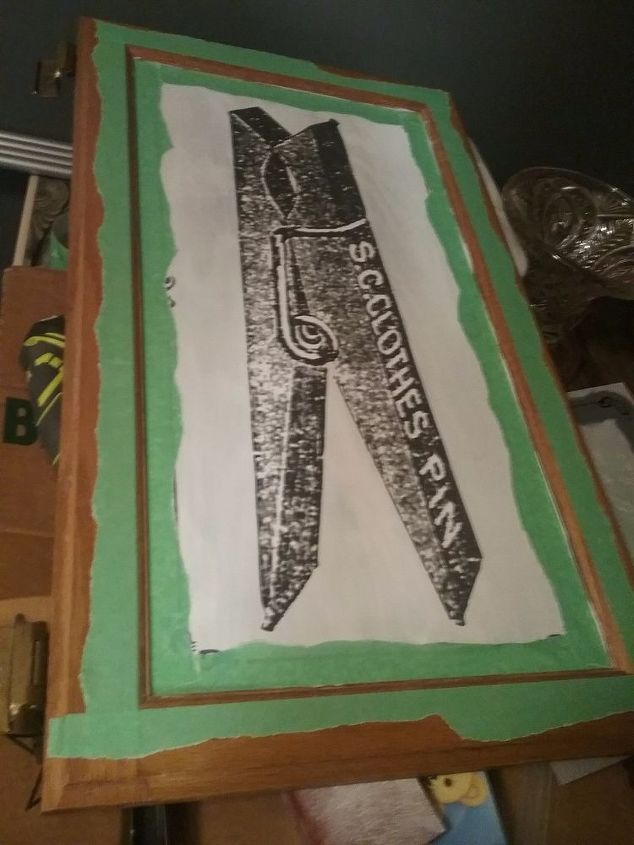
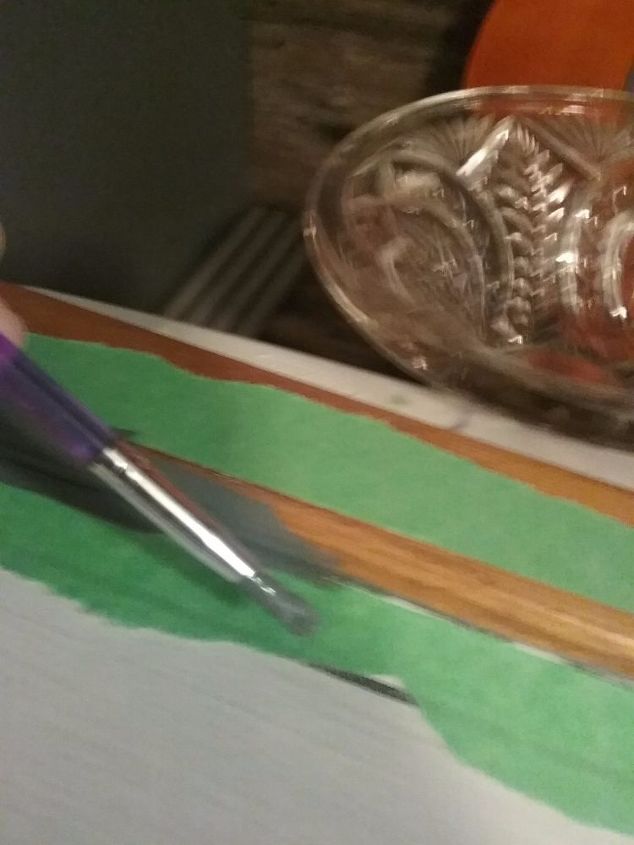
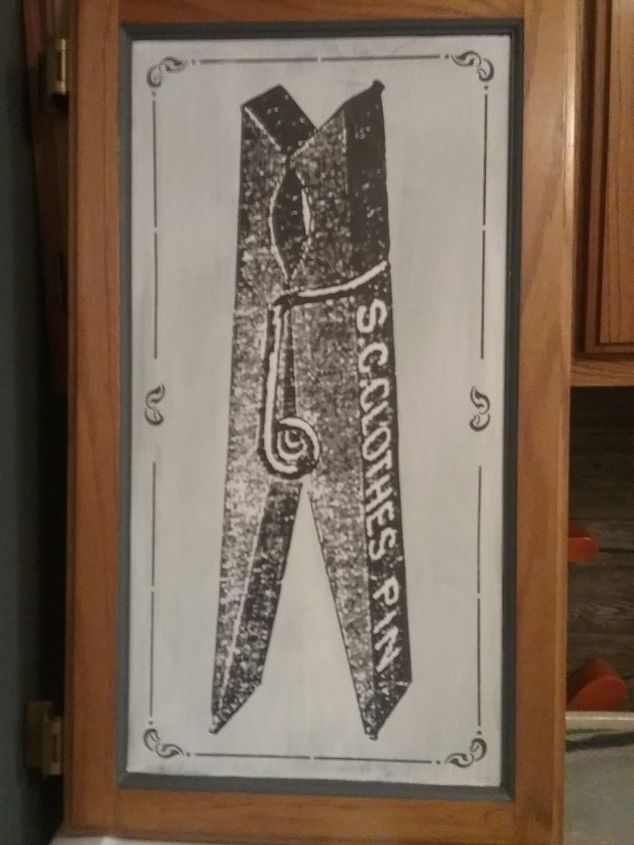
I carefully masked the areas surrounding the beveled edge of the inset and then applied two coats of gray chalk paint. This neatened up my sloppy painting and framed the inset nicely. Once dry, I removed the masking tape and applied the final coat of MP over all painted areas.
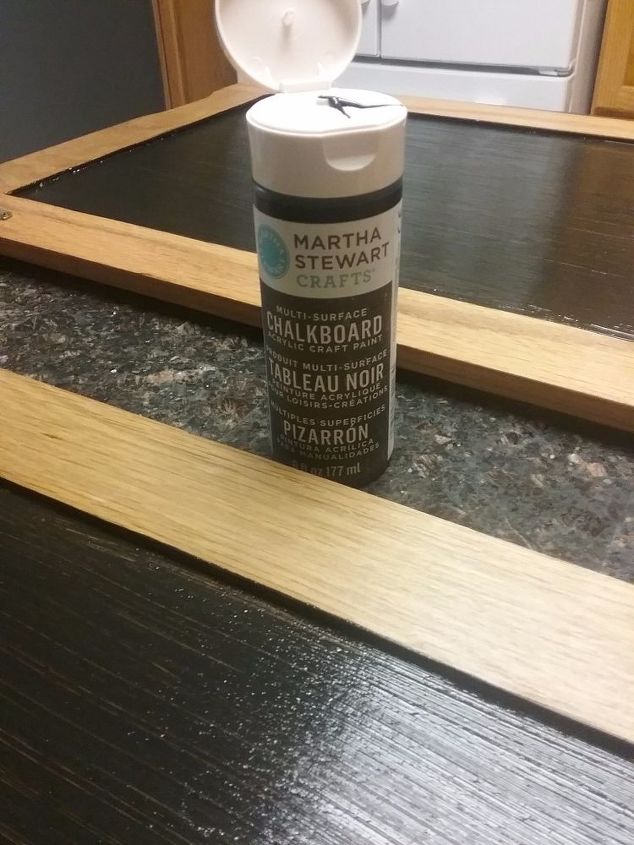

On the upper cabinets, I painted the door back insets with black chalkboard paint.
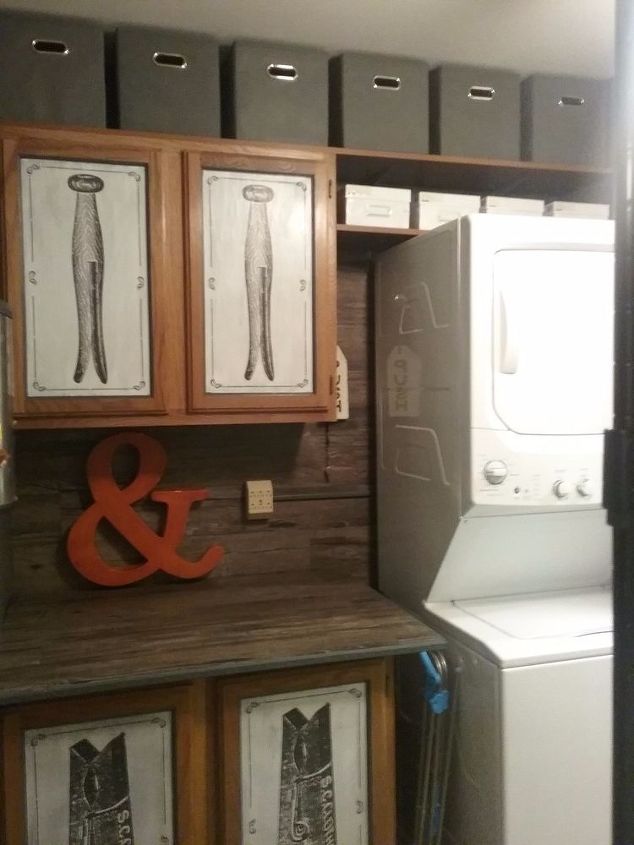
To complete the laundry center and to make good use of the shelf space, I added six gray bins and 4 white boxes. A future project will be stenciling them. I picked up the “&” sign on clearance at Michael’s.
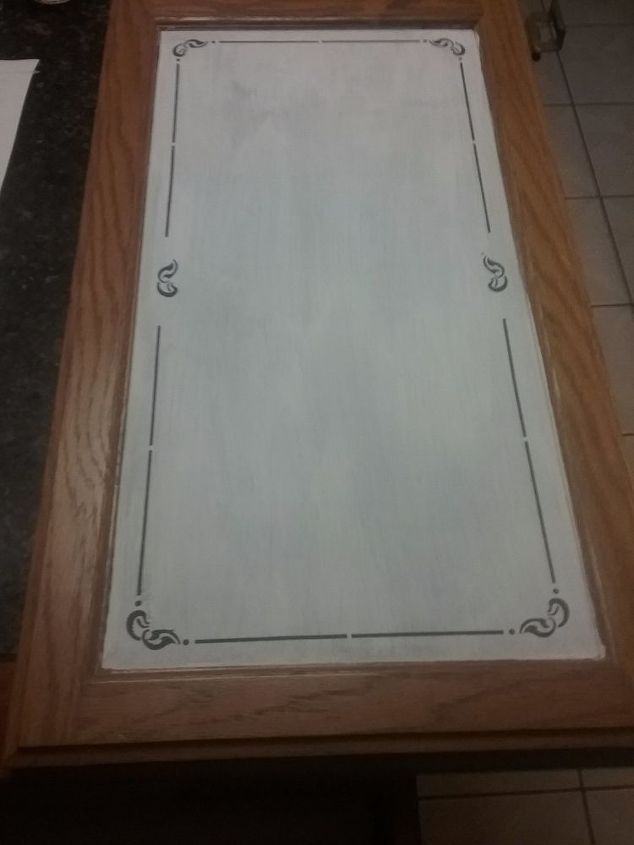
I love looking at the doors – they say “laundry room” without being too obvious.
We want to help you DIY, so some of the materials in this post are linked to sellers. Just so you know, Hometalk may collect a small share of sales from the links on this page.
Comments
Join the conversation
3 of 6 comments
-
Would you ever want to try Dixie Belle Paint?
-
Cute! It brightens up the space.


Frequently asked questions
Have a question about this project?
A. I was so happy to see your first laundry room post! Great job! It's exactly what I want to do regarding my washer & dryer. I was hoping to see your total $ makeover including that expense at the end:). Would you mind sharing? I talked myself out of this because I'm sure it will be expensive and I'm in a 20 y.o. Condo that needs all bathrooms & kitchen updated:/ Still gathering ideas before talking to a contractor.
Really like this second update! Congrats!