


Master Bath Remodel Phase 2
by
Chris
3 Materials
$2700
8 Weeks
Medium
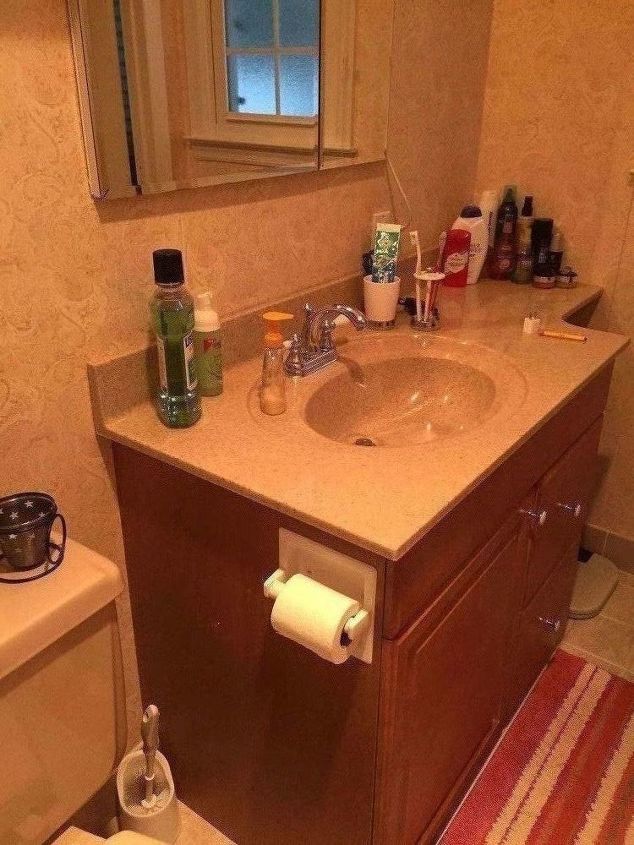
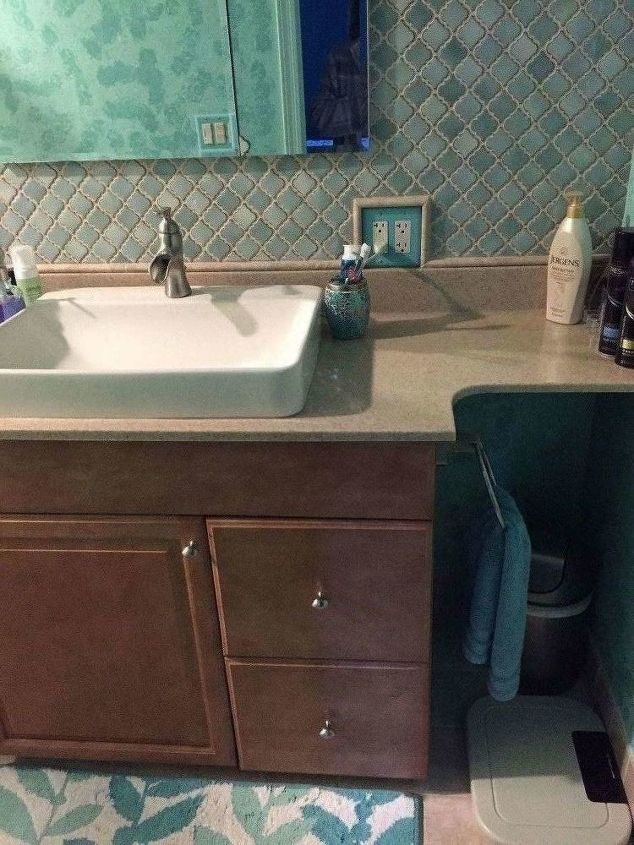
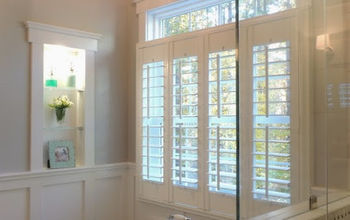
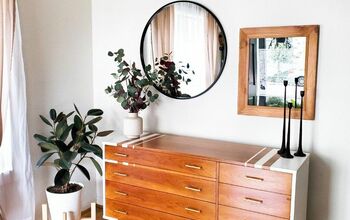
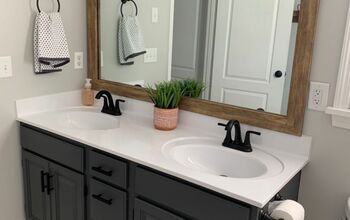
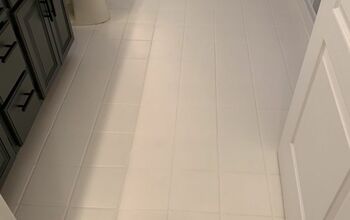
On to the vanity area! So, we had pulled the old, peeling wallpaper down, I washed down the walls to remove any paste. Primed. Hubs painted a base coat, ceiling, I then sponge-painted using three colors, with a glaze additive, played around with it until I liked the look. I could live with the floor tile, the tile in the shower (which we had added the accent to break it up plus I hated that soap dish in the middle of the wall, it was useless.) The vanity was functional for the space, I didn't mind the Corian countertop, but the sink basin was bad. I originally thought to cut it out and put an undermount sink in, but we couldn't find one to fit because of the beveled edges surrounding the original basin. We started looking into a new countertop. Prices ranged from $900 to $1200 because of the shape, which is called a "banjo"... I couldn't justify the expense for such a small area that only we would see for the most part. Kept looking on line for a sink that would cover the area where the basin was, including the bevel. Found a Kohler counter-top sink that would match the toilet (biscuit) and the shower base I had painted, fit perfectly., so we didn't have to trash the old counter. Found a faucet in nickel, loved the design, new cabinet hardware. Hubs did an awesome job tiling the backsplash, (I designed it). New light fixture looks great!
also ugly!
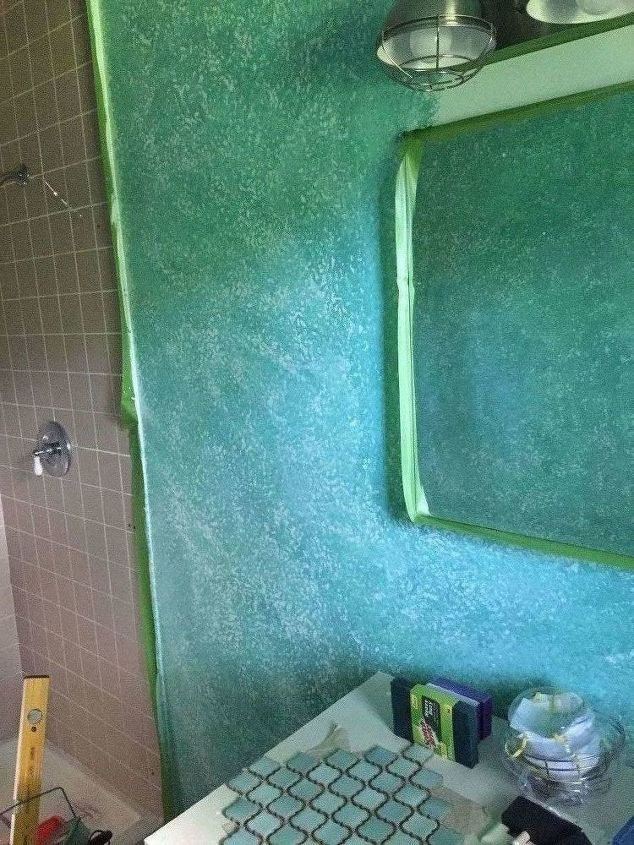
sponge-painted the walls
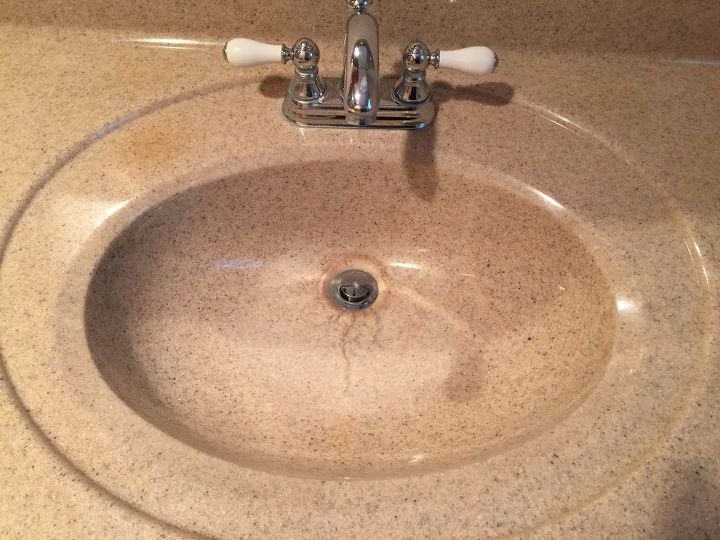
Old sink basin cracked, we cut the basin out and installed new sink over the space.
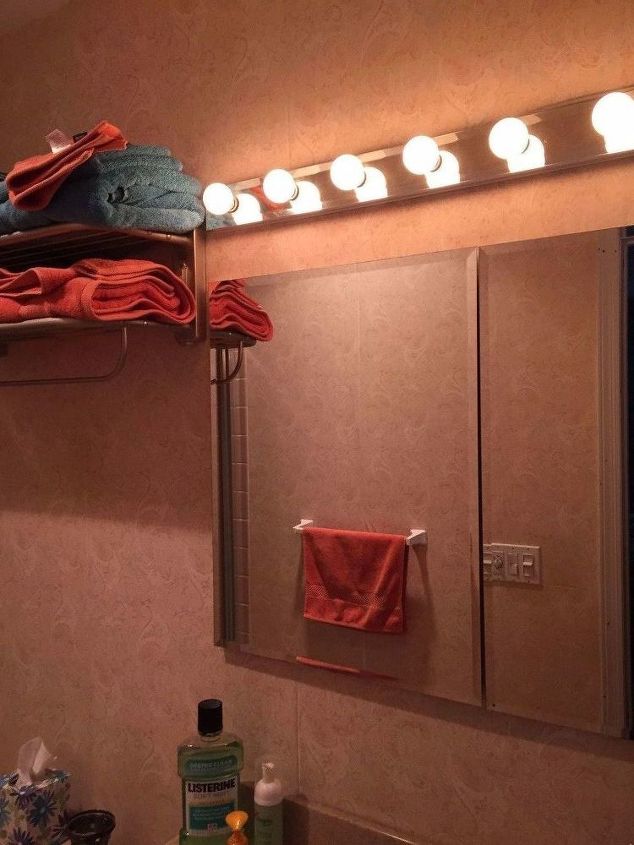
OLD UGLY light bar, but the medicine cabinet is a good quality, all metal and glass in and out, no plastic junk so we kept that.
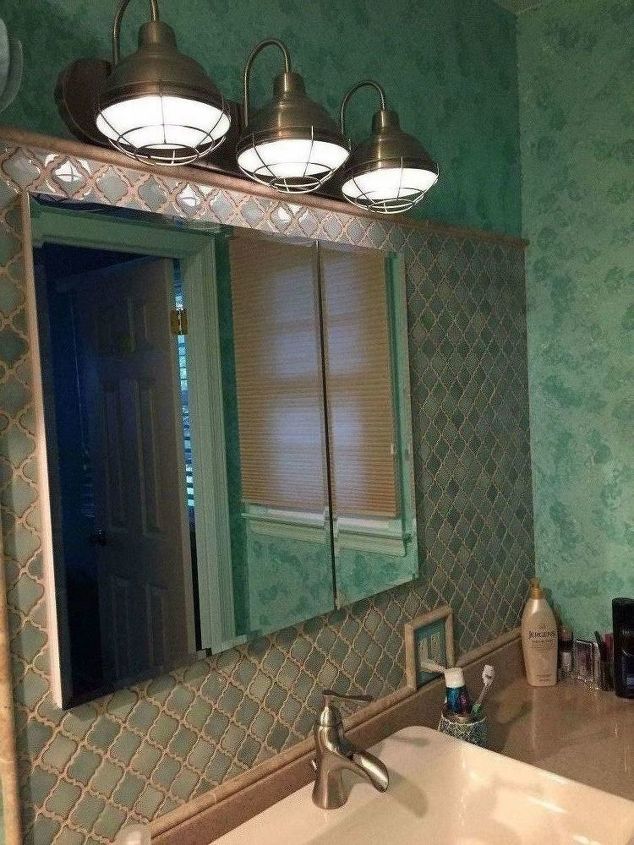
tiled backsplash, new lighting
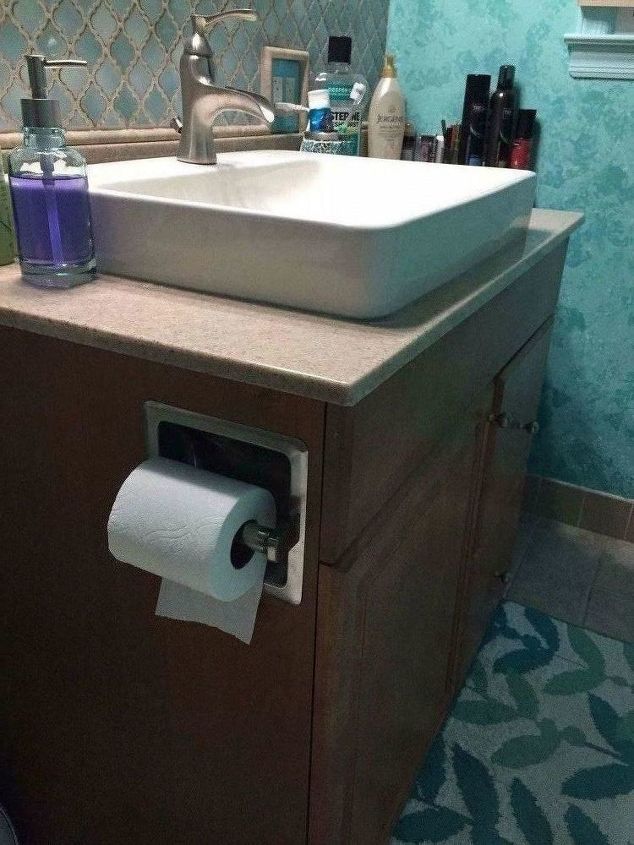
New sink, nickel accessories
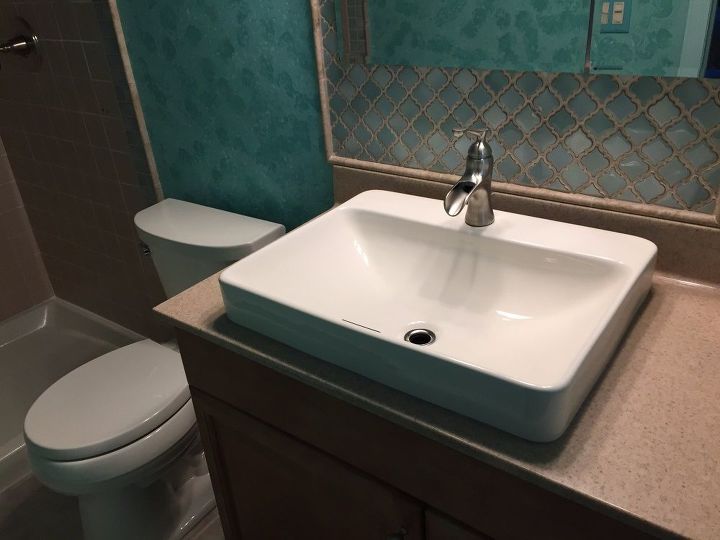
waterfall faucet!
new cabinet hardware!
Finished project is viewable in Phase 3!
http://www.hometalk.com/diy/bathroom/showers-tubs/master-bath-remodel-phase-3-31700074
We want to help you DIY, so some of the materials in this post are linked to sellers. Just so you know, Hometalk may collect a small share of sales from the links on this page.
Comments
Join the conversation
3 of 44 comments
-
I recently paid someone to remodel my master bath with travertine stone. The large honed stones on the walls are varied with dark background and veins to so pale it's just a blank tile. What can I do to create a more uniform look? I've considered using cement to cover them (If it will cover the stone). Or is there a kit that I can use to create a more uniform look?
-
I love the results. Did you use any software to design this space before doing the reno?


Frequently asked questions
Have a question about this project?
Could you share in a little detail on how you peel of the wallpapers and prepping it for painting?
What tools did you use to actually cut into the one piece sink?
What about the cupboards? Nothing was done. 😥