DIY Sea Mud & Tea Tree Soap
8 Materials
$10
1 Hour
Easy
Part of coming up with fun new projects for my blog, Soap Deli News, includes experimenting and thinking outside the box. There's the "right way" to do things that I know will work and then there's that "well, what if..." My DIY Sea Mud & Tea Tree Soap is one of those experimental projects. It didn't start out so well...
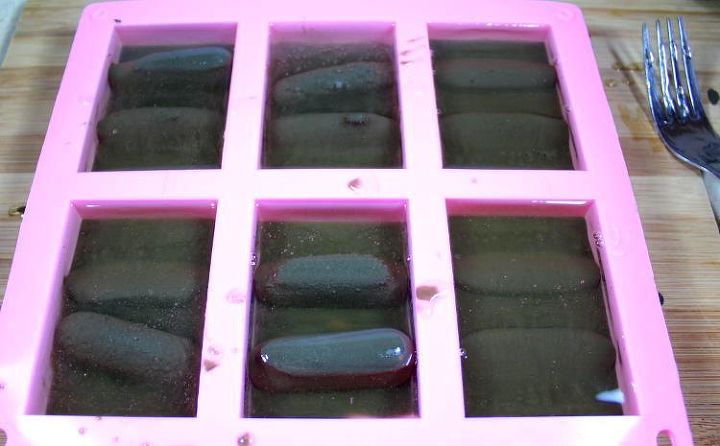
This was my experiment fail. Trying to make soap embeds with a LOT more than the recommended amount of sea mud in a melt and pour soap base... well. As you can see this didn't make the striped soap I was hoping for. The sea mud soaps leached into the surrounding soap and I got something that looks like... you know.
Anyhow, I was able to salvage this project in a really amazing way proving that failures don't necessarily have to be failures. (You can see the unmolded version of this disaster as well as the recipe for the fix at Soap Deli News blog here.)
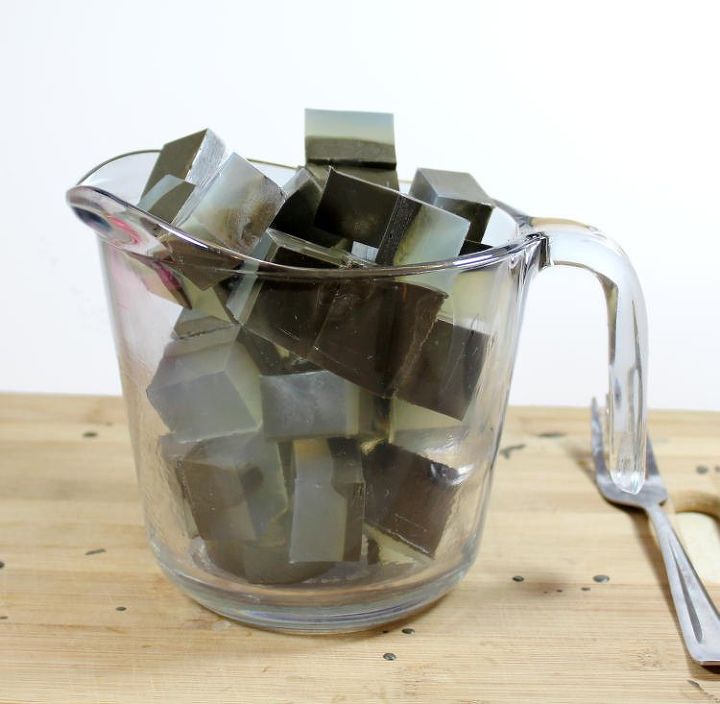
Once I unmolded the melt and pour soap fail, I cut the soap into chunks and reheated the mess in the microwave until melted.
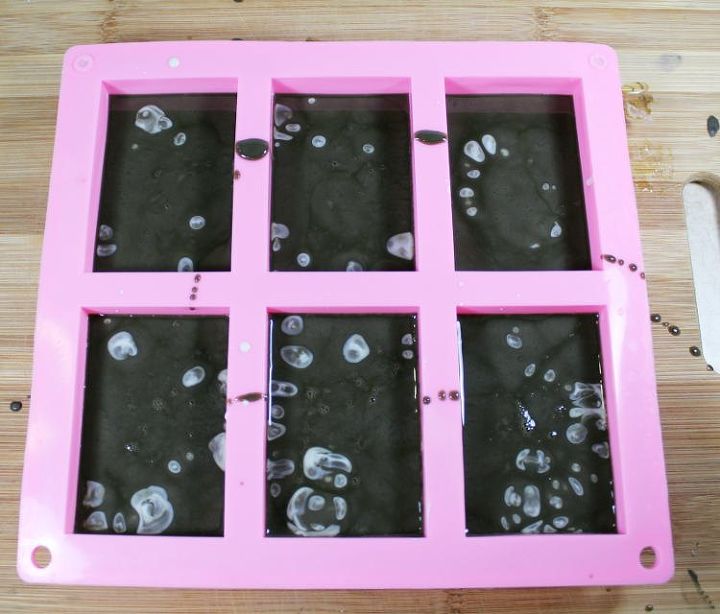
Once re-melted, I poured the soap back into my silicone mold. This time, however, I did not fill the mold cavities up completely. Once there was a “skin” on the surface of the soap I was ready to add my fix.
I then melted a white melt and pour soap base and added a forest green liquid soap colorant to it. I poured some of this new soap on top of the soap mixed with sea mud in the molds. I used used a fork to “lift” some of the sea mud soap from the bottom of the mold and mixed it into the top.
Once I'd done this, I placed the mold in the refrigerator to cool faster.
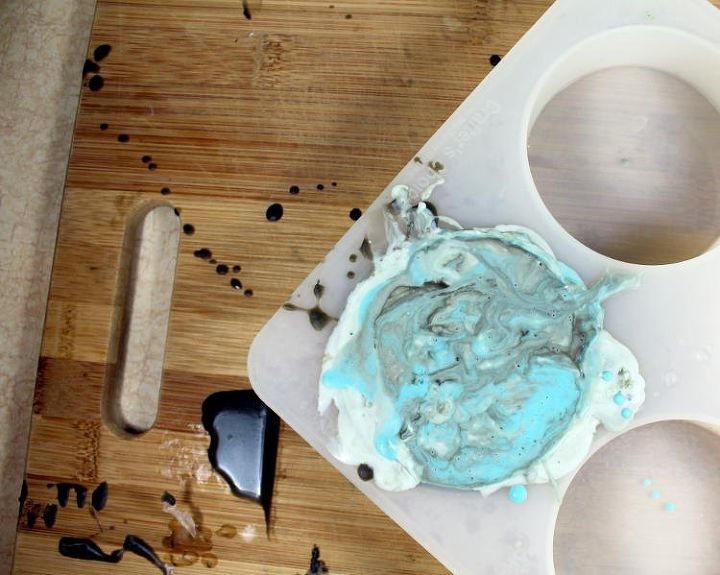
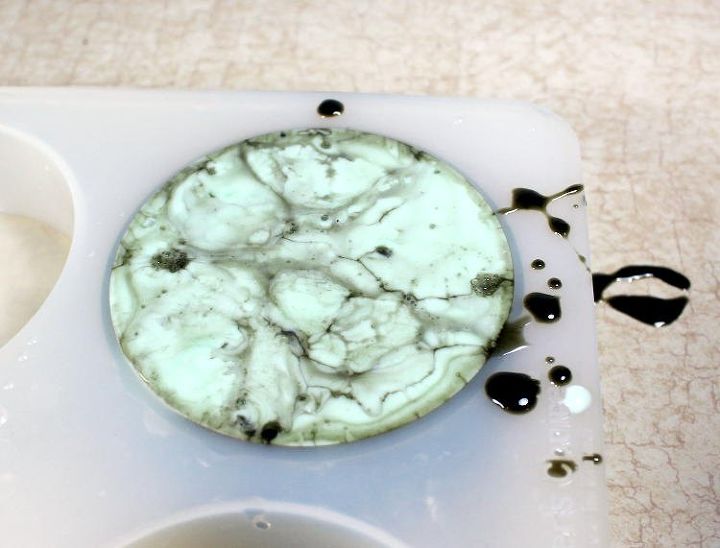
Next, I added turquoise mica to the rest of the melted soap base I previously added the forest green liquid soap colorant to and mixed it in. I allowed it to cool just to the point before it hardened, but I was still able to pour it.
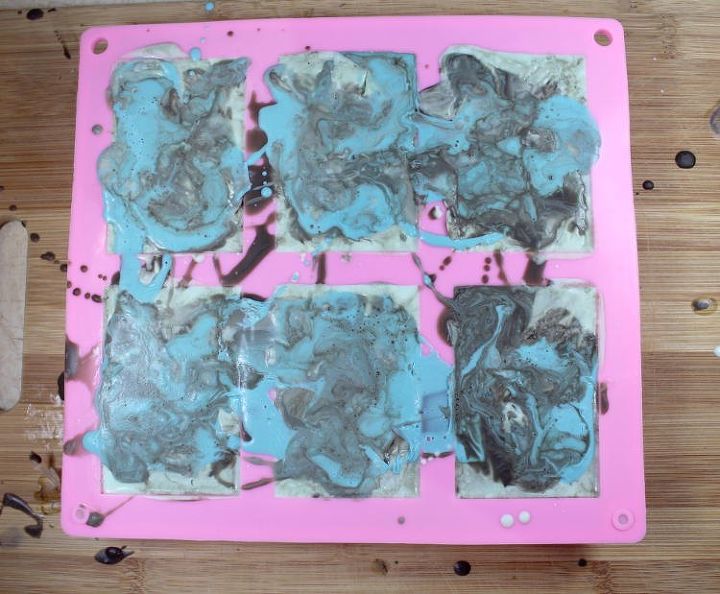
I then poured the turquoise colored soap on top of the soap in the fridge and again used a utensil to pull more of the sea mud soap to the top so it all swirled together.
Leaving the soap in the fridge, I waited until the soap fully solidified again before removing it from the refrigerator.
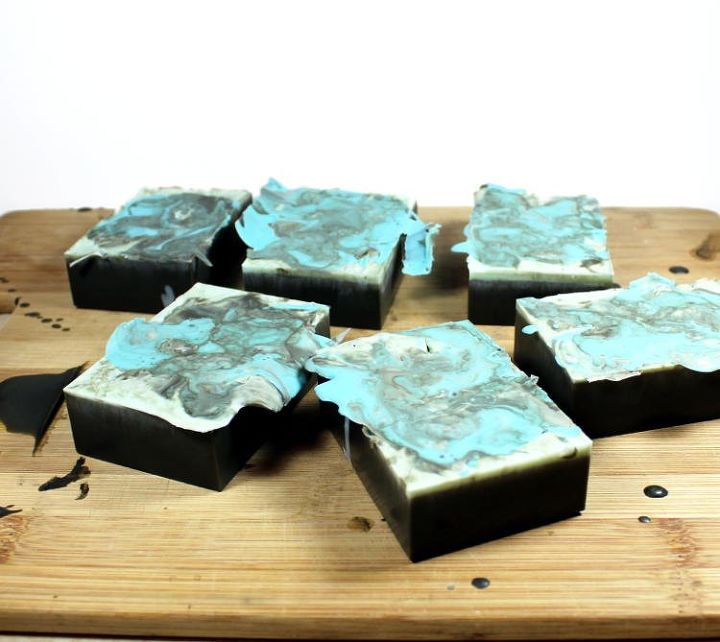
I then unmolded the soaps.
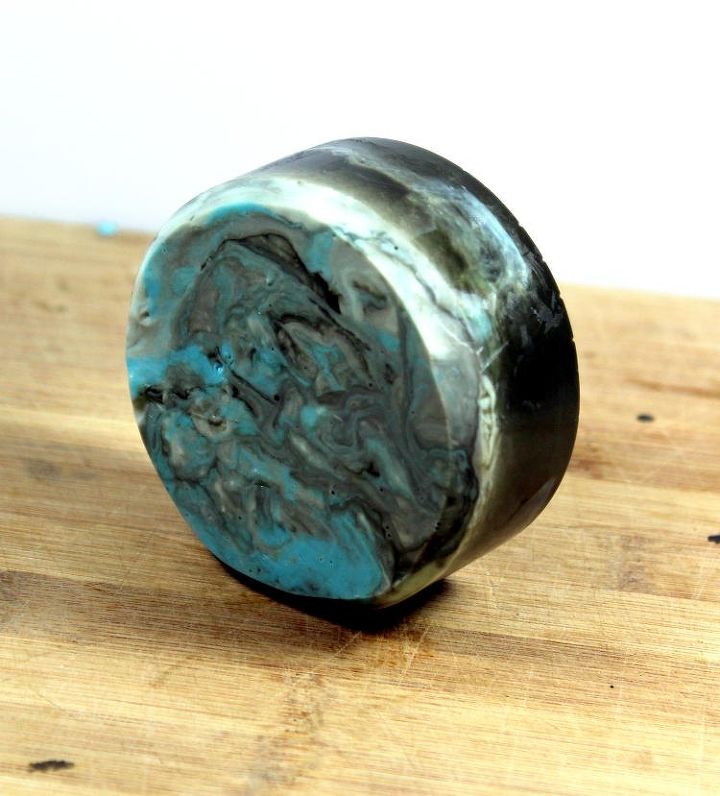
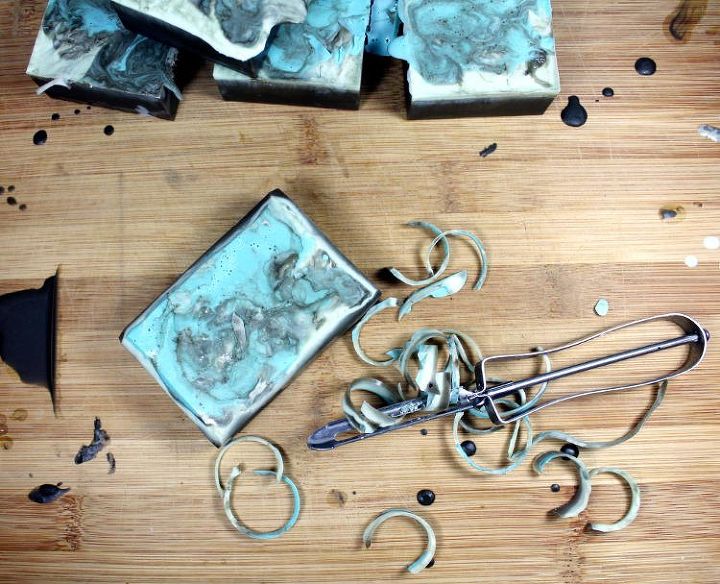
And used a potato peeler to clean up and bevel the edges.
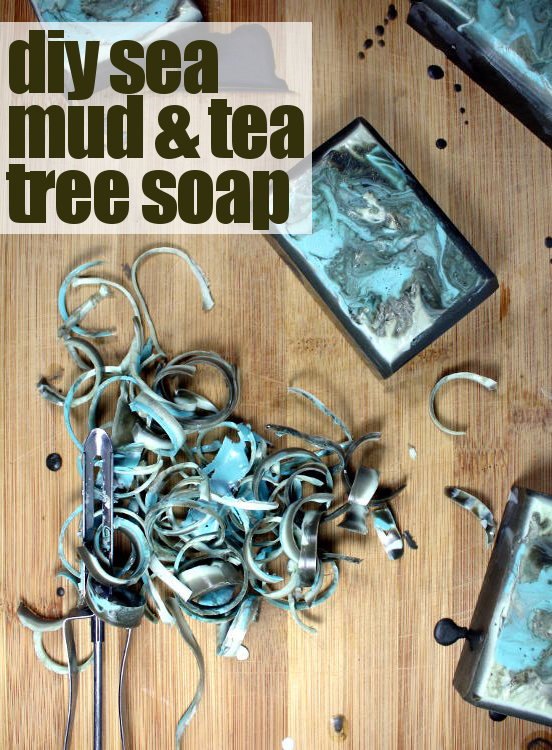
And that was it! The completed DIY sea mud & tea tree soaps had a fun and aesthetically pleasing look. Not only did I not have to toss the failed project, but I also created some pretty neat soaps in the end that were suitable for gifting.
The author may collect a small share of sales from the links on this page.

Want more details about this and other fashion and style ideas? Check out more here!


Comments
Join the conversation
The sea mud looks interesting and...like your arty touches!
Don't know how I upload a tutorial on here?