


How to Turn a Mid Century Cabinet Into a Farmhouse Style

Mid-Century is totally not my style ... at all. This Mid Century media cabinet with its clean and simple lines was begging me to be changed into a rustic farmhouse style. I could envision barn doors on the front and it being used as a perfect media center. Bam! So that’s what I did and here's how I did it ...

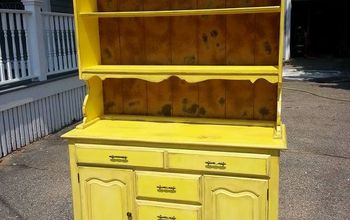
Here is the Mid Century piece before. Some friends of ours were cleaning out and getting rid of this cabinet. It had tapered legs when it arrived, but they didn't last long. It’s a mid-century buffet/media cabinet of some sort that was at one point re-purposed with doors on the front and a few shelves inside.
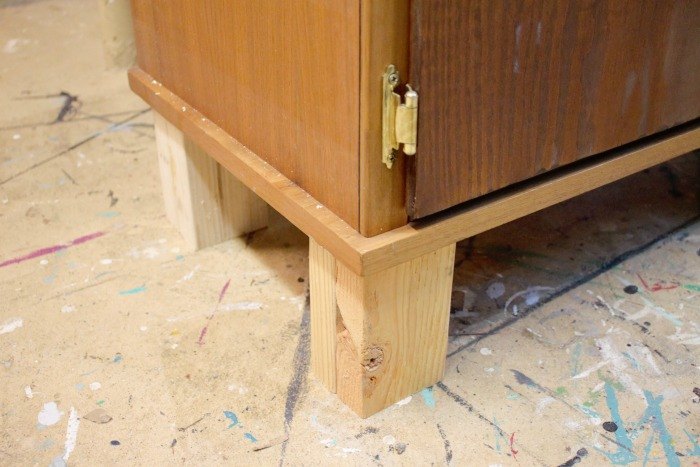
The first thing the cabinet needed was some height. So using 2x4s, I built "rustic" furniture legs. My full blog post has the exact dimensions and steps to how I build these simple farmhouse-style legs.
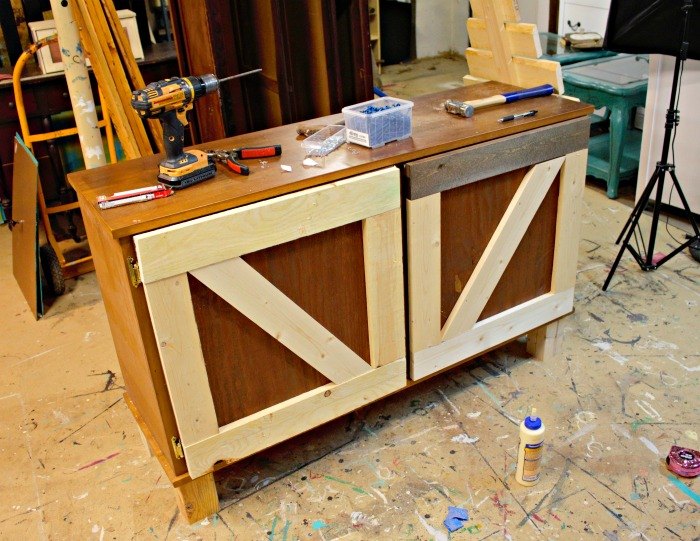
Next I started outlining the doors. These doors are just made from cheap plywood, but when they are trimmed out, you really can’t tell. I love working with scrap wood and using what I have!
So I outlined the doors and added a cross piece.
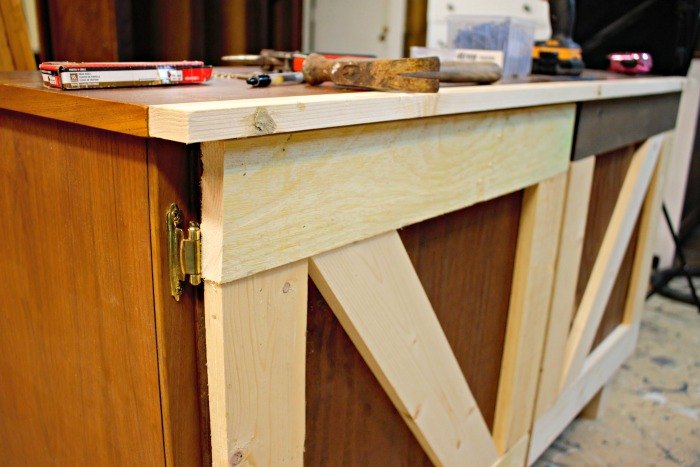
Then I added a small piece of trim to bump out the top edge and cover the tops of the doors. I screwed those right to the face of the piece, then used wood filler to cover the screw holes.
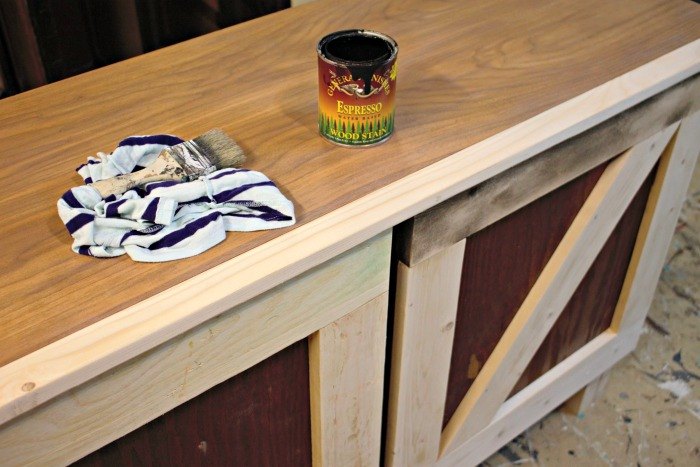
This is an imperfect piece for sure, so I wanted to hide it with a dark stain (this will also most likely be going on a very light gray/white wall in our new house and I love the contrast of light and dark in a space). So I applied my favorite wood stain all over the piece – wiping it back enough to show a little bit of grain.
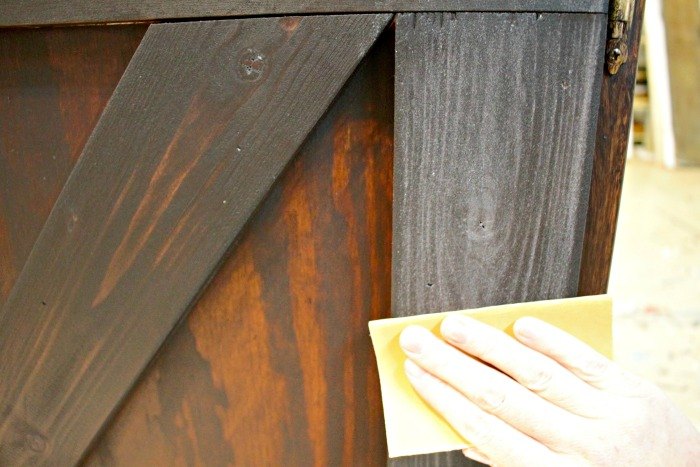
I let the stain dry a couple hours, then was ready for the topcoat – I used General Finishes High Performance in flat finish. Once that first coat is dry, I took my 400 grit sandpaper and sanded down the piece, this knocks off any roughness in the wood that the stain brought up. Wipe all the dust off and apply another coat. Repeat as necessary (most pieces require 3 coats of top coat).
The flat finish gives just enough shine to make it wipe-able without ruining the rustic appearance.
My full blog post has info on the hardware I added and how to touch it up.
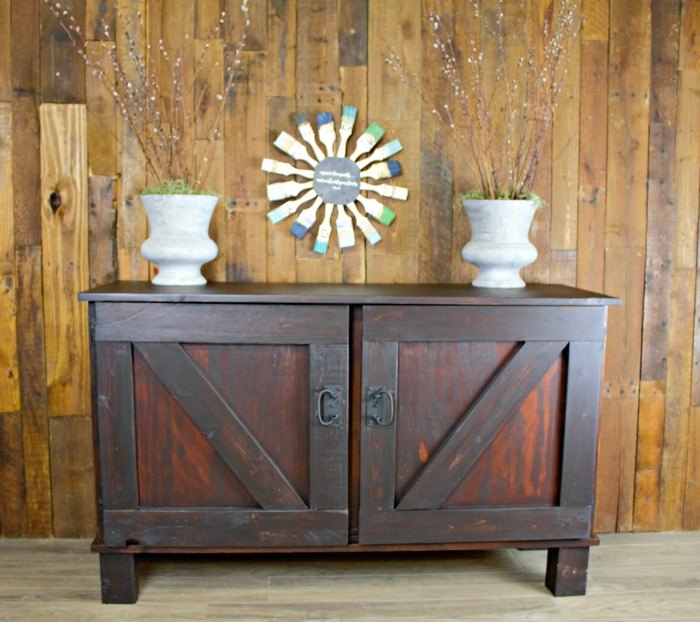
And check it out – what a difference a day makes – and a little scrap wood! I’m loving this rustic media cabinet. The best thing, it was FREE! I can’t wait to get it set up in our new house.
The wheels are turning, and I have all kinds of fun ideas to share! Follow my blog by subscribing here. We are moving into a new house and I will have many new projects there! Also find me on Facebook @rootsandwingsfurniture
Again, more photos and paint/stain info in the blog, just click the blog link below!
Resources for this project:
See all materials


Comments
Join the conversation
-
Thanks for the idea!
-
I love it! Wondering if I can talk Hubby into making a similar cabinet for our TV! Would look cute in cabin chic home!!


Frequently asked questions
Have a question about this project?
Love this!!!
Looks great ! Did you hand sand the sides of the scrap wood so it wasn't rough ? Also does the cabinet door open all the way with out hitting the cabinet ?
looks great. Did you find the additional wood trim on the door got in the way of the hinges?