


Transform an Old Discarded Window!
10 Materials
$30
3 Hours
Easy
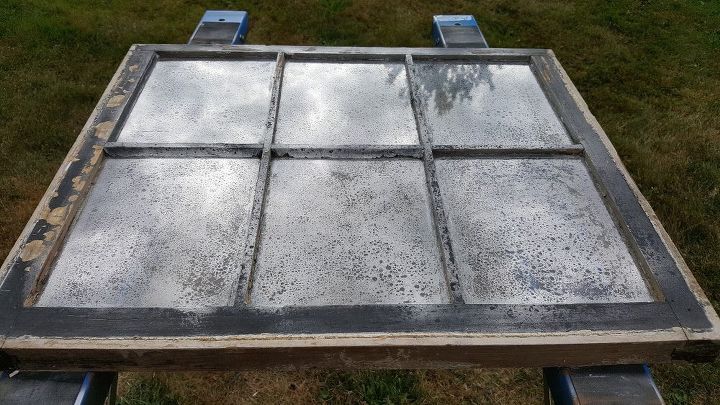
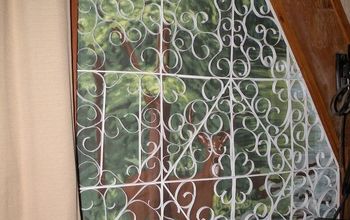
I bought this old window from a friend who was selling a few of them. It was really in quite bad shape but the price was fair. One window pane was broken in the corner but when I seen the window, I knew it wouldn't be a problem at all.
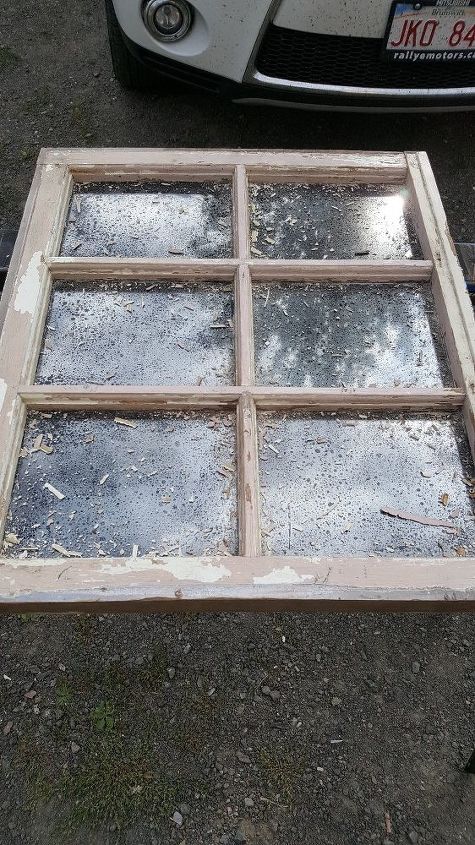
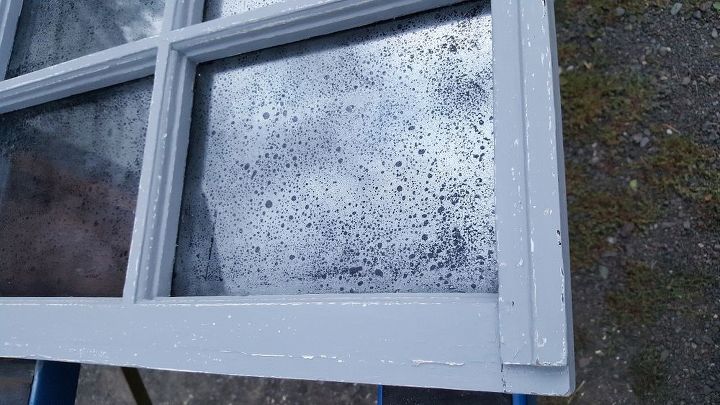
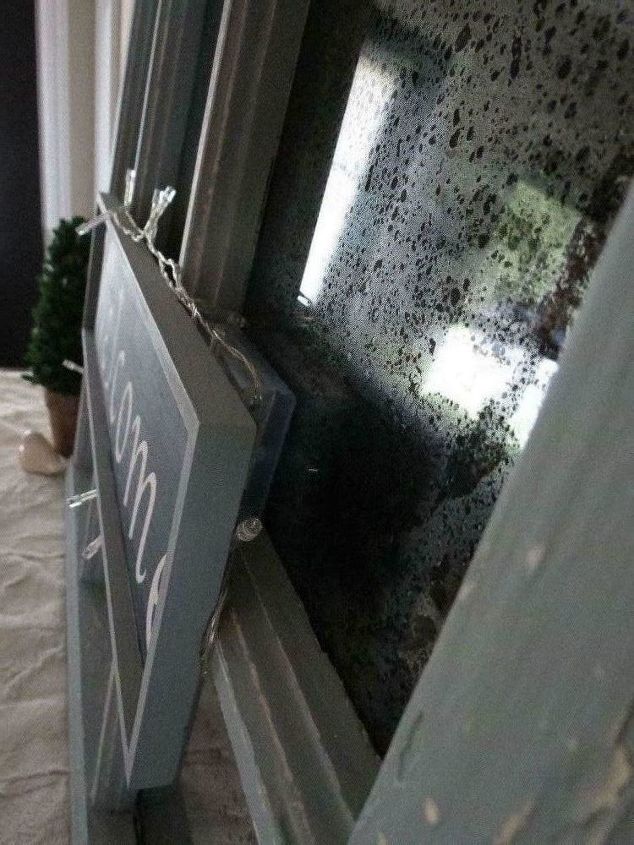
The first thing that I did was clean it up. The back of the window had each pane framed out in extra pieces of wood like a picture frame. However, those were mostly rotten so I removed all the crumbling pieces. After cleaning the backs of the glass thoroughly, it was time for the antiquing process! I followed the same process as I did before. Click "HERE" to read that post and see the ratio of vinegar to water that I used. To brief it here, I sprayed the vinegar water onto the backs of the glass and then immediately sprayed Krylon Looking Glass spray very generously. Then, right away I blotted it with a crumbled up fresh piece of paper towel. That removes the Looking Glass spray from the wets spots of the vinegar water. This creates that antique glass look. I repeated this process a second time and then let it dry.
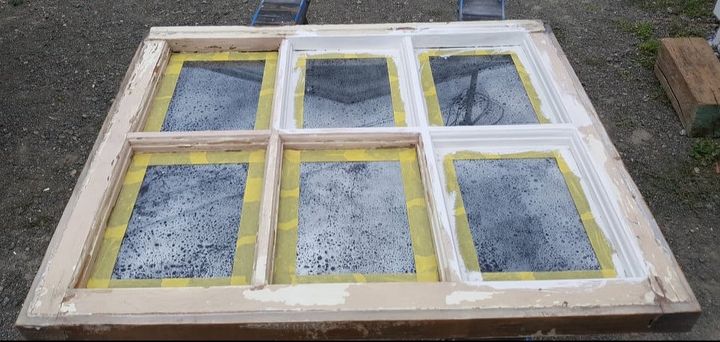
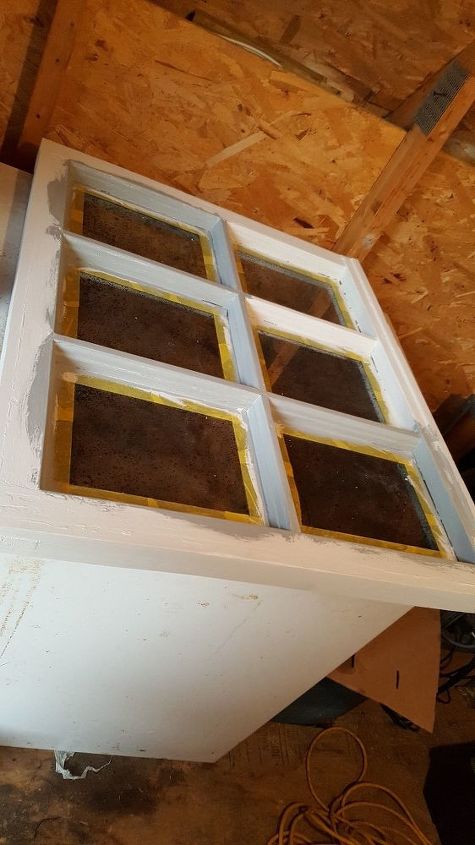
After about 10 minutes or so when the surface was completely dry again, I painted over it all with DecoArt Americana Multi-Surface Satin in the colour Black Tie. This finished the antiquing process as it provides the background color. It took two coats for full coverage. The front was next in this transformation process. First, I had to scrape off the loose paint and clean it all up. Then, I taped off the glass in preparation for paint. I used Dixie Belle Paint Company paint products for this project.
Using my Cling On brush, I began brushing on a coat of Dixie Belle Paint in the colour Fluff! I painted half and then took this picture so that you could see the difference. ONE coat coverage!
Next, I painted on a coat of Dixie Belle Paint in the colour Manatee Grey. Again, I wanted you to see how well it covered in just one coat, thus the half finished picture.
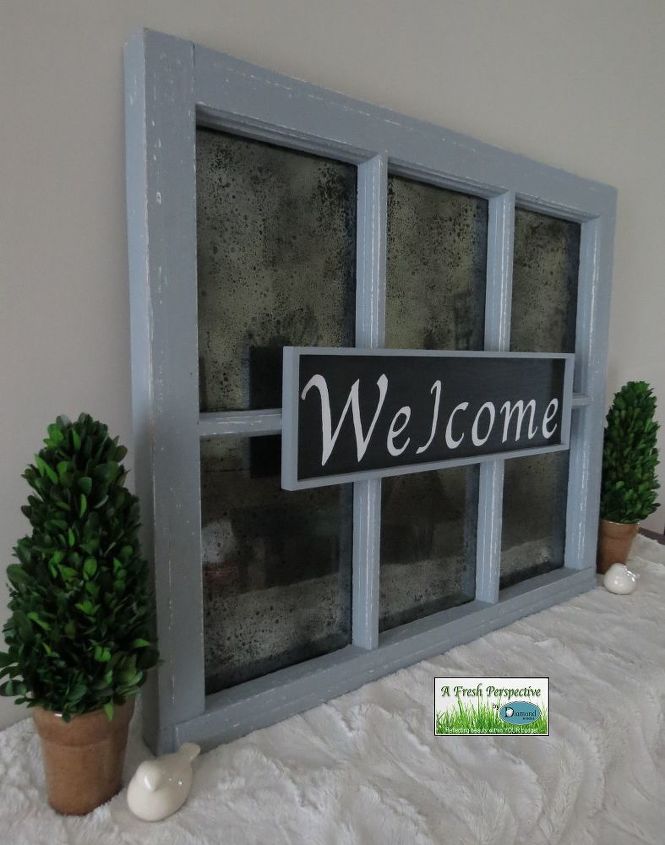
So to recap, I painted one coat of Dixie Belle Paint Company's paint in the colour Fluff followed by one coat of the colour Manatee, using my Cling On brush. The coverage is amazing. Also, it completely self-leveled! The only bumps you see are the original surface which I purposely left to add to the character. I very lightly sanded to allow the white first coat to peak through the grey on those 'bumps'. I love it!
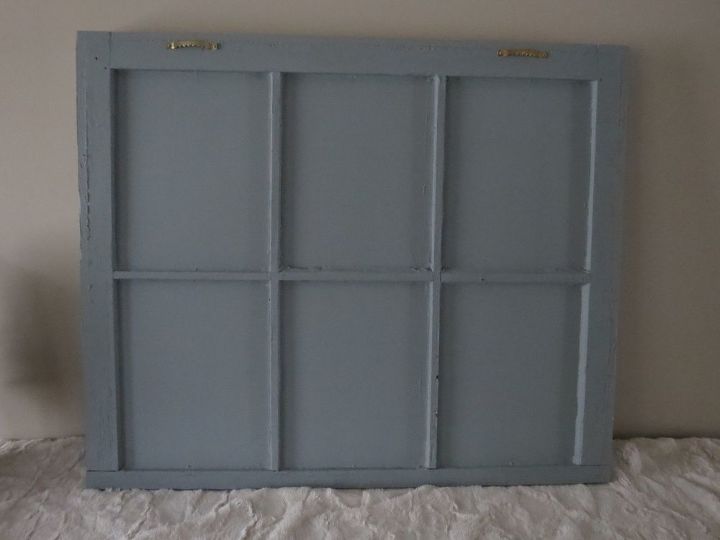
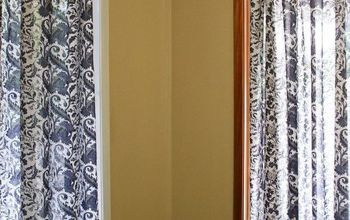
I had my husband apply a bead of clear silicone all around each pane of glass in the back to give added protection where I had removed the old supports. Then, for a uniform look, I painted the whole back with one coat of Manatee. Lastly, I installed the hangers using No More Nails on the parts that rest on the surface as well as on the nails to ensure it doesn't come off while hanging on someone's wall!
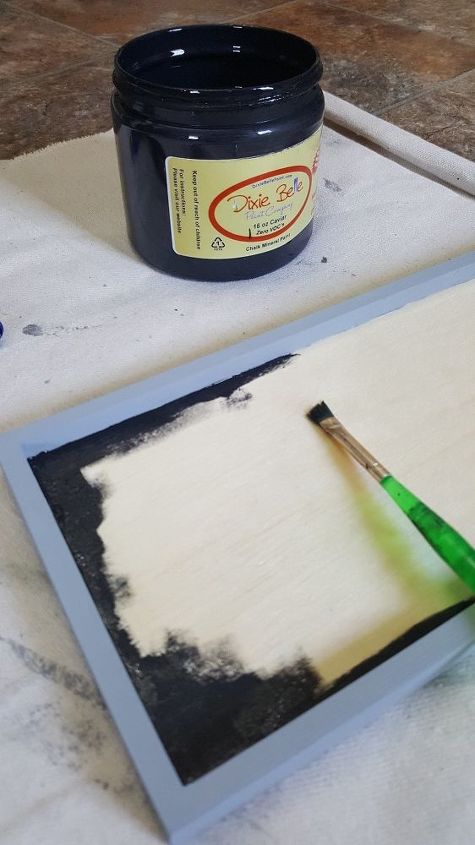
The window mirror was now completely finished but I felt it was missing something. So, I went shopping. I found a 5" x 18" unfinished wood frame at Michaels and got this idea. I began by painting the back and outside frame with Manatee. And then, I used the new Caviar, a true black by Dixie Belle Paint Company for the inside flat portion. Again, (need I even mention it now? LOL) one coat coverage!
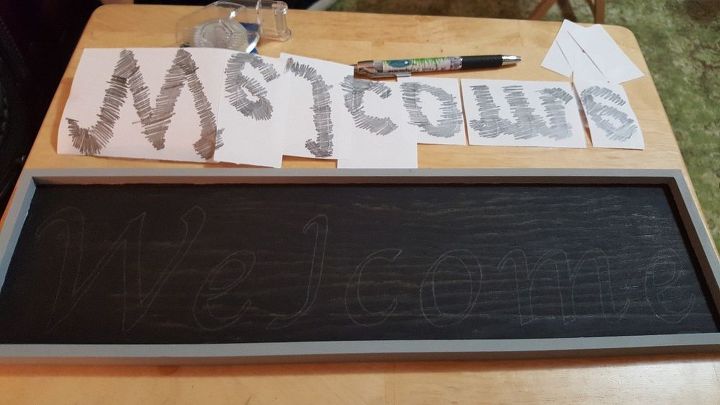
Then, I found a tutorial on Pinterest on how to do neat hand-painted lettered signs. I chose the font I liked and played around with the program Pages on my MacBook and printed off "Welcome" in the size I needed. It took two pages. I then cut the letters to place them closer the way I wanted them to look and taped them together. Then, I scribbled fairly firmly with pencil allover the backs of the letters before taping it down where I wanted it on the sign. Next, I used a pen and traced all around the edges of the fronts of the letters. This gave me a pencil outline on the wood sign to be able to then hand-paint the letters! I used Fluff and a small cheap artist brush. There were spots I did have to touch up with a second coat of Fluff. The next day, I gave the whole sign one coat of Saman Dead Flat Varnish just to protect it.
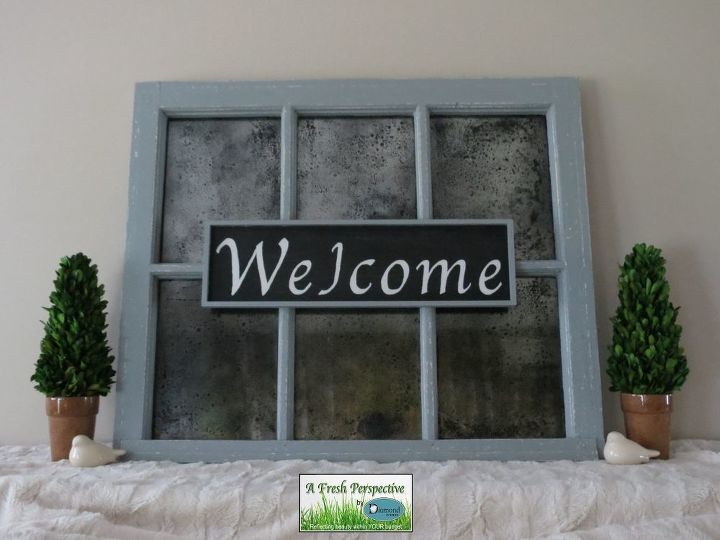
I used No More Nails and ran a thin bead along the front of the grills where the sign would touch, pressed the sign down onto the glue and . . . Ta-da! Completed! This antiqued window mirror can easily be decorated with each season simply by placing garlands or flowers, etc around the welcome sign. I wrapped one of those battery operated tiny lights string around it and its pretty neat! I can only imagine how it would look with a Christmas garland around that!
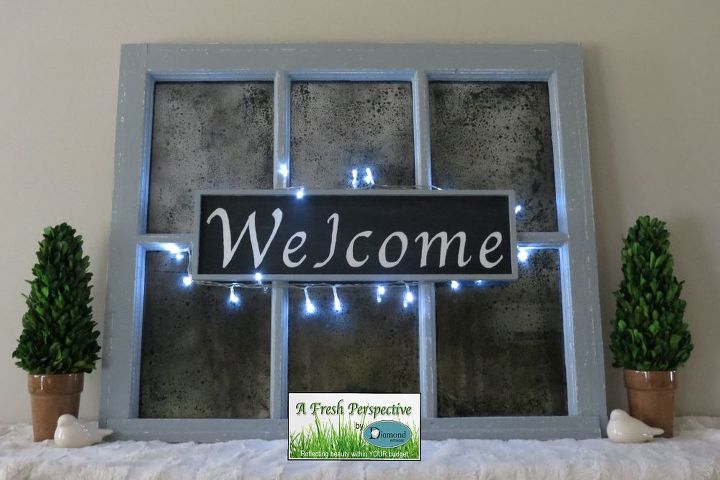
The battery pack hides neatly behind the sign, resting on the window grill.
* This is a sponsored post. The Dixie Belle Paint Company products were provided to me however the experiences and opinions are all my own. The Saman Dead Flat Varnish was provided to me by Saman (www.saman.ca) To purchase your own amazing products, please visit my affiliate link by clicking here: Dixie Belle Paint Company. I will receive a small commission when you order at no cost to you. I thank you in advance! :)

Want more details about this and other DIY projects? Check out my blog post!
Comments
Join the conversation
4 of 47 comments
-
Love how the glass turned out!
-
This is great and you can use it in many ways


Frequently asked questions
Have a question about this project?
Could you include what site you used for the lettering ?
Ever consider making it a photograph display?
Is the L backwards?
Did you realise you put the "L" (in Welcome) upside down?