


DIY Custom Doormat

by
Brianna
6 Materials
$15
2 Days
Easy
Cozy up your front door with a custom coir doormat that any guest (and you) will love!
Custom doormats can be expensive, especially if they are handpainted/made. I love the idea of having a custom doormat to welcome guest and to spruce up our outdoor home decor. Here you will find the steps needed to create your very own doormat for the fraction of the price ;)

Custom Doormat
Step 1: Acquire a blank coir doormat. I prefer to get he 18"x30" mats (or bigger) I find mine where ever they are on sale. I am always on the hunt for these, because I love making them for friends and family as gifts. If Ican't find them at your local Target or Hardware store on sale when I need one, I buy them from IKEA. Step 2: Gather your supplies. You will need a foam painting brush, black (or any other color you wish to work with) latex paint, a sharpie to trace with and your lettering. Side note: I have a Silhouette Cameo, and have found that it works best to cut my lettering out on 631 vinyl to create a stencil. But, if you do not have a die cutter such as a cameo or cricut, you can still achieve this look! Step 3: Create the lettering. Create your design you wish to paint on your doormat on Microsoft Word or other office doc program. Depending on your desired design, you may need to print and cut your design in multiple sections with multiple pieces of paper. Once printed, carefully cut out your lettering so that you can trace it with your sharpie marker. Step 4: Trace your Lettering. If you do have a cutter and wish to cut a vinyl stencil. You can dismiss this step. This can be tricky. You want to make sure that your lettering is straight and center (can use a yard stick for this step if you wish) and doesn't move when you are tracing. Step 5: Paint! Once your letters are traced, or your stencil is transferred, you are ready to paint your design. If you are painting with a vinyl stencil, I like to use a medium sized foam brush. If you are painting inside your drawn sharpie lines, I use a large watercolor paint brush (that will be thrown away after using latex paint on it). Depending on your lettering or design, this can take the most time. But, it is fun seeing your custom work come to life! Step 6: Let dry. Your doormat should sit for about 24 hours so that it can completely dry before walking or scrubbing off your shoes on it. Step 7: Weatherproof. Spray you dry mat with outdoor spray sealer. I prefer using Minwax Spray Polyurathane. This too will take ~24 hours to dry. Step 8: You done! Yay!
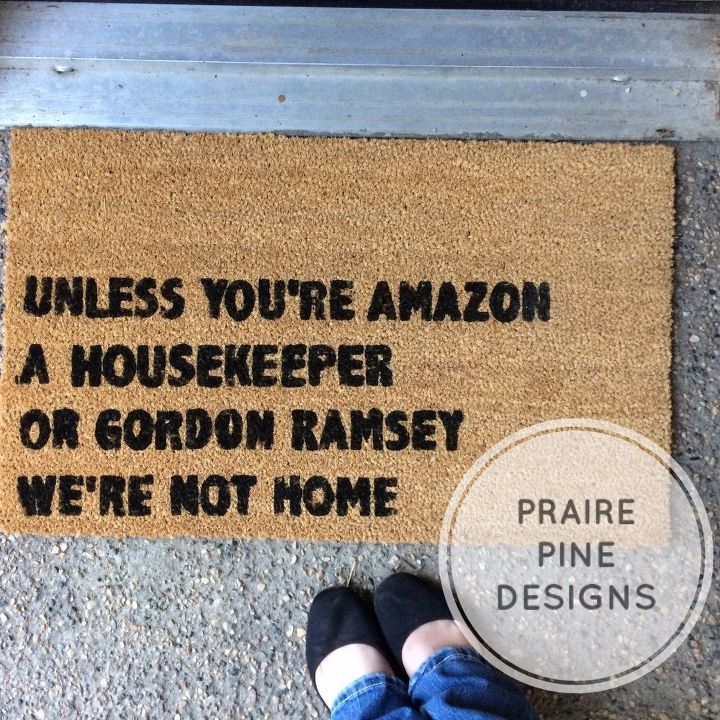
Created with a paper stencil and sharpie

Created with a vinyl stencil via Sil Cameo
Want more details about this and other DIY projects? Check out my blog post!


Frequently asked questions
Have a question about this project?