


How to Stain Custom Cabinets
by
Kasey
2 Materials
2 Days
Medium
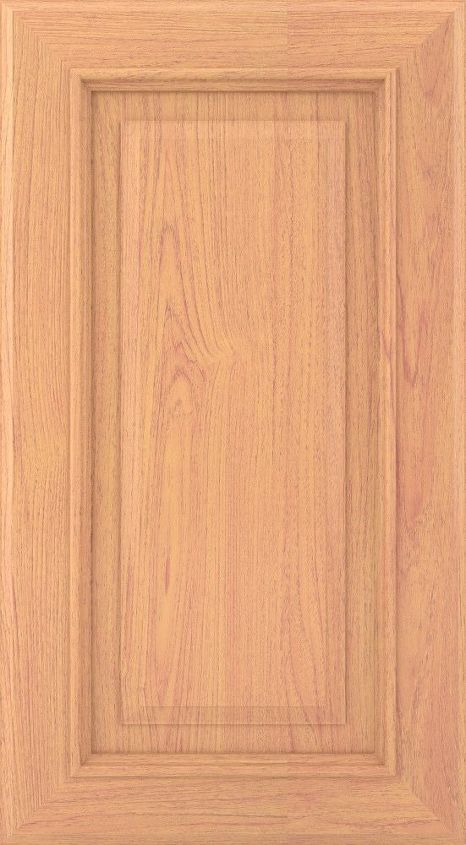
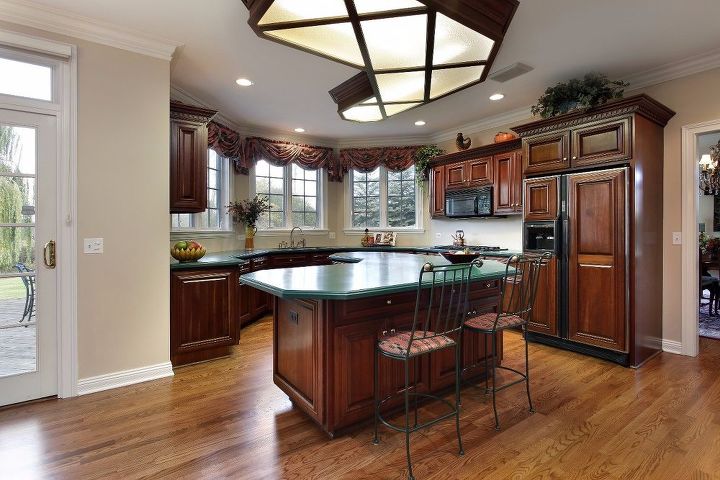
Cabinets only look as good as the finish, meaning that the color or tint plus the protective coating will determine how beautiful the cabinets will be. A well-built design is nothing without a beautiful finish to make it part of the room. On the other hand, the way it blends with everything in the room also determines how beautiful it will be in the end. Stains are available in many tints and protective levels. Some stains combine a polyurethane protectant while others require one to be brushed on. Here is a breakdown on how to stain your cabinets after choosing your stain and/or protective coating.
Step 1: Prepare the Surfaces
Even though you have new custom kitchen cabinets, the surfaces will have dust, wood chips, rough areas, and possible markings.
Tools Needed for Surface Preparation:
1. Sandpaper in various grits
2. Utility scraper
3. Wire brush
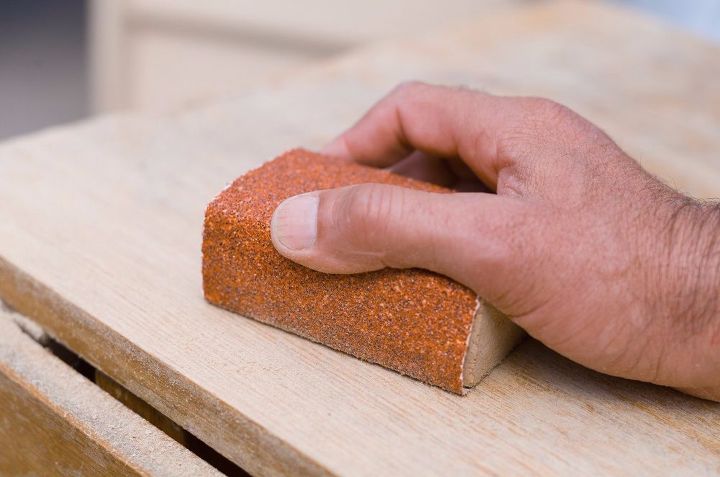
You won’t need chemical strippers because you have a new surface. Just clean it up a little bit before applying any stain. Use a 120-grit sandpaper for the first round, then follow up with a finer one such as 220-grit sandpaper. For any splintered edges or chunky wood fragments, a utility scraper can help remove them for a more even surface. Be careful not to dig in too much or lift a chunk out of the wood below the surface. A wire brush can be used to remove markings and rough portions, but be cautious and gentle with the brushing to prevent marring or indentations.
After you have sanded the surfaces, wipe them down with a damp cloth. Using a moistened rag helps reduce the release of dust into the air that you could breathe in and that can reattach onto other pending cabinet pieces. It also grabs particles on the surface more effectively.
Step 3: Apply the Stain
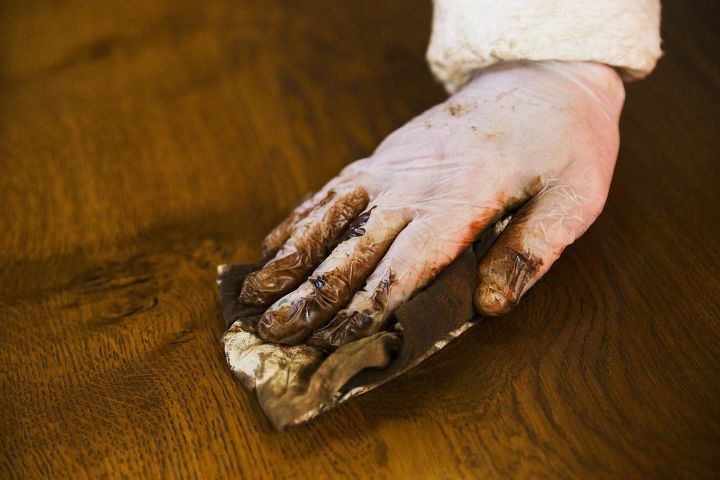
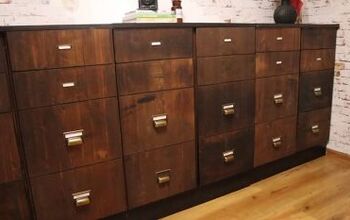
When applying the stain to the cabinet surfaces, be sure to let the wood absorb it before applying the next layer and make sure it is completely dry. Generally speaking, the more layers you apply, the darker the stain will look.
You can apply the stain with a clean cloth, or a sponge. Sponges can be a cleaning (chemical free) sponge, a handled sponge, or sponges on dowels. Sand the surface a little with a fine grit in between coats for better absorption. Since the surface is dry, it won’t do any harm. You can wipe it if needed before you apply the next layer.
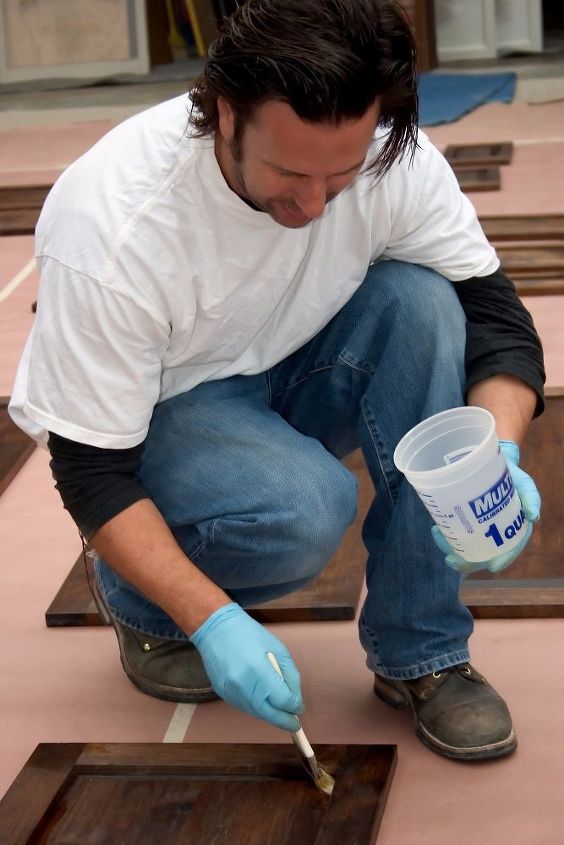
Step 4: Applying a Protective Coating
To preserve the beautiful finish you’ve created, you must apply a polyurethane or latex coating over the stain. The only exception here is if your stain includes a polyurethane coating to it, such as a Minwax® PolyShades® stain product. However, it is usually better to separate the two for better protection. Your poly or latex stain coating can have various degrees of shine, such as semi-gloss and gloss. Generally speaking, the shinier it is, the more protection it delivers and the easier it is to clean.
Step 5: Attach Cabinet Doors, Hardware, And Drawers
After everything has dried, you can assemble your custom cabinet doors, hardware, and drawers. Just be careful not to scrape surfaces or slip with the screwdriver. At this point, test everything for functionality and make sure no areas rub against each other during movement. Any rubbing can cause surface wear, which means your protection is reduced in those areas.
Step 6: Final Inspection
Once everything is reassembled, you should inspect all areas to ensure thorough stain coverage and that the protective coating is uniform. Use a clean rag or maybe a handled sponge to touch up areas in need.
Looking at surfaces close up during the initial process can be totally different than looking from a distance. You may find some areas darker than others. Sand them down if needed and then apply more stain followed by the protective coating. Just be sure the surface is completely dry in between applications.
If you would like to browse custom cabinet options, wood choices, and more; has plenty of images, styles, and cabinet parts to get your project rolling. Feel free to browse or chat online if you have any questions about cabinet building.


Frequently asked questions
Have a question about this project?