


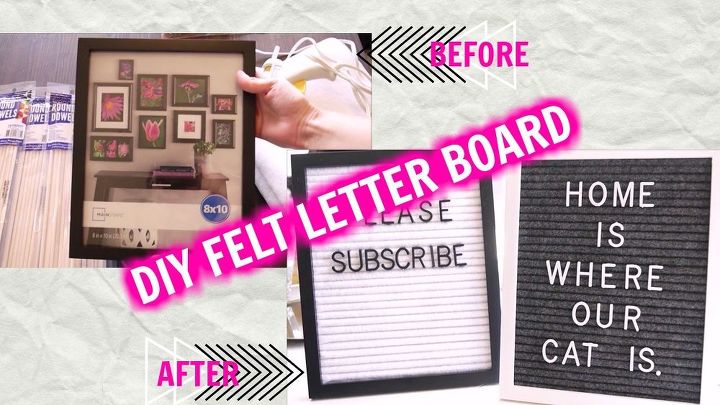
DIY: Felt Letter Board | Easy Home Decor

by
Love Tempe
10 Materials
$40
1 Hour
Easy
Turn a boring picture frame into a neat felt letter board for your home with this easy tutorial!
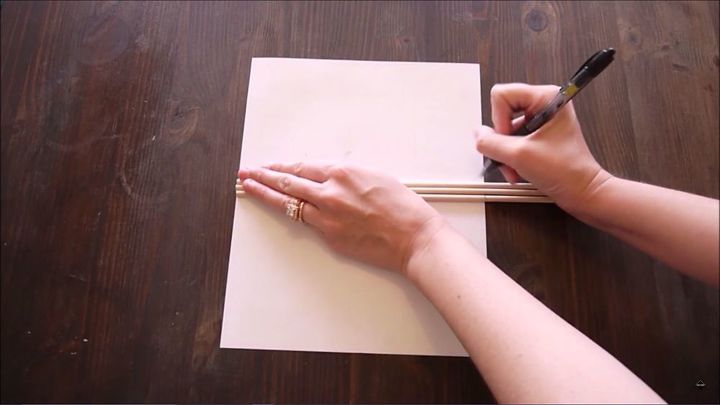
Measure your wooden dowels to 8" wide (or however wide your frame is) and mark with a pen. PRO TIP: Disassemble for picture frame and use the photo insert to easily line up all of your dowels and mark to size.
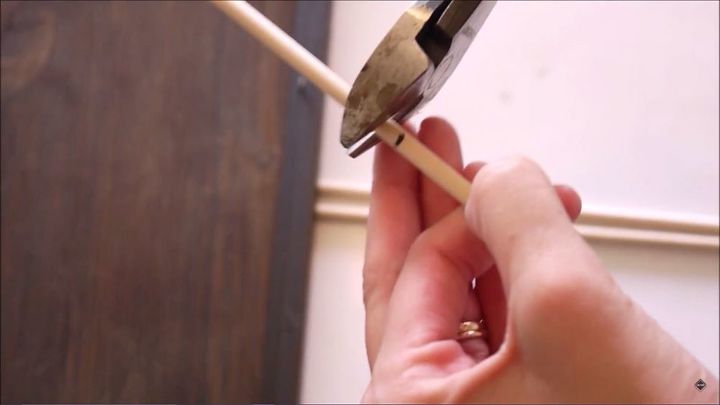
Using heavy-duty wire cutters, cut those dowels to size. For an 8"x10" frame, I used about 36 dowels.
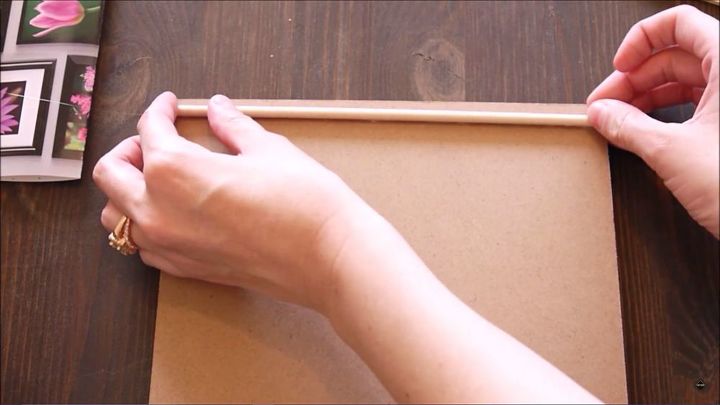
Hot glue your first dowel about 1/4" down from the top onto the picture frame backing. For this dowel, you can glue the dowel all the way across from end to end.
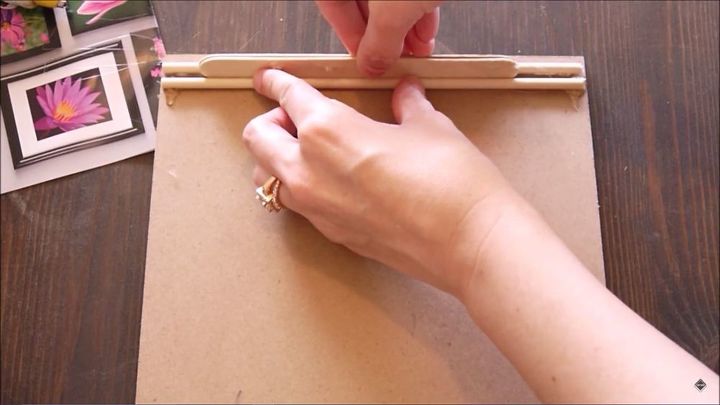
Next using your 1/8" spacing tool (mine was two craft sticks glued together), hot glue your next dowel below the first one. And repeat this all the way down the frame backing using up all of your wooden dowels. Make sure to only glue the remaining dowels along the edges of the frame backing. You will want the wooden dowels to flex in the middle.
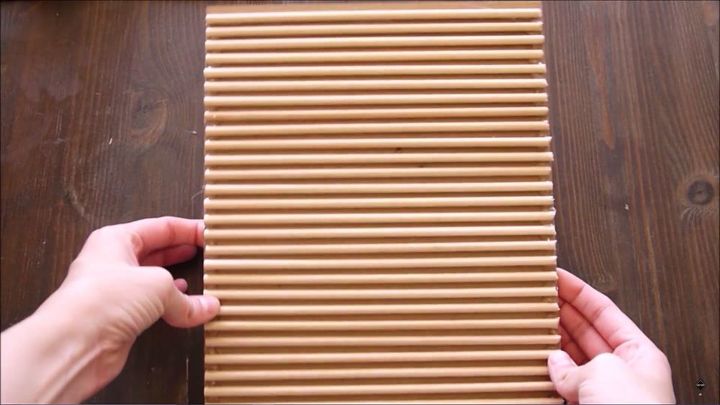
Here's what all of the dowels in place will look like.
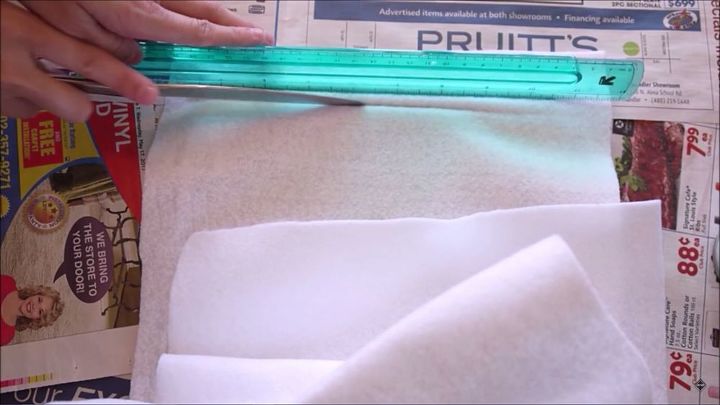
Cut and measure your felt to have about 1"-2" overhang on either side and about triple your frame size in length.
Hot glue your felt to the top of the frame backing.
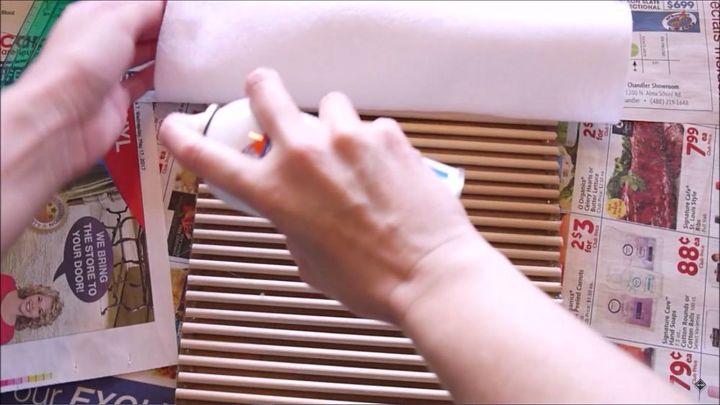
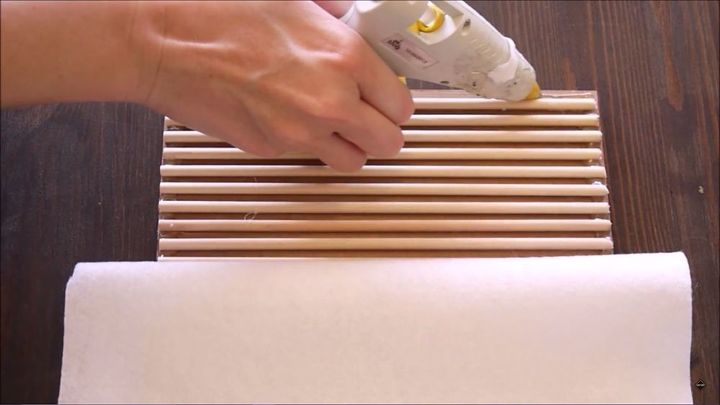
Flip your felt up and spray the wooden dowels using your spray adhesive.
Using a ruler and butter knife, begin to wedge the felt into the dowel grooves.
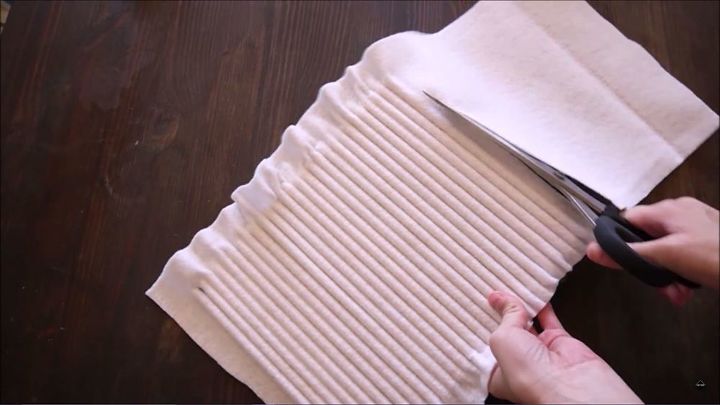
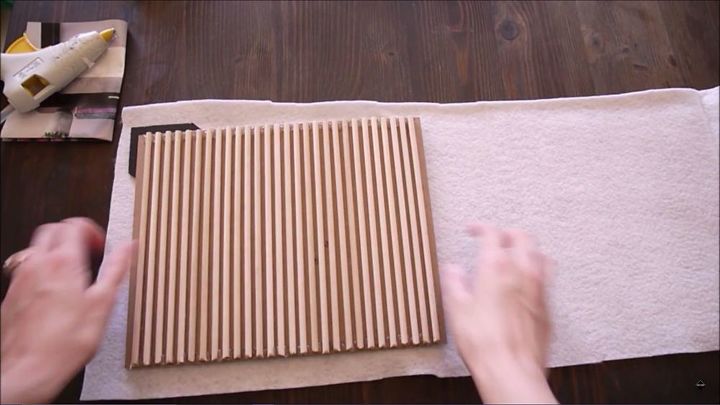
Once all felt is in place, it will look like this. Next trim off any excess fabric around the perimeter.
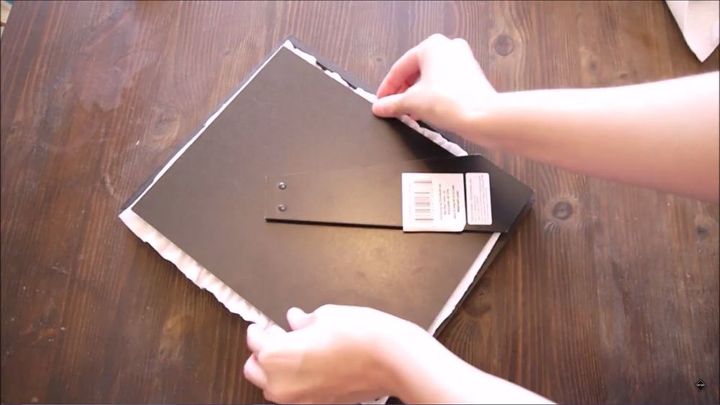
Assemble your frame together (minus the glass piece) and your letter board is complete!
Here's your end result! You will have to wiggle the pieces into place and that's why having your wooden dowels flex in the middle is important.
{
"id": "4290886",
"alt": "",
"title": "",
"video_link": "https://www.youtube.com/embed/scdbw0nNKnA",
"youtube_video_id": "scdbw0nNKnA"
}
{
"width": 634,
"height": 357,
"showRelated": true
}
Please watch my video for more detailed instructions. Don't forget to like this video and subscribe to my channel for more cool DIY projects like this one. Thanks for watching!!
Want more details about this and other DIY projects? Check out my blog post!
Comments
Join the conversation
2 comments
-
I LOVE THIS! Great job with the tutorial. You have a very nice speaking voice and were very eloquent in your explanation of the process. I’m going to make one (or two, or three)! Thanks for sharing. Subscribed to your channel too!
-
Excellent idea!


Frequently asked questions
Have a question about this project?