


DIY Wagon Made From Pallets!!
2 Materials
$50
2 Hours
Medium
I had a creative DIY idea which I made from Pallets. The end product is a great addition to my garden and yard. What is it? A wagon that can be used for logs or even as a decorative planter! It was a long process but well worth my while. Here it is.
For this project you will need pallets, scrap wood, circular saw, nail remover, nails, screws, power drill, wood stain, hollow metal rod (scrap).
There are three parts to constructing the wagon. One, the base of the wagon. Two, the wheels and rod to pull the wagon. Three, the enclosure around the base of the wagon.
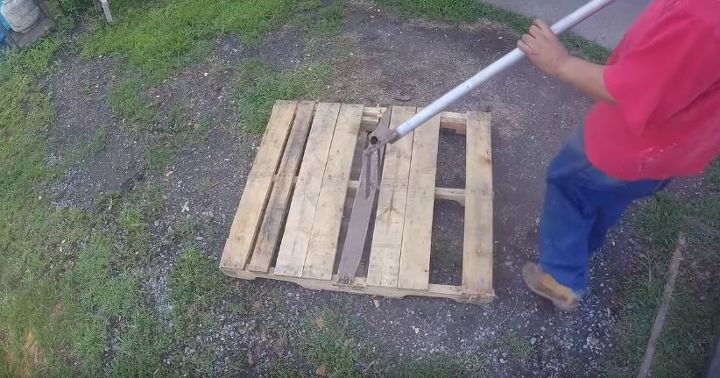
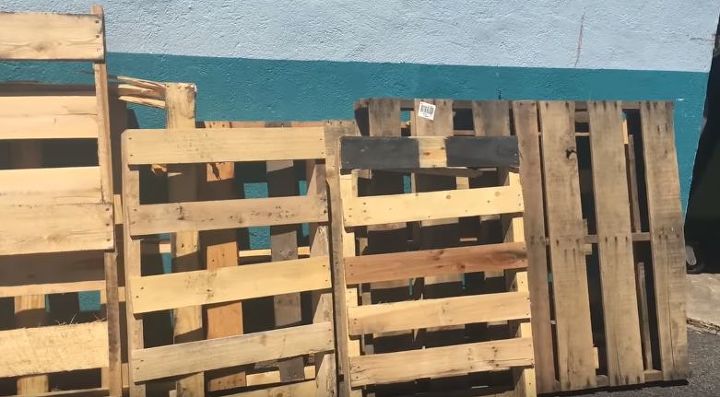
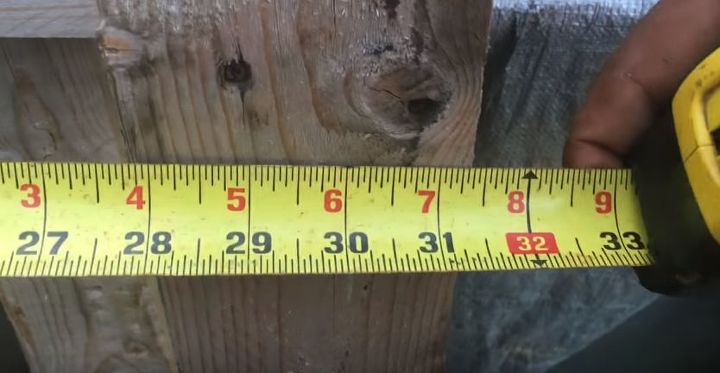
Let's begin with the first part of the process which is building the base of the wagon. I unloaded the pallet from my car and broke it down into its various parts. I used a nail remover to take out the scrap nails. Measure the wood to length. It is your choice how wide and long you want your wagon to be. Saw the pieces to size.
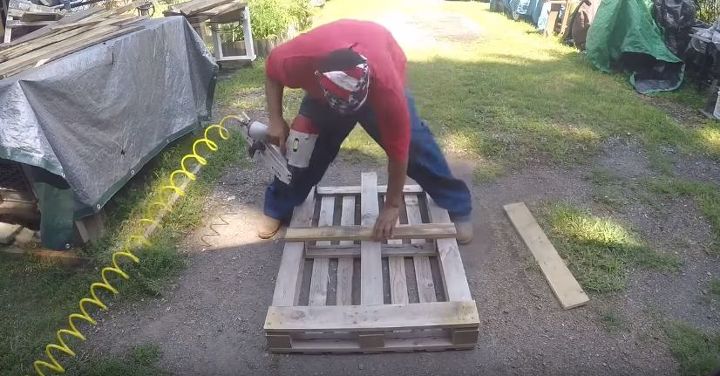
With wooden slats nailed to the bottom of the pallet, I flipped it around and attached the two slats of wood I cut to size. Then turn it back around and sand it. I used an electric sander which streamlined the process.
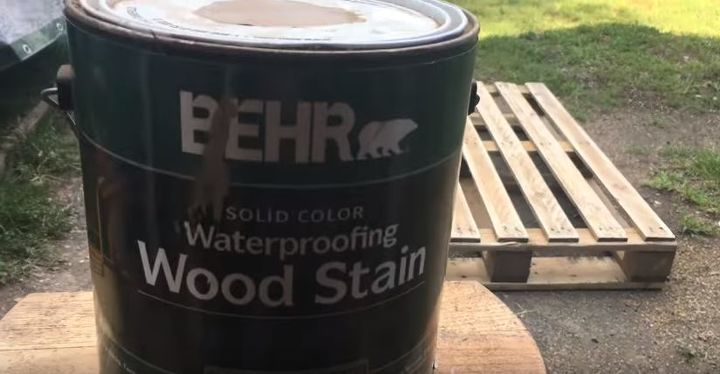
This wagon is for outdoor use so waterproofing BEHR wood stain is crucial. You can use it for an indoor decoration but I think it fits in really well to an outdoor space.
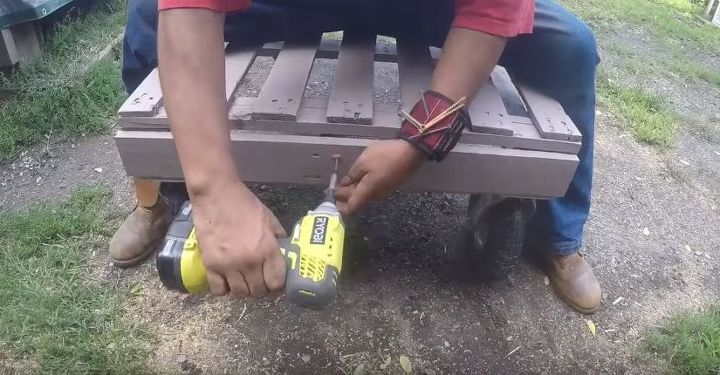
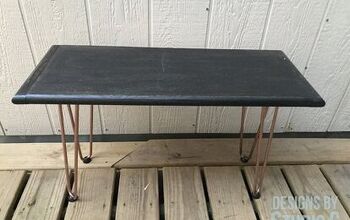
With the wagon base cut, drilled, sanded, and stained, we are ready to begin attaching the wheels and pulling rod. I used my Ryobi drill to secure the wheels to the base and then added a piece of wood around the perimeter of the wagon.

The Perimeter...
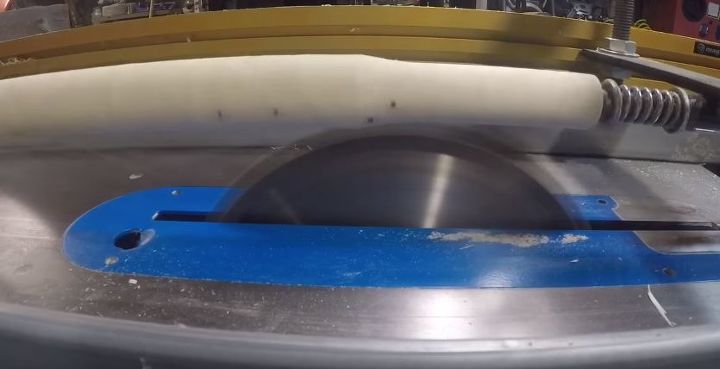
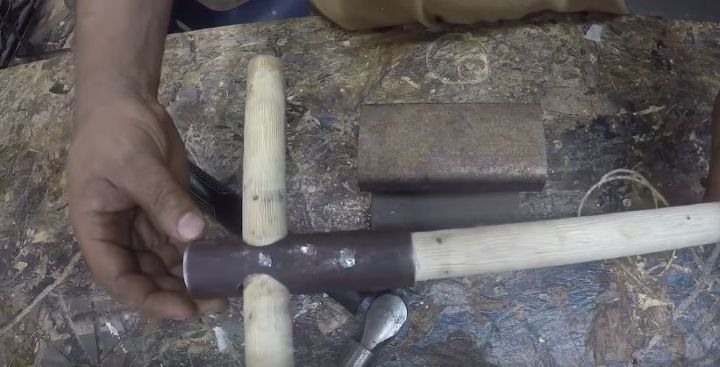
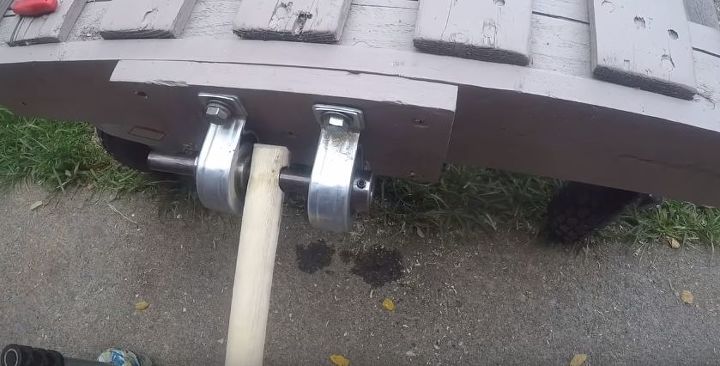
To make the pulling rod get a scrap piece of wood, remove all the nails and use a circular saw to chisel it into smooth rod. Grab a scrap piece of a hollow metal rod and drill a hole wide enough for one wooden rod. Chisel down the wooden rod to fit snug into the metal rod.
Nail the two together and secure it to the back of the wagon against the wooden perimeter.
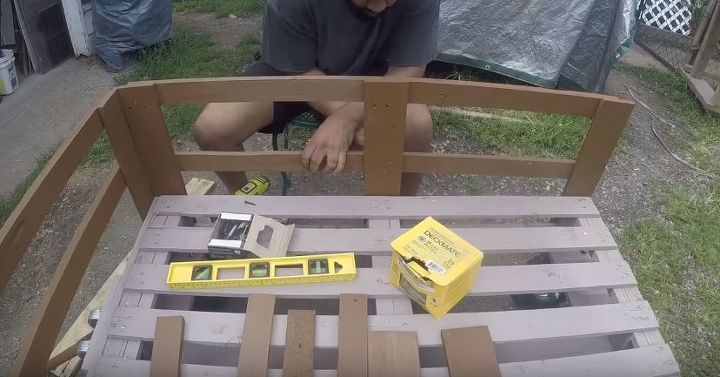
Finally we reach the last step of the process. Take the remaining pieces of the pallet to drill an enclosure for the wagon. Stain it or paint it the color of your choice and drill them together one up, and two across as you can see in the picture below.
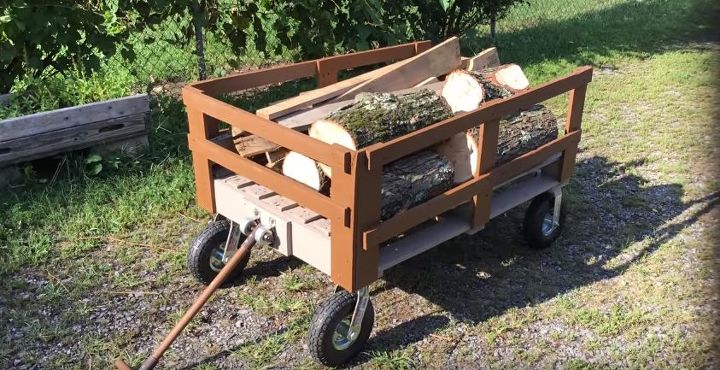
Now it's up to you to decide how to utilize the wagon. Here is how I used it - for storing and moving wooden logs. Be creative. There are many uses for the functional and stylish wagon.
Now it's up to you to decide how to utilize the wagon. Here is how I used it - for storing and moving wooden logs. Be creative. There are many uses for the functional and stylish wagon.
Constructed, filmed & edited by Langston Williams lll
This was my entry into the 2017 Pallet Upcycle Challenge
Be inspired & stay constructive!
For other videos please visit my channel:
{
"id": "4298917",
"alt": "",
"title": "",
"video_link": "https://www.youtube.com/embed/DuAL0EAVyMw",
"youtube_video_id": "DuAL0EAVyMw"
}
{
"width": 634,
"height": 357,
"showRelated": true
}
Comments
Join the conversation
3 of 62 comments
-
Awesome job, you should make these beautiful wagons and sell them to the people that dont have the tools.That is just a super smart and real sweet wagon.Just love it! Cheers!!!!!!!
-
Well done! And for those without power tools it just takes a little longer. haha. I would use a dowel or recycled broom stick for the pull rod and whittle the end by hand if necessary to fit.


Frequently asked questions
Have a question about this project?
The tung pull atament is what? did not see it clear!
Where did you get those awesome wheels? Love the wagon too!
What exactly did you use for your pulling rod? I am making a version of this for my high school woods class and I can't figure out what to use! If you could send me a list of the items you used, that would be incredible. Thank you tons!