


Graphic Shark Coaster DIY!
4 Materials
$10
24 Hours
Easy
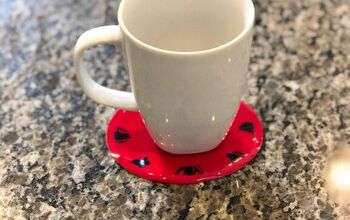
If you like sharks as much as I do, I think you will like this very graphic shark coaster! DIY
{
"id": "4309762",
"alt": "",
"title": "",
"video_link": "https://www.youtube.com/embed/TZnvrhwPzuI",
"youtube_video_id": "TZnvrhwPzuI"
}
{
"width": 634,
"height": 357,
"showRelated": true
}
It's an easy and fun home decor project!
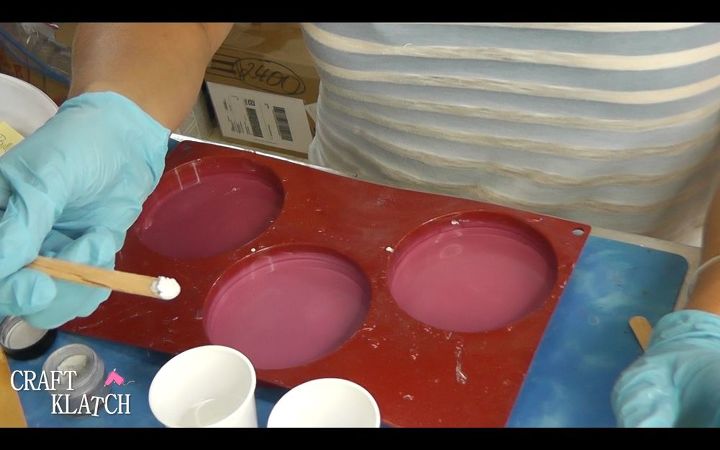
Mix two ounces of resin and separate into two cups. Mix pigment powders (whatever color you want) into the resin.
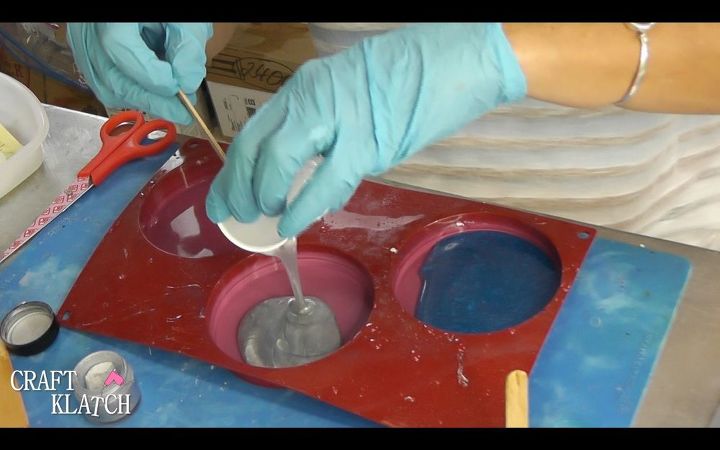
Pour into different cavities of the coaster mold. This will give you your base.
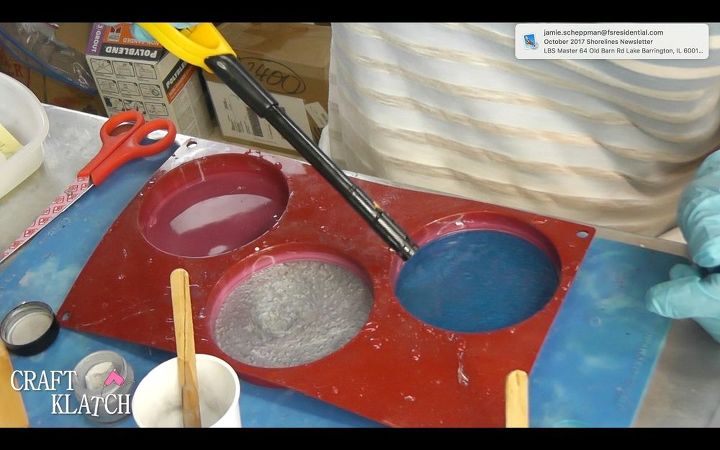
Take a lighter and pop the bubbles and allow to sit for a minimum of 12 hours.

While everything is curing, print out your shark images, onto transparency film and cut them out. I use a circle cutter, but you can just as well use scissors.
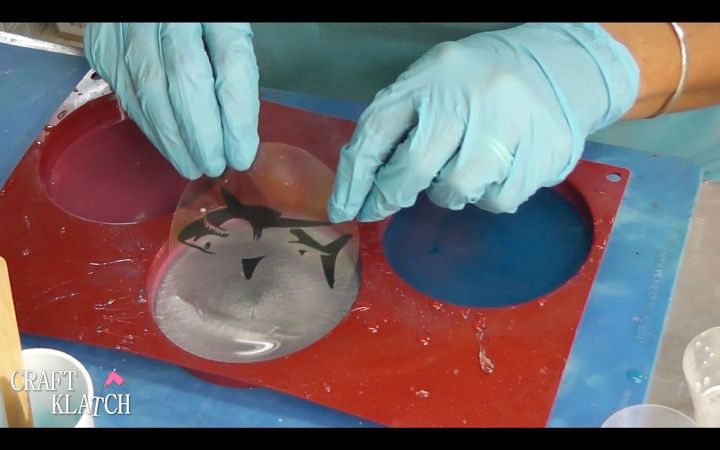
Once cured, mix two more ounces of resin. Pour one ounce onto each of the bases and pop the bubbles. Immediately slide your transparency images into the molds.
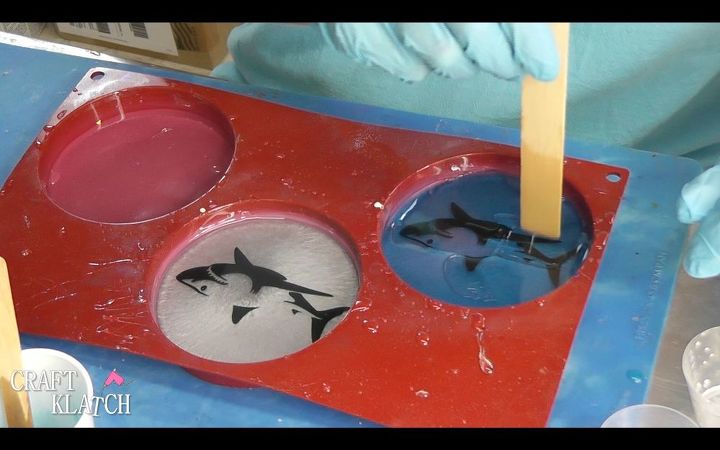
Take your lighter, pop the bubbles and allow to cure a minimum of 12 hours. Use your stir stick to press them down. Make sure you press out all of the bubbles.
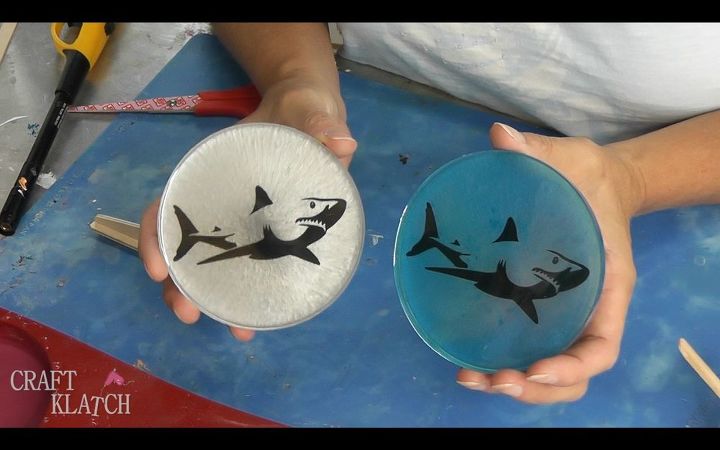
That's it! You can now remove them from the mold and you have ultra cool, dare I say.......SHARKTASTIC......coasters!
You can find links to all of the items I used at the link to the post below!
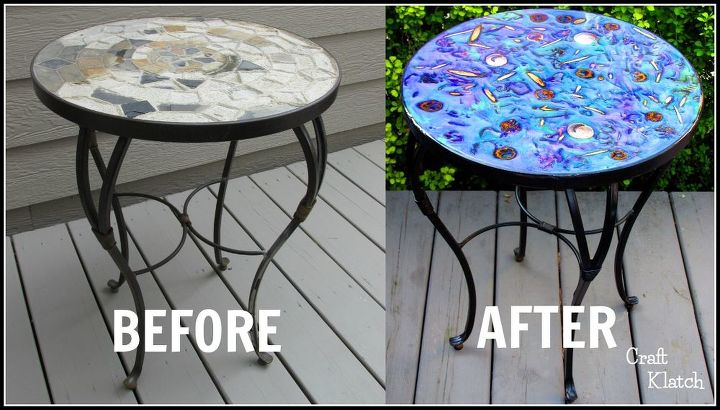
While you are here, I thought you might enjoy this Glam Table Makeover! I used resin, pigment powders and items from nature for a complete transformation! Not bad for a table I found curbside, waiting for the garbage truck!!!
{
"id": "4309765",
"alt": "",
"title": "",
"video_link": "https://www.youtube.com/embed/gtBqTqnROvM",
"youtube_video_id": "gtBqTqnROvM"
}
{
"width": 634,
"height": 357,
"showRelated": true
}
Here's the short video, incase you want to see how it was done!
Thanks for stopping by!
Mona

Want more details about this and other DIY projects? Check out my blog post!
Comments
Join the conversation
2 comments
-
Thanks, for the idea of the shark coasters. They look great.
-
I love it, I want those shark coasters.


Frequently asked questions
Have a question about this project?