


DIY Wood and Metal Fall Sign
5 Materials
$8
15 Minutes
Easy
Hi, I'm Christene from the blog Keys to Inspiration. My blog is all about helping you discover creative, simple, and affordable ways to design a home you love!
Today I want to share my latest home decor project - this cute wood and metal fall sign. One of my passions is creating home decor and teaching others how to create too! Even if you don't think you're a crafty person, I can show you how easy it is to create beautiful things for your home on a budget.
Seasonal decorations are only out for a short period of time, so I don’t like to spend tons of money on them. Occasionally I’ll splurge for something seasonal that I absolutely love. But for the most part, I try to only buy inexpensive or remixable items that can be used year round.
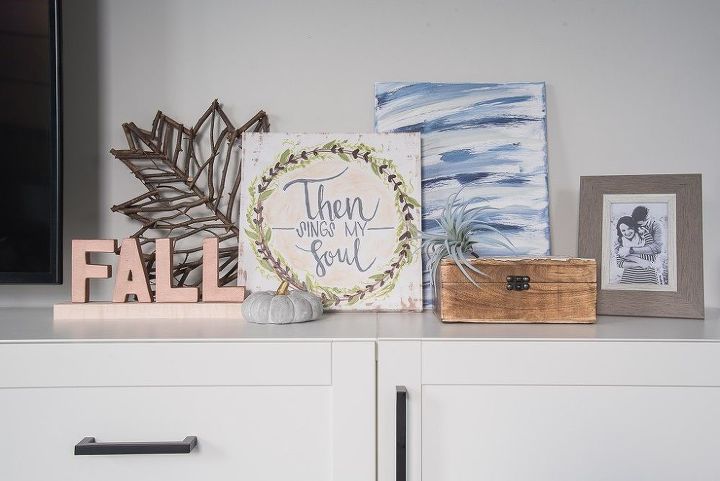
This year, instead of buying the expensive fall decoration, I decided to try and create a budget-friendly version. This wood and metal sign only cost me $6 to make! And, you’ll be amazed at how easy it was to put together.
Let me show you how to make a sign for your home!
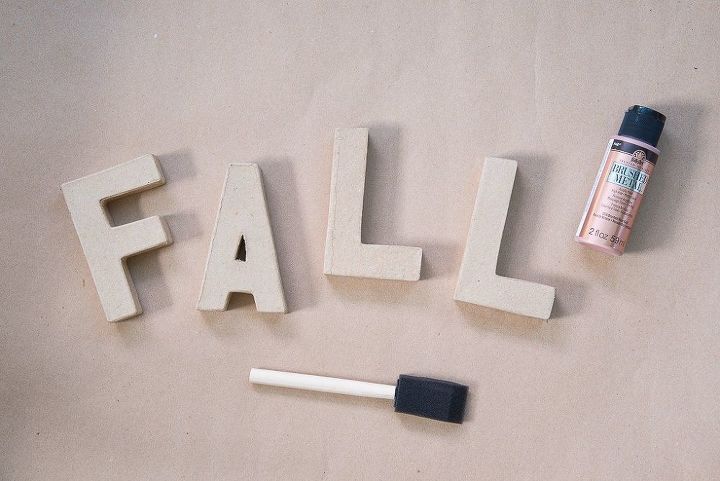
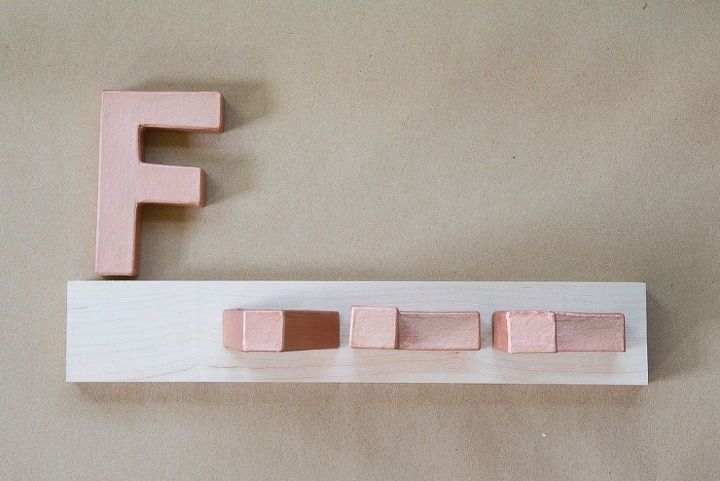
I started this project by first lining up all of my cardboard letters. I found {affiliate} these small 4” cardboard letters at Hobby Lobby and I got them on sale for only $1 each. I put the letters in order to spell out “Fall” and left about ¼” between each letter. Then, I measured the total length of the word and added ½” to each end. I wrote this measurement down to save for later.
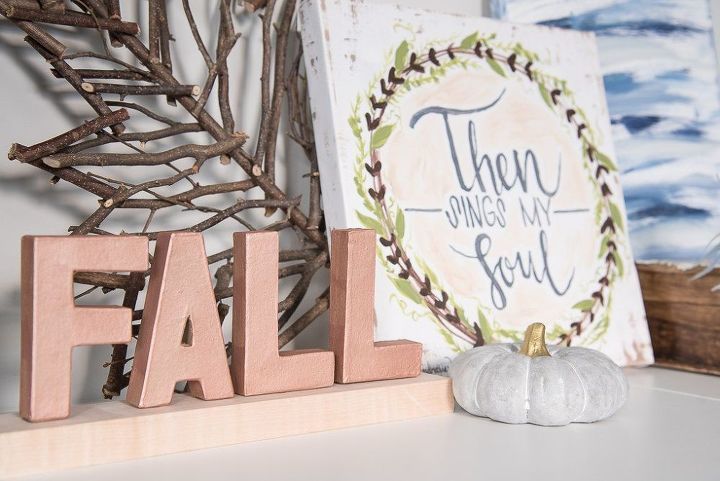
Next, I gathered all my painting supplies. I decided to create the look of metal letters for this project using {affiliate} FolkArt Brushed Metal paint. When I was at the Haven blogging conference this year, I got the chance to try out the newest paints from Plaid Paint. Part of their booth was a DIY painting station where we got to create our own terracotta pots using the new Brushed Metal paint collection. I loved all of the paints because they created a beautiful metallic finish and they dried really fast. But, my favorite color was definitely the Brushed Rose Gold!
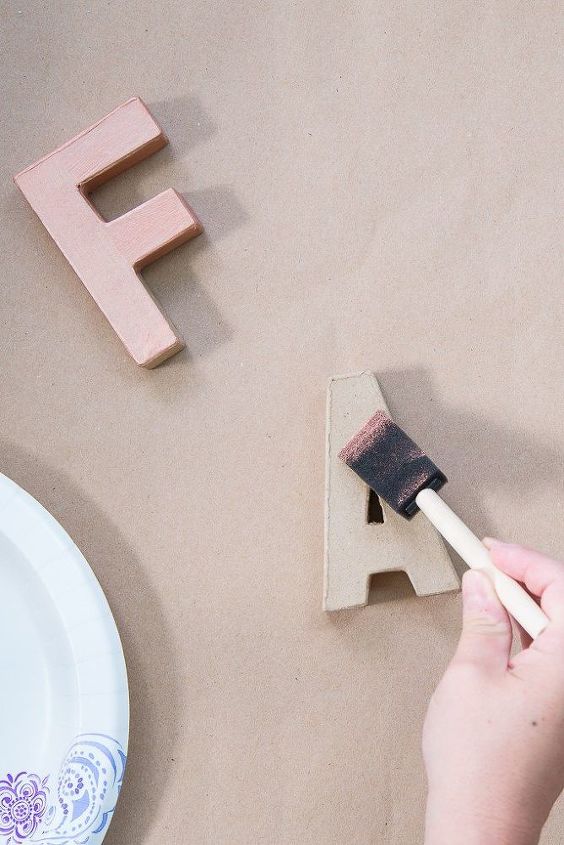
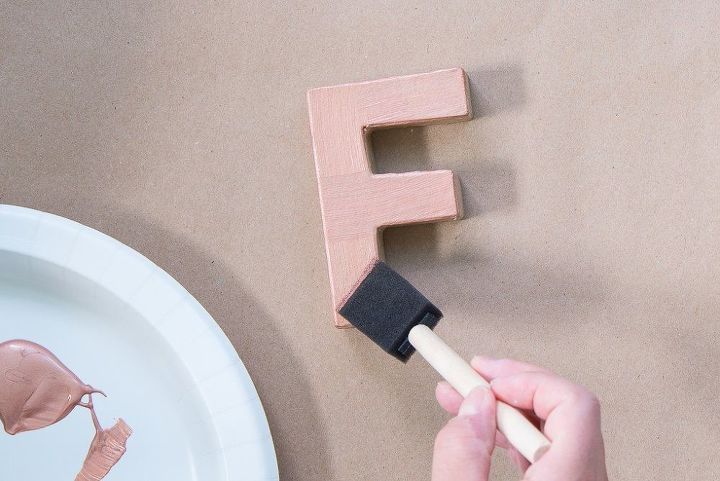
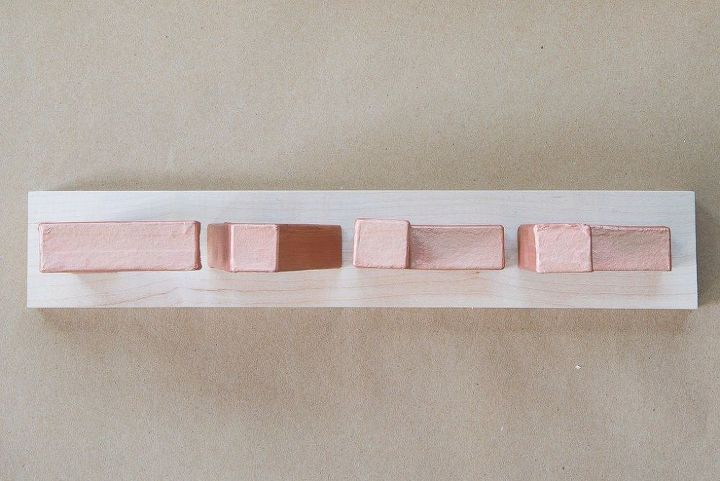
The team from Plaid was so nice and let me take a few of the paints home with me! I was really excited to finally get the chance to use the paint on one of my own DIY projects. The brushed metal finish was the exact look I wanted for this wood and metal sign. I used a foam paintbrush to paint all of my cardboard letters on the front, back, and sides. Thankfully the paint dries super fast, so it didn’t take long for me to finish this step. Next, using the measurement that I took at the beginning, I cut a small piece of wood to that length. I used a piece of oak wood that Ben had in his workshop, but you can use just about any wood for this project.
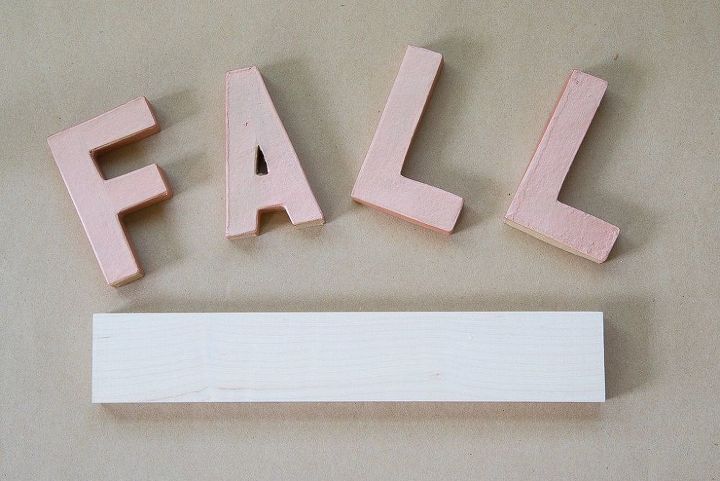
Just make sure that the wood is at least ½” wider than the letters on both the front and the back. That way, there will be a ½” border of wood all the way around the letters. Once my piece of wood was cut, I estimated where I wanted my letters to go by setting them in place — but I didn’t glue them yet. I just move them around until I was happy with the placement.
Then, I used a hot glue gun and added glue to the bottom of each letter. I placed the letters on the piece of wood making sure to keep a ¼” space between each letter.
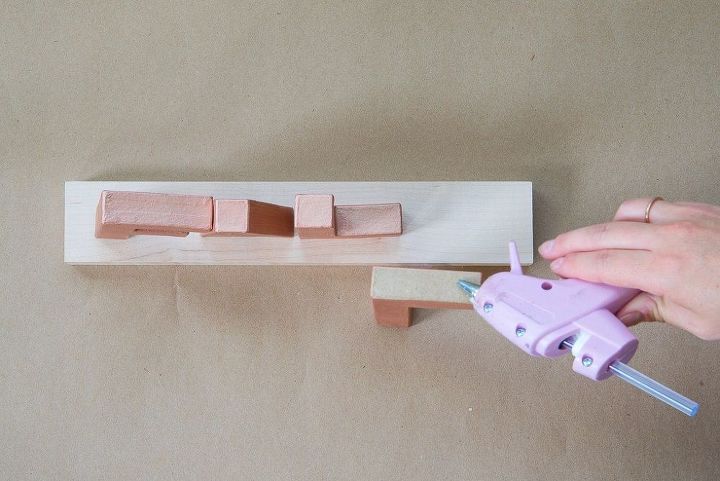
I continued gluing the letters in place until I spelled out the entire word — FALL!
After the hot glue was dried, I had a brand new sign! Or…accent figure. Or whatever you want to call it.
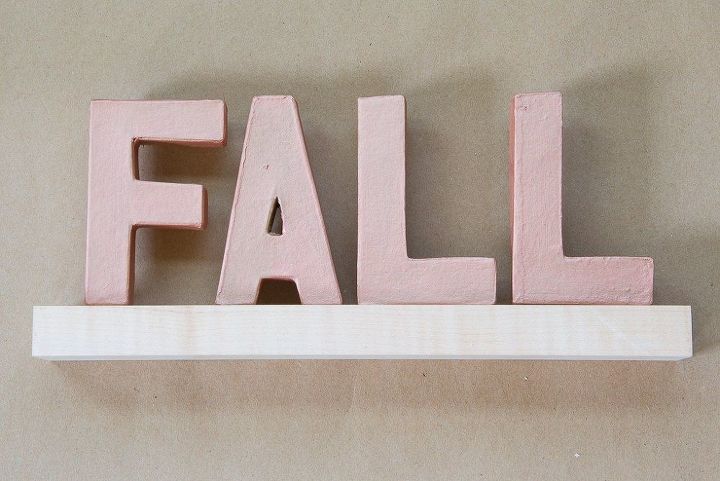
I think that it looks great next to all my other fall decor. I’m really happy with how it turned out. Especially since it was so inexpensive to make!
I hope that you give this project a try. Creating your own seasonal decor doesn’t have to be difficult. And the results look just as good as the expensive stuff.
You can see the full DIY tutorial for the Wood and Metal Fall Sign on the blog. Just click on the link at the end of this post. >> Christene Connect with me on Facebook -- [facebook.com/keystoinspiration]I also love Instagram! -- @keystoinspiration

Want more details about this and other DIY projects? Check out my blog post!


Frequently asked questions
Have a question about this project?