


Easy Velvety Foam Pumpkins With a Real Twist!

by
Ann M
3 Materials
$3
30 Minutes
Easy
I love those little velvet pumpkins filled with rice but came up with something a little easier for me. You will actually be using real pumpkin stems ! You can also use things like drawer knobs or even flowers turned upside down as stems! Let’s get started!
I’m doing many pumpkins at once but certainly make only one if you want. I’ll be pricing them per pumpkin. They are very inexpensive to make.
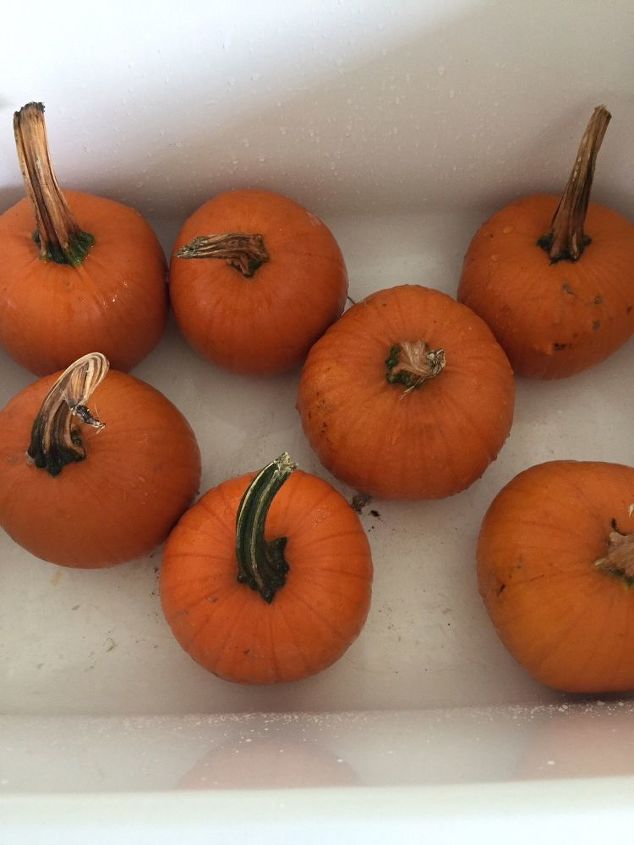
First, purchase the most inexpensive pumpkins you can get. Look for the best twisty stems you can find. I got mine for 50 cents each from a farm market.
Give them all a good washing.
Give them all a bath
Now cut around each stem. That’s all you need from these pumpkins. Mine were all babies. You can use them for other things but that’s for another post perhaps! With a knife cut and remove. Remove the pulp. I used a potato peeler to get all the pulp off. You will know when it’s all off when it feels like wood.

Set them out to dry in the sun.
You will also need foam pumpkins. I’m going to re use some of mine but also purchased some from the Dollar Tree, Michael’s, Joanne Fabrics, and Target has them for $3.
Now you will remove their stems. With a firm grip twist and pull off the stems. I then used an Exacto knife but any kind of knife works to go around and make a hole about an inch around. Some pumpkins will be hollow, others not. On those take your knife and dig out a good inch hole deep.

With stems removed
Now comes the fun part! Velvet is too expensive so I purchased what is called crushed Panne from Joanne’s on sale for $3.99 per yard regular 6.99. For each pumpkin you’ll roughly need twice the size of your pumpkin. I made circles of fabric placing the pumpkin in the middle. Using E-6000 put some glue inside the hole of the pumpkin. On the hollow ones put the glue on the inside edge of the hole. Now bring up one side and push it in the hole then do the same on the opposite side. You’re going to do the remaining fabric, gathering it in little folds and pushing it in the hole. If it gets too thick with fabric use the end of a wooden spoon to push it all in. HINT: The great thing about Panne is it stretches and the secret of this is to get a nice tight stretch so the whole form of the pumpkin is accentuated.
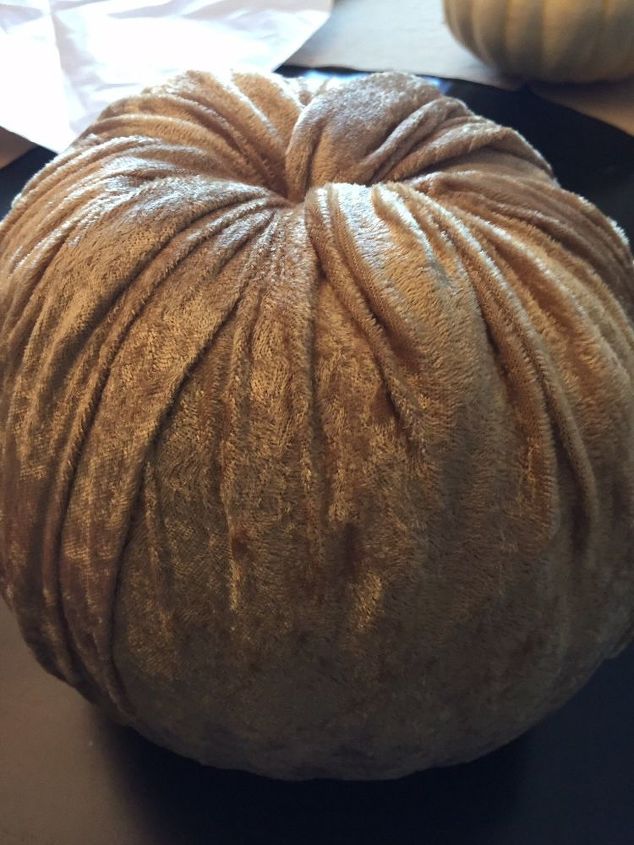
Ready for its stem.
I squirt a little glue inside the hole and then apply glue to the bottom of your stem. If you’re using a knob or flower do the same holding it in place for a minute. I then let these all dry overnight before carrying them by their stems. Now go ahead and use them in your fall decorations!

Mix with some dried hydrangeas
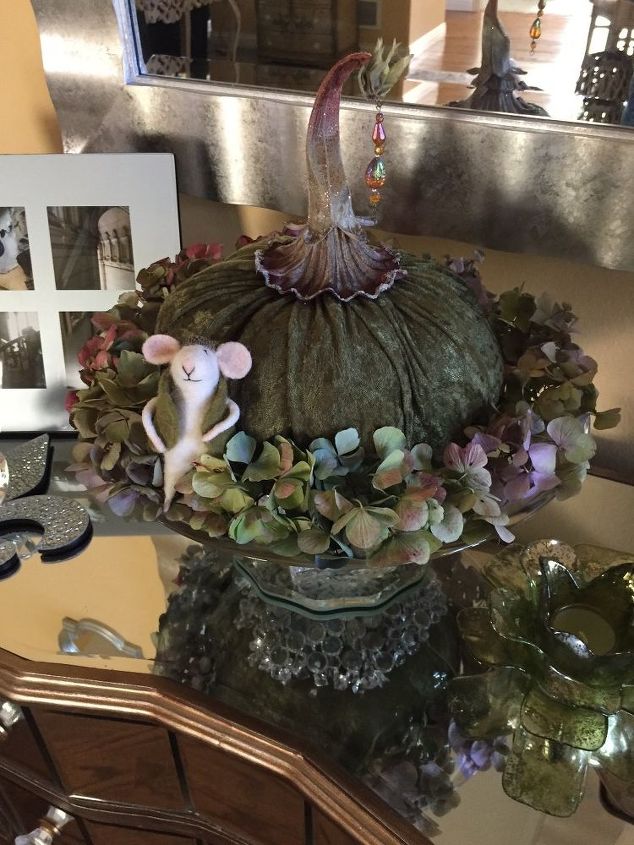
Add a felted wool mouse!
Enjoy decorating with them. They even look good grouped together!
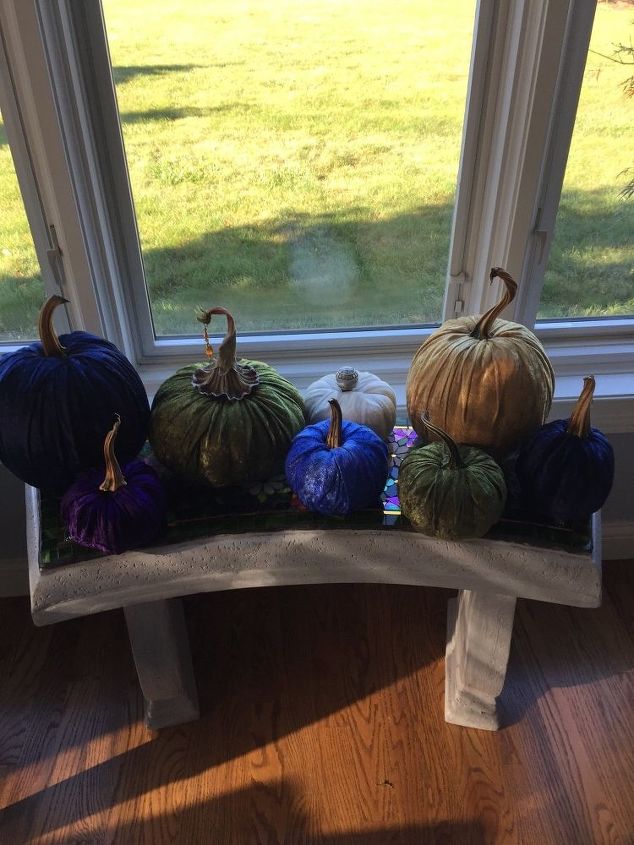
I need a group.
We want to help you DIY, so some of the materials in this post are linked to sellers. Just so you know, Hometalk may collect a small share of sales from the links on this page.
Comments
Join the conversation
3 of 58 comments
-
Saw these for up to $55 this weekend shop in a botique- knew I could do it myself! Thanks so much
-
I love it...


Frequently asked questions
Have a question about this project?
Where did you get the adorable mouse please?
The last photo shows a 'concrete' type bench..? I noticed the top. BEAUTIFUL!!
What exactly is it? if I may ask.
Thank You.. Very, inspiring I may add, your decorations and ideas.
Is there a need to spray the stem in order to re-use