


DIY Macrame Pendant Light
2 Materials
$20
2 Hours
Medium
Hey friends! Last spring, I got my artsy fartsy on and made this DIY macrame pendant for our downstairs bathroom makeover, and I am actually kind of amazed at how well it turned out. I am smiling from ear to ear that I completed this and I love the way it turned out! I made over this space as part of the One Room Challenge.
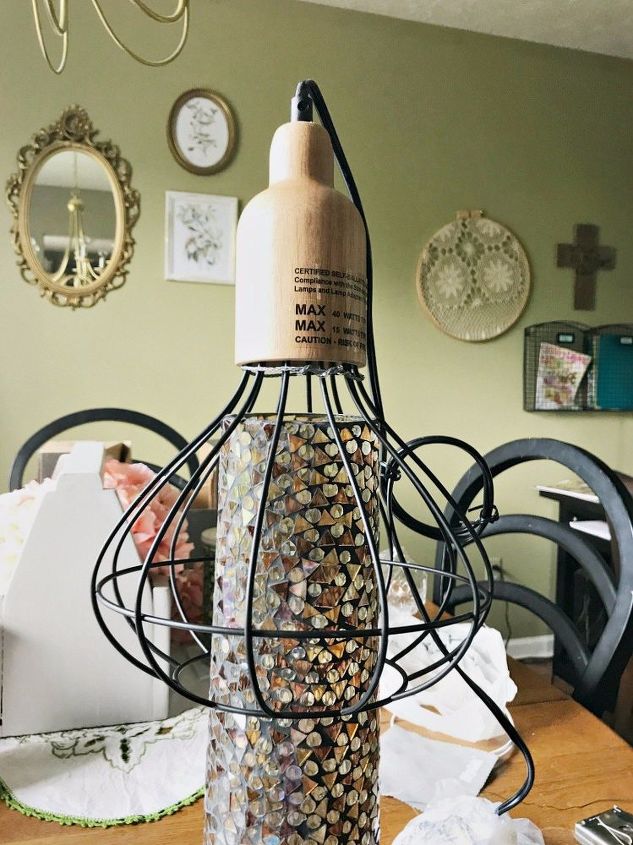
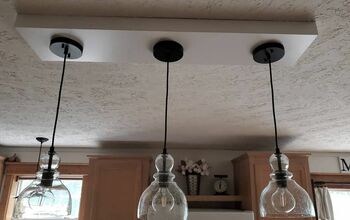
I found this cage light on clearance at Target for less than $9, and it wasn’t really what I had in mind for the makeover. I had this feeling I could transform it into something special, but I didn’t know at the time how I would do that. And then I cam across a DIY macrame pendant photo in a magazine, and it hit me! I could use this light to make one for myself! I had some doubts as to whether I could pull this off, but it was much easier than I thought it would be!
In order to get started with your macrame light, it needs to have a horizontal bar going across the top so that you can start tying your first knots. Unfortunately, mine didn’t have this, so I had to get creative. I used a picture hanging wire that I had, and wrapped it around the very top with pliers. I wrapped it at the ends so it would stay.
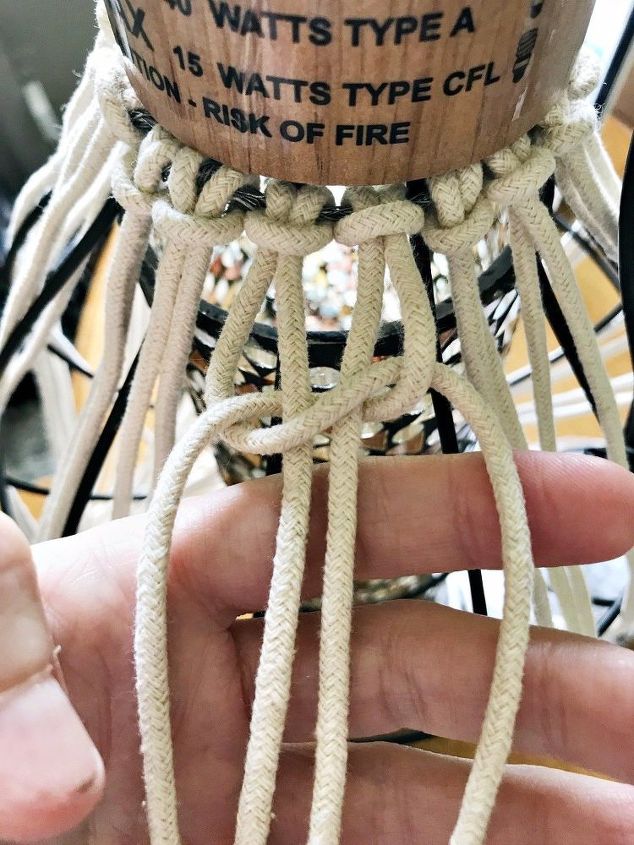
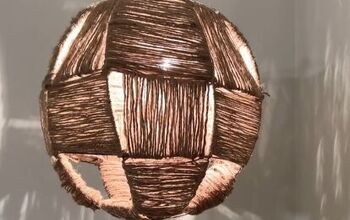
I have very detailed instructions and lots of in process photos in my blog post for how to make the knots required to complete this light. There are two different knots you will use. A larks head knot and a square knot. Once you get the hang of it, you will get faster at it.
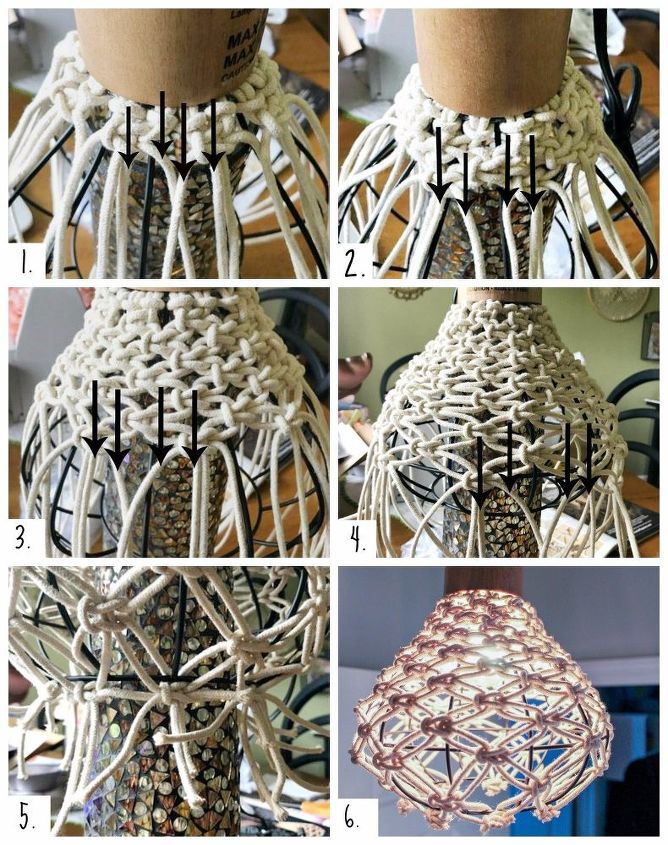
After you have the first row of square knots complete, you will work your way down the cage making alternating square knots. I made this graphic to show you how to alternate the knots. I have black arrows pointing to which cords to pick up to start the next row of square knots. This was the part that initially stumped me when I was getting started, but once you figure it out, you are golden! Once you have reached the bottom of the cage, you will take the cords and intertwine them with the cage, and make the knot as tight as possible.
Cut off excess cord.
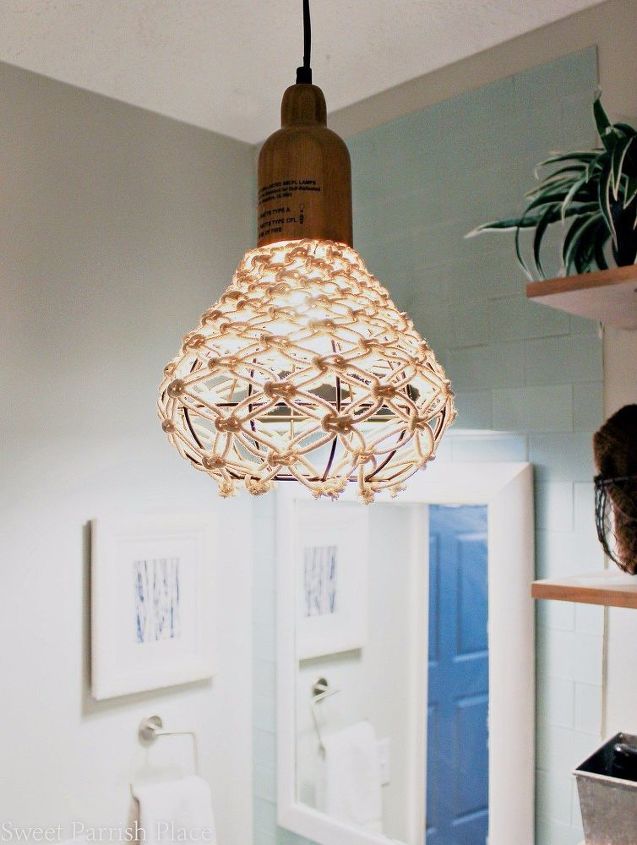
I love the way this light makes the room look! IN this photo I had not removed the stickers yet, but they came right off.
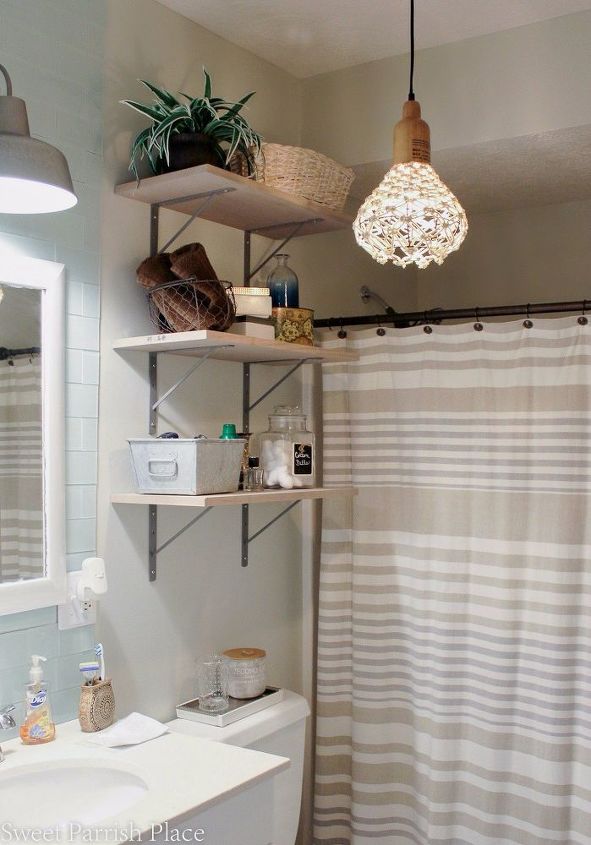
I'm so happy with the way this project turned out. It gives the bathroom makeover the perfect little boho vibe!


Any price and availability information displayed on [relevant Amazon Site(s), as applicable] at the time of purchase will apply to the purchase of this product.
Hometalk may collect a small share of sales from the links on this page.More info

Want more details about this and other DIY projects? Check out my blog post!
Comments
Join the conversation
2 of 39 comments
-
It looks perfect with the macramé. It gives it a different softer look. Good ideas come to the best people.
-
I would try this for sure.. but I think I would have left the ends hang and maybe add some wooden beads through out or even on the hanging cords. Hummm


Frequently asked questions
Have a question about this project?
So unique! Does anyone remember how to make a floor lamp out of crutches? Thought I had saved it, but didn’t. Need ur help. Thanks. Judy
This IS really nice! I miss macrame it was fun and a great and easy art work idea. Im sure the yarn is alot more expensive these days. Where is the most economical place to purchase? Thank you!
I see you bought from Amazon. How much was required for this project? Thanks!