


DIY Dollar Store Skull Sconces

by
Rachel Metz
10 Materials
$6
1 Hour
Easy
So I've seen these guys around Pinterest and when I went to see how much people sell them for - it ranged from $60 to $133! I am turning my front entryway into a spooky abandoned house and these were the perfect lighting additions to it. I decided to NOT spend that much money, gather what I have on hand and DIY it. I made this for less than $10 but that is because I had everything but the circle piece of wood and skull on hand. Which came out to be about $6 - the skull is from the Dollar Store and the wood piece is from Michael's with a 40% off. Happy Halloween you guys!
{
"id": "4323976",
"alt": "",
"title": "",
"video_link": "https://www.youtube.com/embed/6yg0faEYjFk",
"youtube_video_id": "6yg0faEYjFk"
}
{
"width": 634,
"height": 357,
"showRelated": true
}
There is a full tutorial on my YouTube channel where I post three DIY tutorials a week. This DIY how to has more details in it in regards to how I painted it, tips and tricks for other bumps I found along the way and more detailed shots of it lit up. Be sure to check it out and show it some love!  Let's get started!
Let's get started!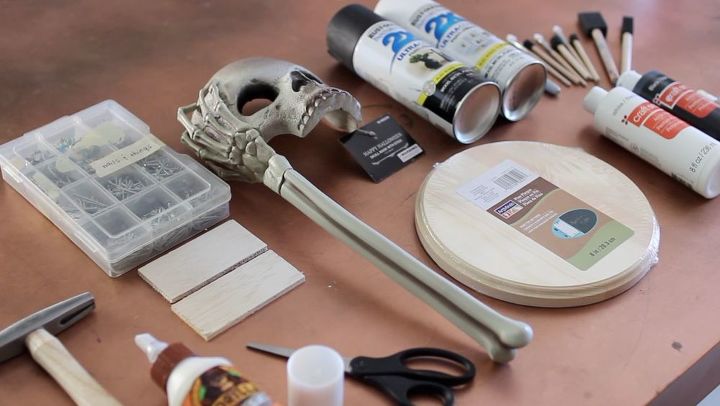
The list of materials is at the bottom of this tutorial - you do not need nails and hammer but they are an option for secure some wood later.
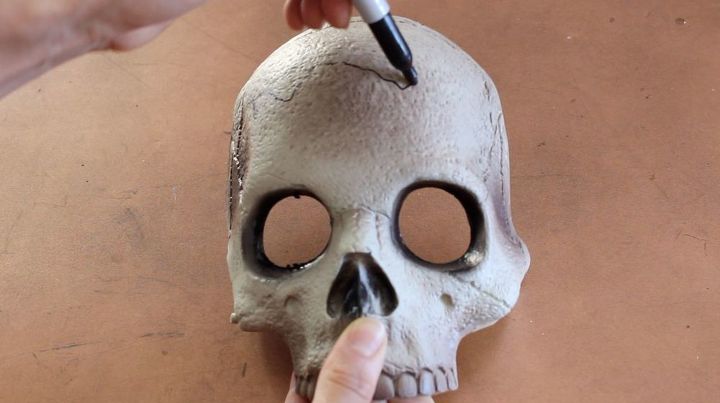
I ripped the arm off the mask (I am using it for decor) and then drew a rough line on the top of the skull.
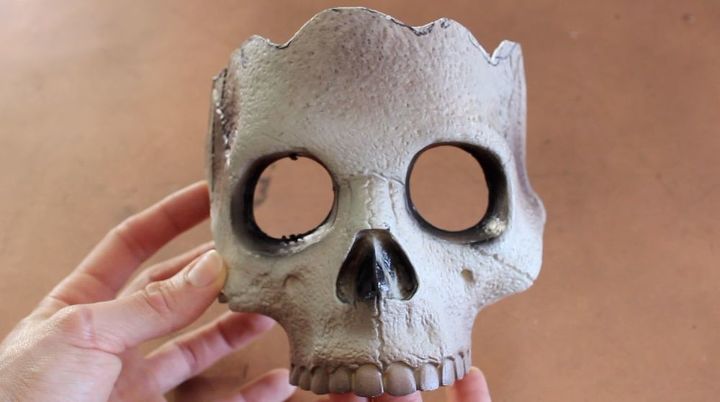
I then cut it out with normal scissors.
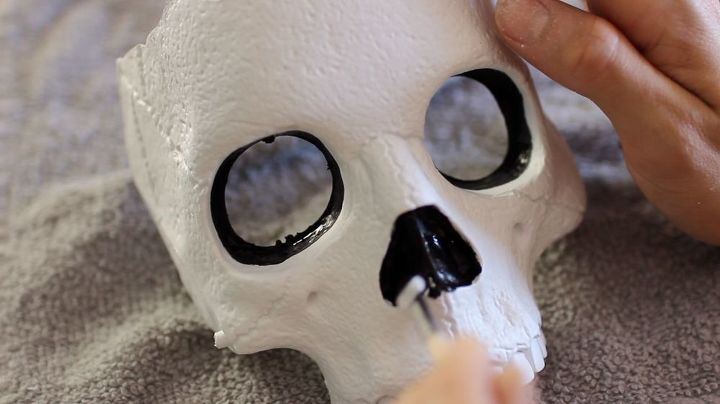
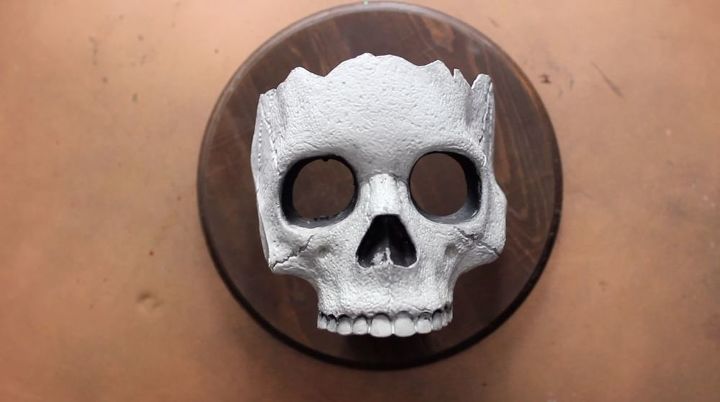
You can keep the look of the Dollar Store mask but I decided to spray paint it and distress it myself so I can make it more of a white than a dirty brown.

I give you a thorough walkthrough on my channel of how I painted this but I basically used craft paint, went back in with a foam brush that just had water on it and distressed it.
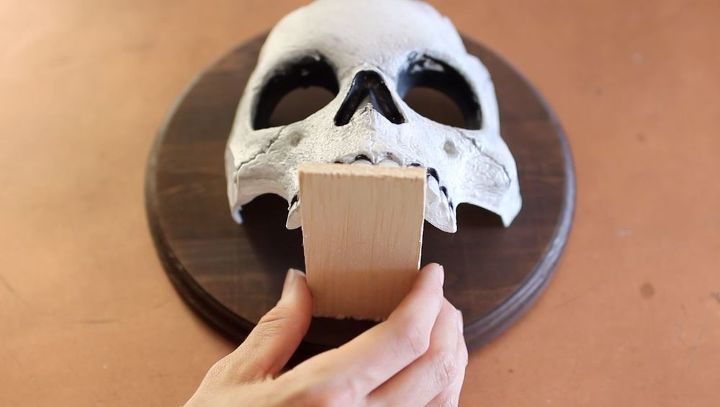
I grabbed a piece of craft wood and cut it down to size with my hand saw. They sell little pieces that are already pre cut at Michael's Craft Store but I have a ton of scrap wood so I just used my own.
On the inside of the mask, I put wood glue and placed the piece of wood to dry overnight.
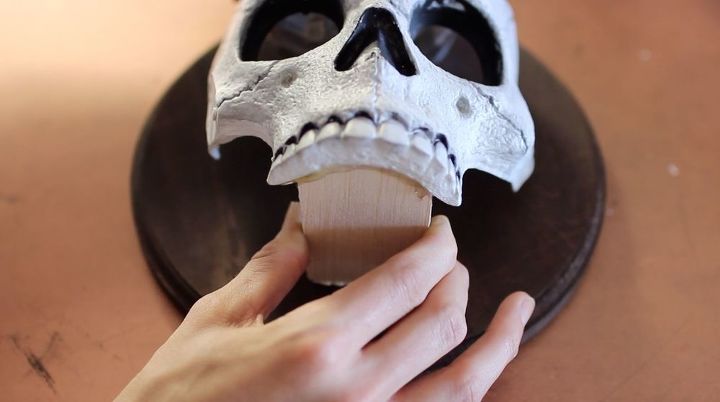
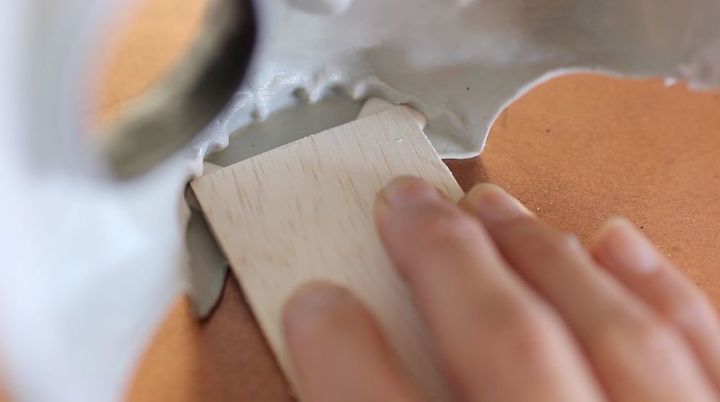
I then placed wood glue on the back of that piece and secured it to the middle of the circle piece of wood. I put something that was the perfect height to hold the skull up to dry over night once again.
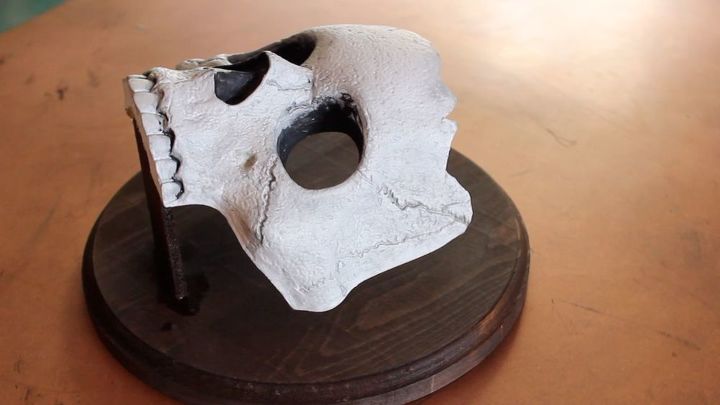
That is is! To make it more cohesive, I stained the smaller piece of wood.
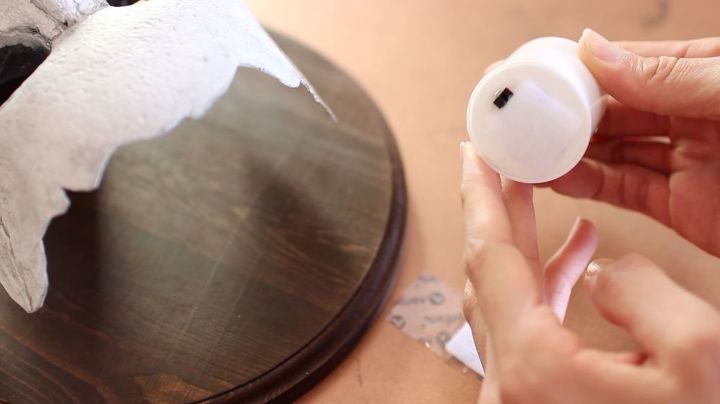
This is optional but it worked for me. I had velcro stickies on hand - placed one on the bottom of a faux candle then placed the other on the inside flat part of the wood attaching the skull to the circle piece.
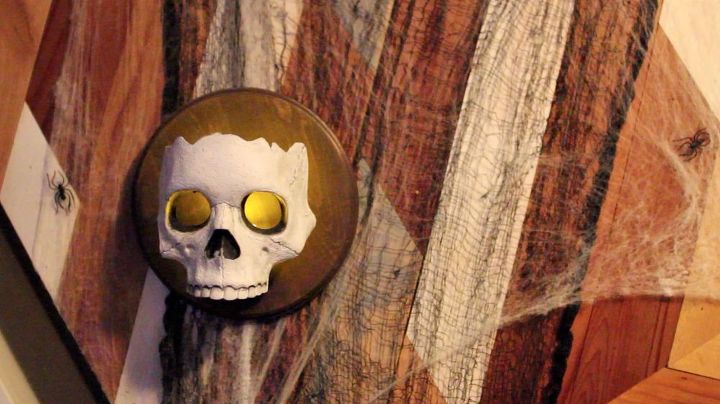
That is it! I was totally surprised how rad this turned out. I didn't expect it to look that expensive and detailed!
We want to help you DIY, so some of the materials in this post are linked to sellers. Just so you know, Hometalk may collect a small share of sales from the links on this page.
Comments
Join the conversation
3 of 26 comments
-
Oooooo, those look fantastic! I'm going to make a few to give to my hubs as a surprise next Gothmas(what he's called Halloween since his misspent youth)
-
These are great!! (At first, I thought the title said 'skull scones'. haha!) .....wondering if you have to detach the candle from the velcro to turn it on and off.......


Frequently asked questions
Have a question about this project?
SWhat dollar store did you find the skull at?