


DIY Shelf: How to Make an Easy Floating Shelf

by
Diva of DIY
14 Materials
$15
1 Hour
Easy
In some spaces, you just need a little "something" to break up a wall. A floating shelf is the perfect solution. It accents the space, gives you a nice place to display things, and barely takes up any room. This shelf style works well in any home, whether your home's design is modern, rustic, or something in between. is A DIY floating shelf is easier to make than you'd think. Read on.
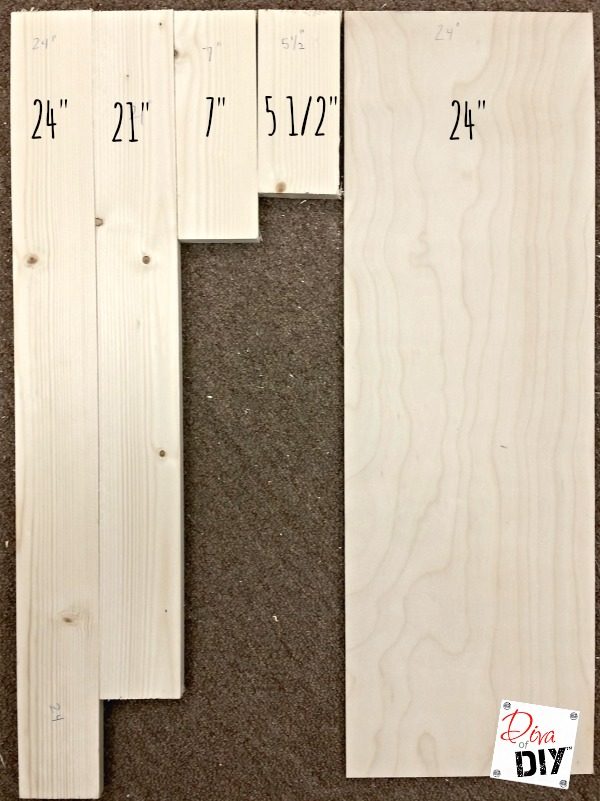
Cut the boards to desired lengths. These measurements are for a 24 inch shelf.
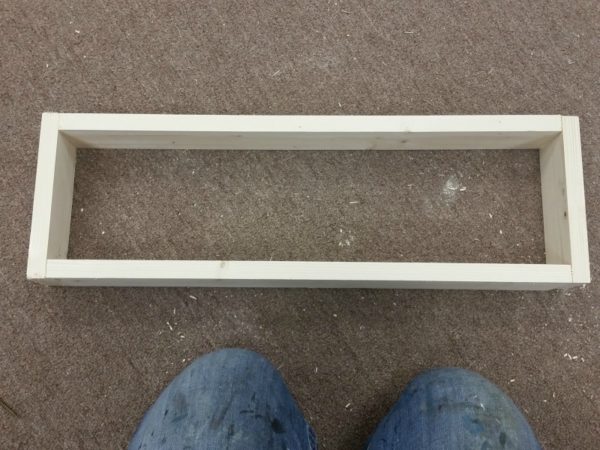
Begin by building the frame. Attach the two 7" 21" (1 x 3) boards to create a rectangle, and then add the three 5.5" boards evenly spaced within the rectangle.
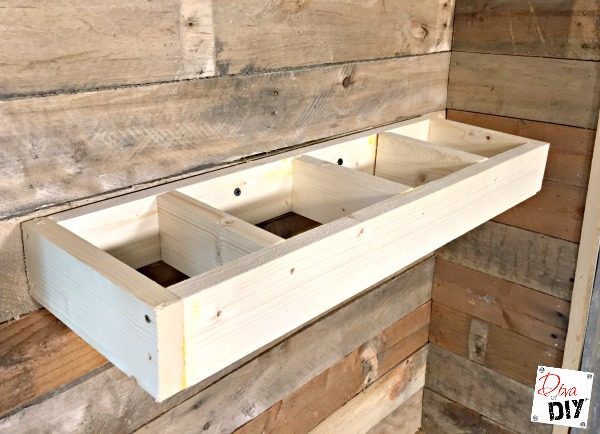
Using a stud finder, find a place to anchor the shelf. Using 3" screws and a level, anchor to wall.
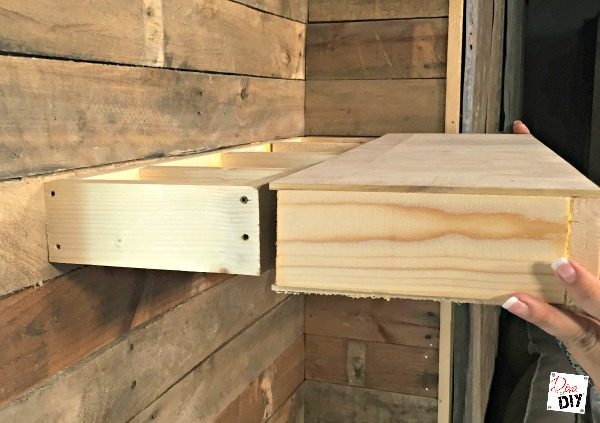
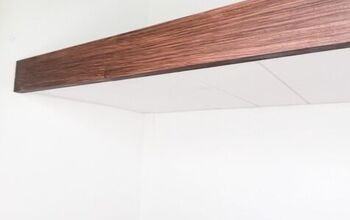
Create the sleeve of the floating shelf by attaching the other two 7" boards to the 24" board. Using glue and brad nails, attach one of the plywood pieces to the top and one to the bottom.Repair any nail holes with Bondo. Let dry and sand smooth.
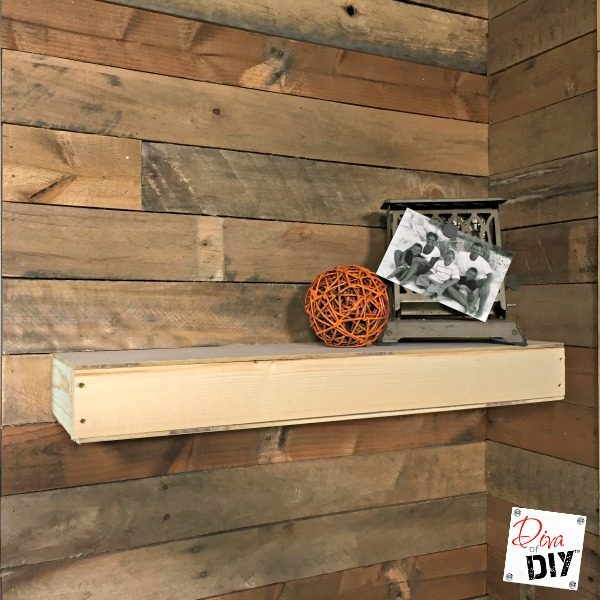
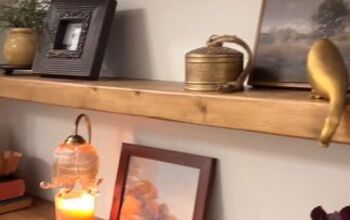
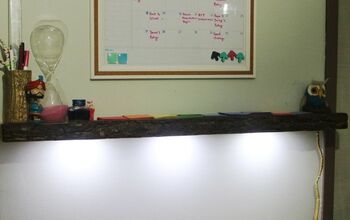
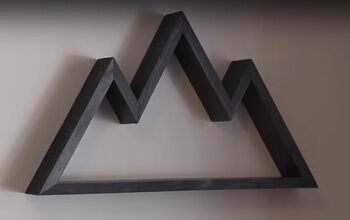
And there it is! All that's left is to decide what you'd like to display on your new floating shelf! For a more in-depth tutorial and pictures, visit the original blog post.
Want more details about this and other DIY projects? Check out my blog post!
Comments
Join the conversation
2 of 11 comments
-
I want to make one of these and burn the wood so the grain shows. This is very well done.
-
Love it!!!! Awesome.. 👍


Frequently asked questions
Have a question about this project?
I went to your blog but have a question about the plywood. It states ”7 3/4″ x plywood strip (2)”. What is the correct measurement: 7 3/4“ by what? I love this shelf, by the way! Thank you.