


Moldable Pumpkin Soap DIY for Fall
7 Materials
$10
1 Hour
Easy
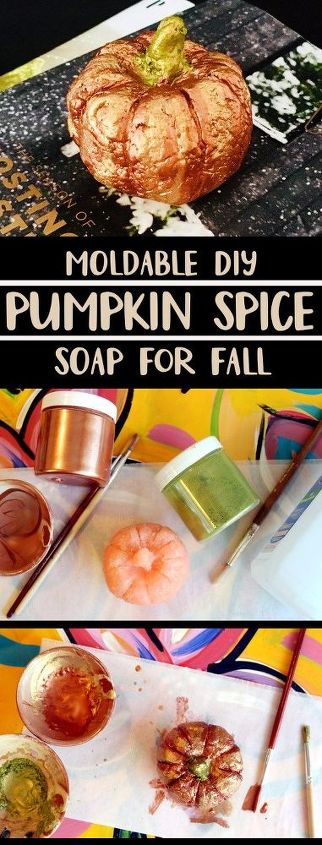
This gorgeous pumpkin is actually a fun homemade soap for fall! Learn how to take a simple melt and pour soap base and turn it into a moldable soap base from which you can create your own pumpkin spice scented, 3-D pumpkin shaped soaps!
This moldable pumpkin soap DIY is loads of fun to make for both kids and adults alike and it's much easier than you might think. So don't be shy about giving this fun fall DIY craft project a try! For more photos, inspiration and an alternate version of this project, be sure to check out my original DIY pumpkin spice soap on my blog here.
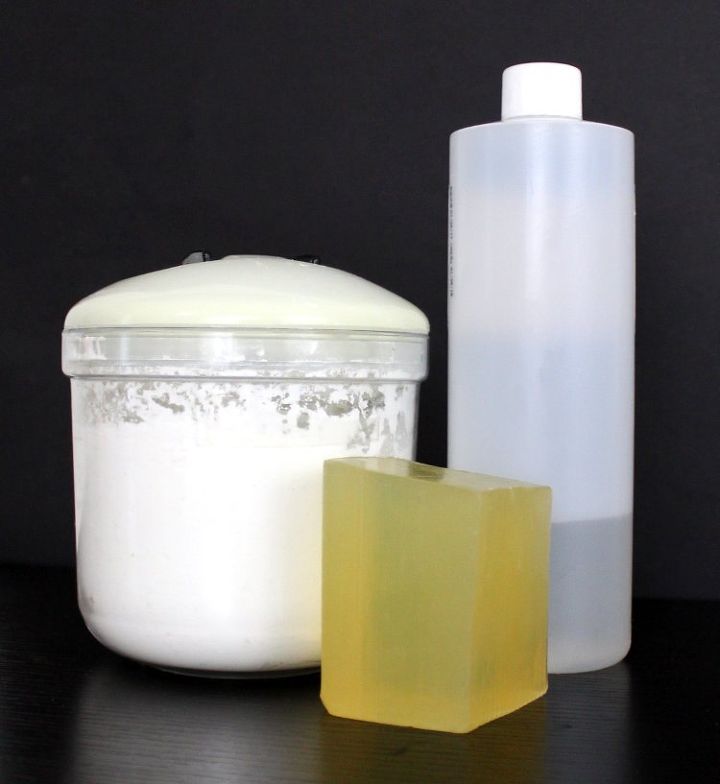
Begin by gathering your materials to make the moldable melt and pour soap base. You will need a melt and pour glycerin soap base, cornstarch and liquid vegetable glycerin. Optionally you can also add a soap colorant and fragrance.
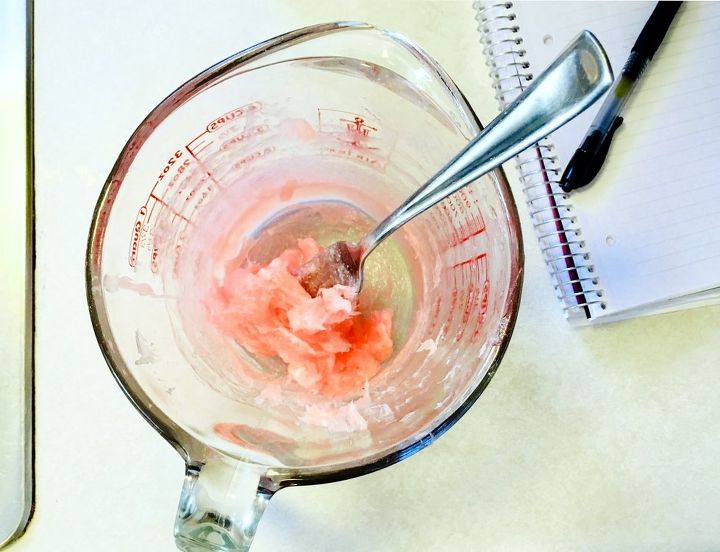
Weigh out 4 oz. of the soap base and cut into chunks. Place the soap into Pyrex measuring cup or glass bowl, then heat and melt in the microwave in 20-30 second increments until melted, stirring between each heating.
Once melted, add color to suit if desired. Then weigh out and mix in 1.1 oz. liquid glycerin and .25 oz. cornstarch. Follow with a skin safe fragrance oil if desired at or below the recommended usage rate.
(Learn more about using color and fragrance for this fall DIY pumpkin project at Soap Deli News blog here.)
Whisk the soap with a fork until all of the cornstarch has dissolved. Then mix occasionally until the soap has cooled.
Your soap is ready to work with when you can form it into a ball and it no longer sticks to your hands.
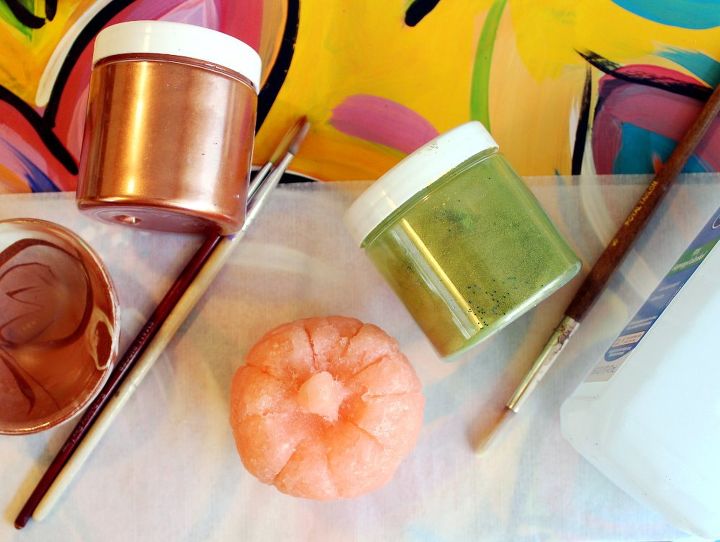
Remove the soap from your container and mold it into a pumpkin shape. You can use a butter knife to add ridges and details around the diameter of the soap pumpkin. Once you have a pumpkin shape you like, you are ready to paint your soap.
I used mica powders mixed with isopropyl alcohol in three colors to create my soap paints. I used a gold, a copper and a green.
Mix each color separately by combining a small amount of mica with alcohol to desired consistency. Then use paint brushes to paint your soap pumpkin as desired.
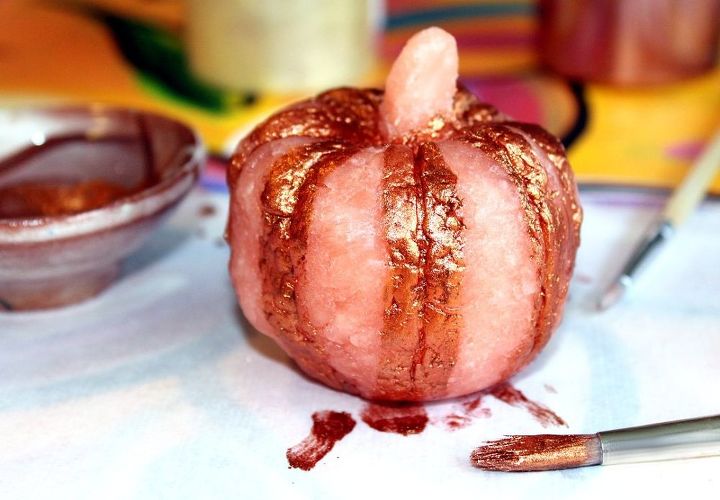
I used copper mica in the ridges around my pumpkin.
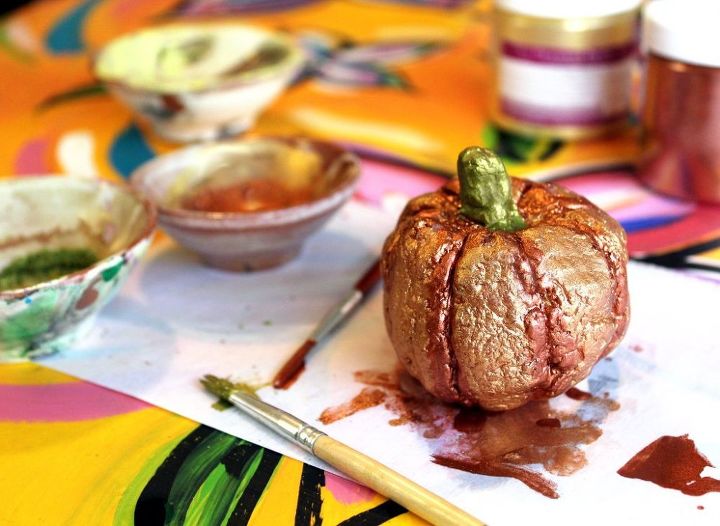
I then painted the rest of the pumpkin with gold mica and the stem with green mica. Once you've painted your soap, allow the paint to dry completely.

Once your moldable pumpkin soap has dried, it's ready to be packaged as desired for personal use or gifting. These are great for neighbor gifts and teacher gifts alike!
Use your pumpkin soap as you would any regular soap! The mica will wash off the soap the first time it is used.

Want more details about this and other DIY projects? Check out my blog post!
Comments
Join the conversation
1 comment
-
I think your little pumpkin soap is adorable! What a neat idea!


Frequently asked questions
Have a question about this project?