


Felt Pine Cones
5 Materials
$4
3 Hours
Easy
These beautiful pine cones make a lovely display for fall. We used felt with a plastic Easter Egg base. Hang as a garland, or ornament or display them in a bowl or as part of a centerpiece.

We cut felt into long strips. For our pine cones, we used brown and gray felt.
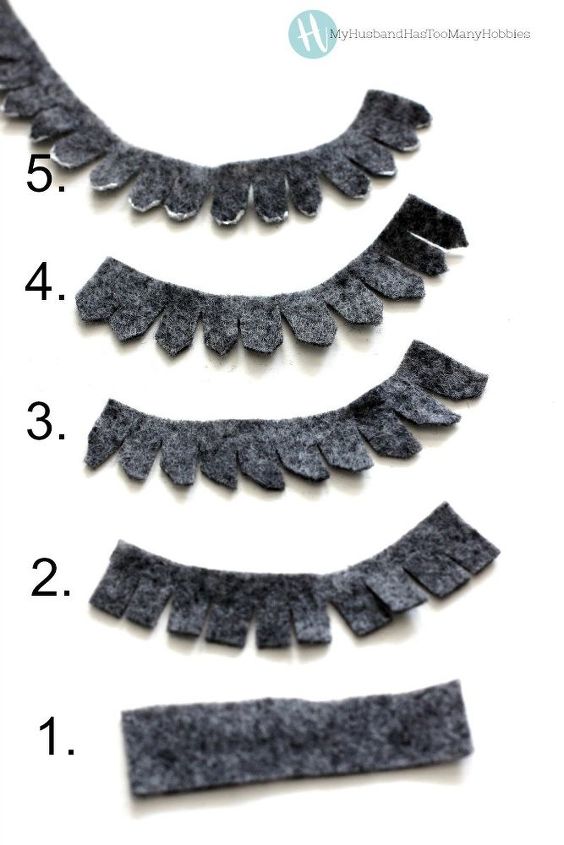
This image may look like eyelashes, but it is to demonstrate the progression of the felt strips. Start with a straight piece of felt (1); cut fringe (2); cut off one corner of the fringe (3); cut off the other corner of the fringe (4); as an option, paint the tips of the fringe with white paint (5). We used white puffy paint to quickly color the tips.
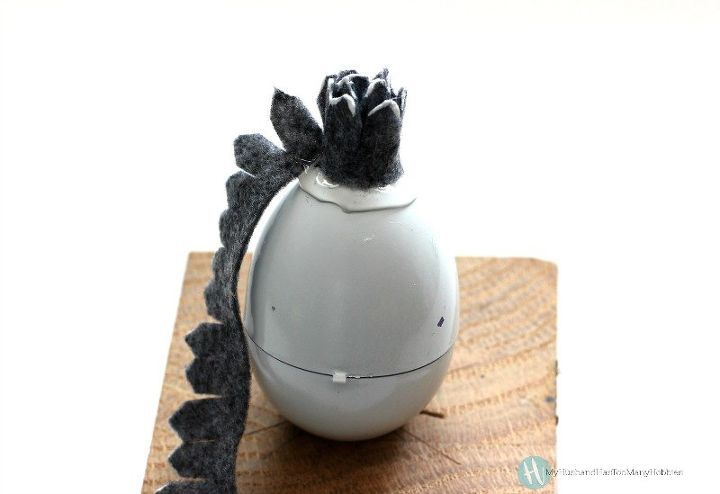
Use a plastic Easter egg as the base. Put hot melt glue on the small end of the egg and start wrapping the fringed felt around in a circle. Add more glue, and keep wrapping. When you finish with one strip, add another where you left off.
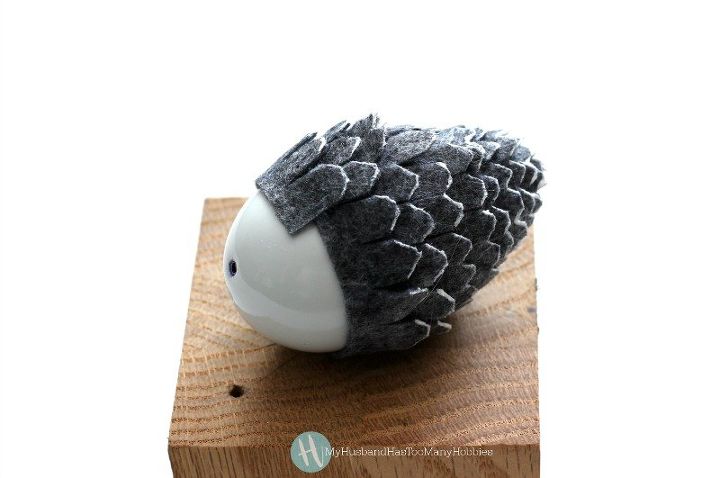
Keep wrapping fringed felt until you have covered most of the egg.
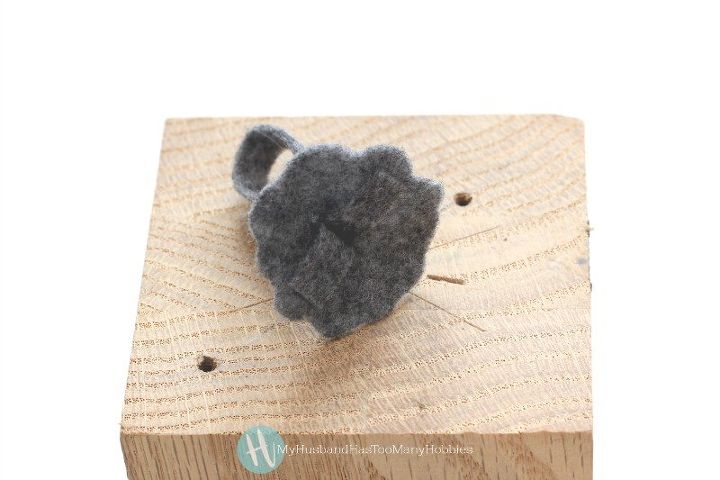
Cut a scallop out of the felt large enough to cover the bottom of the egg. If you want to hang the pine cones, be sure to add a hanger. To add the hanger, cut slits in the scallop and add a loop of felt. Secure to the bottom of the egg with hot melt glue.
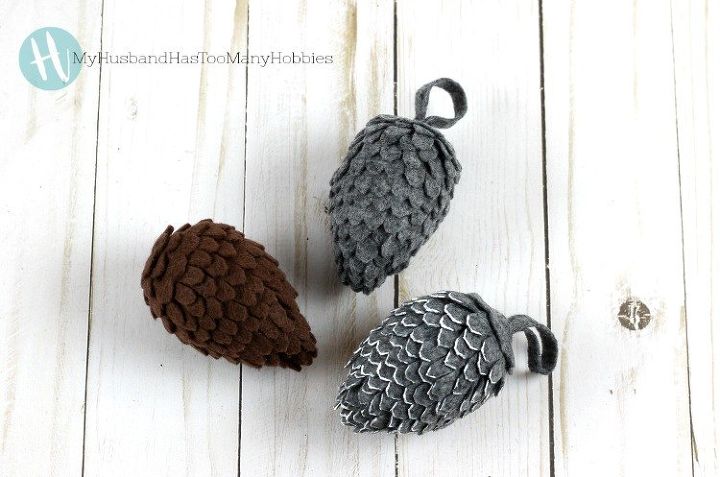
This photo shows one pine cone without a hanger attached (the brown one). A gray pine cone without the white tips and one with the white tips.
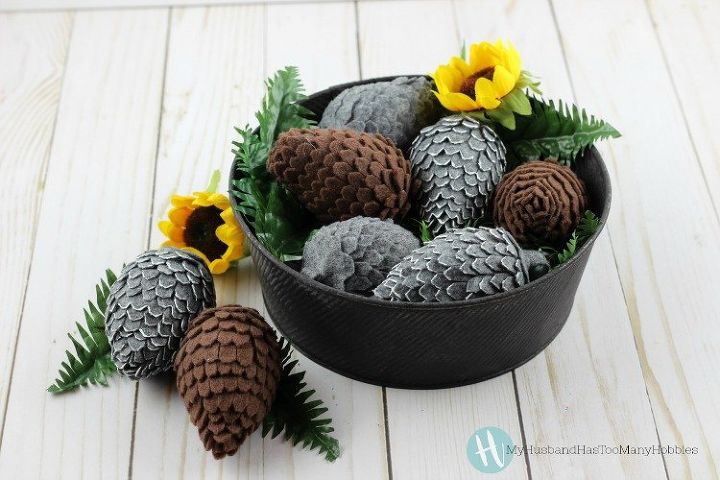
We made a beautiful fall display with ours and will hang on our Christmas Tree too!
For more information/photos of this project, stop by our blog!

Want more details about this and other DIY projects? Check out my blog post!
Comments
Join the conversation
4 of 32 comments
-
Thank you for such a wonderful idea. Would make a Great crafting for the children after Easter.
-
how would you dust these, they are gorgeous!!


Frequently asked questions
Have a question about this project?