


Bedroom Remodel

2 Materials
$1100
2 Months
Medium
Bedroom renovatio...

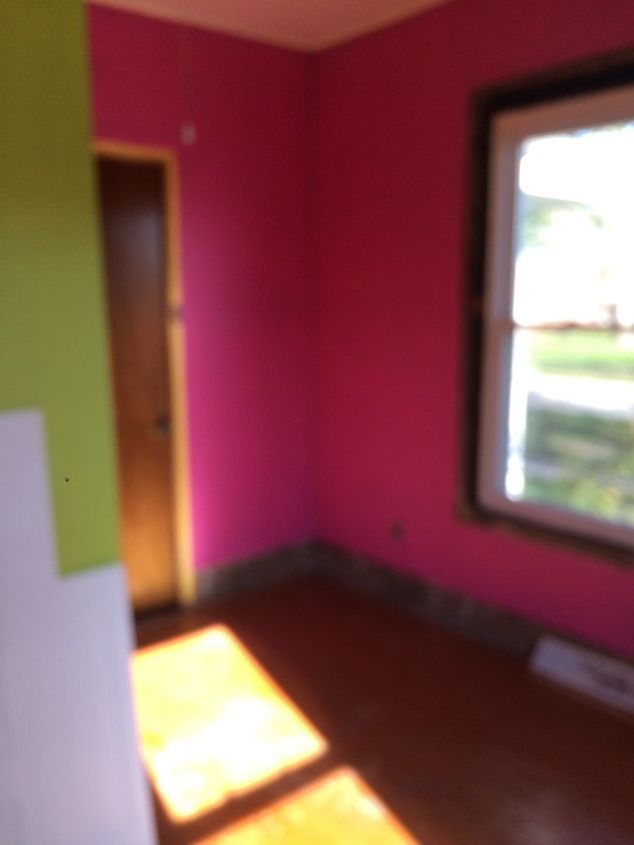
Lime green and hot pink... good golly!
Started this project demo-ing!!! Hammers, pry bars, and all kinds of hand tools. I enlisted the help of my Daughter. This gave her a small taste of my hobby, ”DIY”. Gave her a hammer, pry bar, and screw driver. She was instructed to, “Beat it like you’re angry! Just don’t break the windows!”
No insulation around the replacement windows!
Removed carpet, wide plank board trims on the floor and windows, and all door frames and doors. That’s when we discovered that there had been no insulation around the old windows before the replacements were installed. That was added to the project.
Made our list and went shopping!!
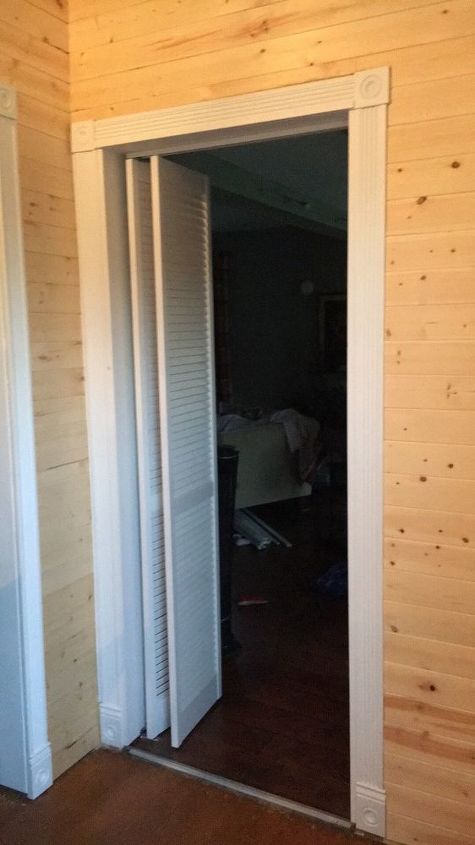
Bi-fold doors take up less space
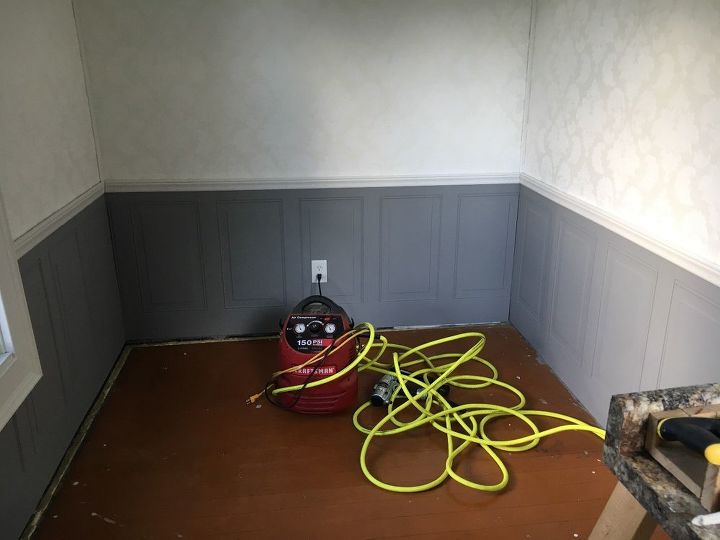
Ship lapped two of the walls and painted them gray. Trimmed them out as well. We chose bi-fold doors because the room was small and had two doors that opened in the room and bumped against each other. This opened up space.
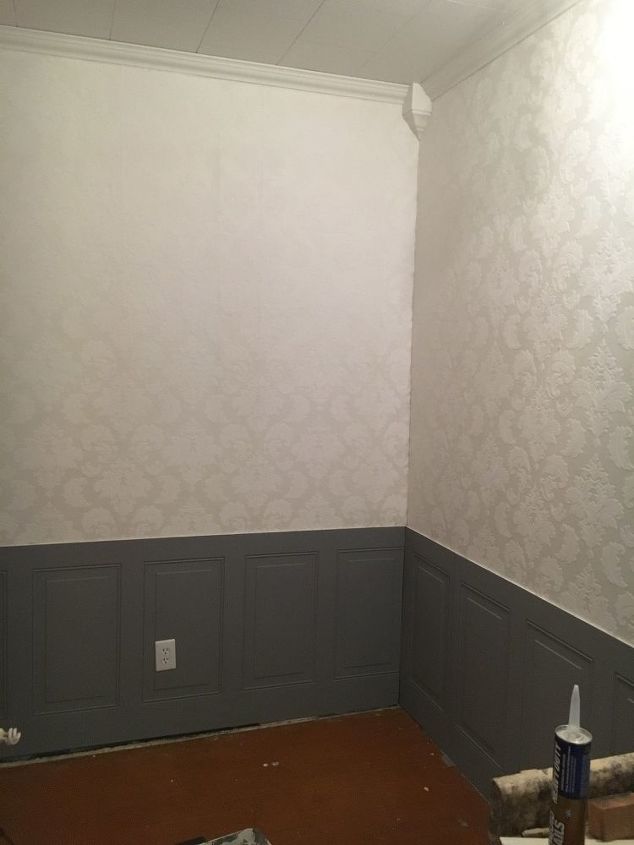
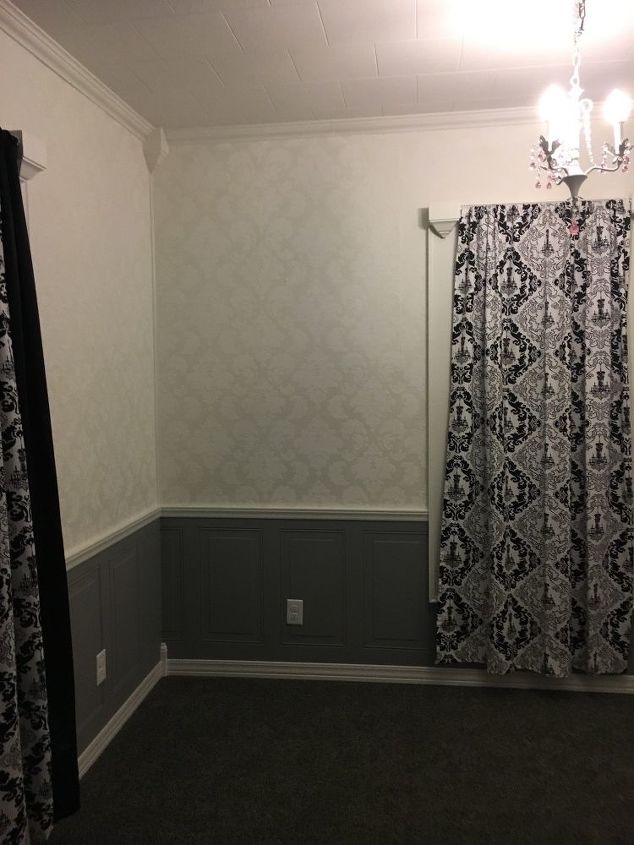
Love Damask wall paper!
Had to primer the ugly lime green and hot pink walls to white. Since I chose a white wall paper.
The doors will take up less space.
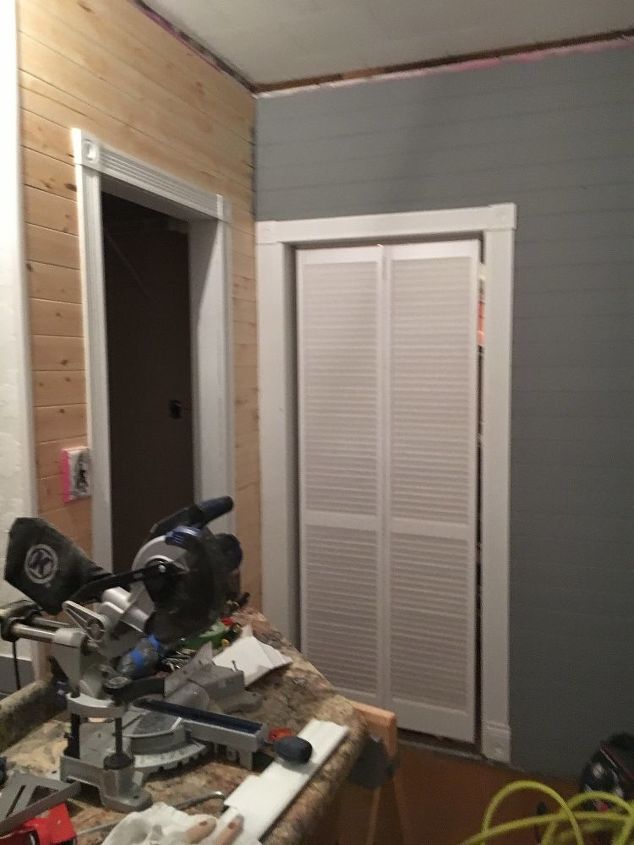
I love ship lap!! These two walls were going to require a lot more work than we wanted to mess with so we covered them.
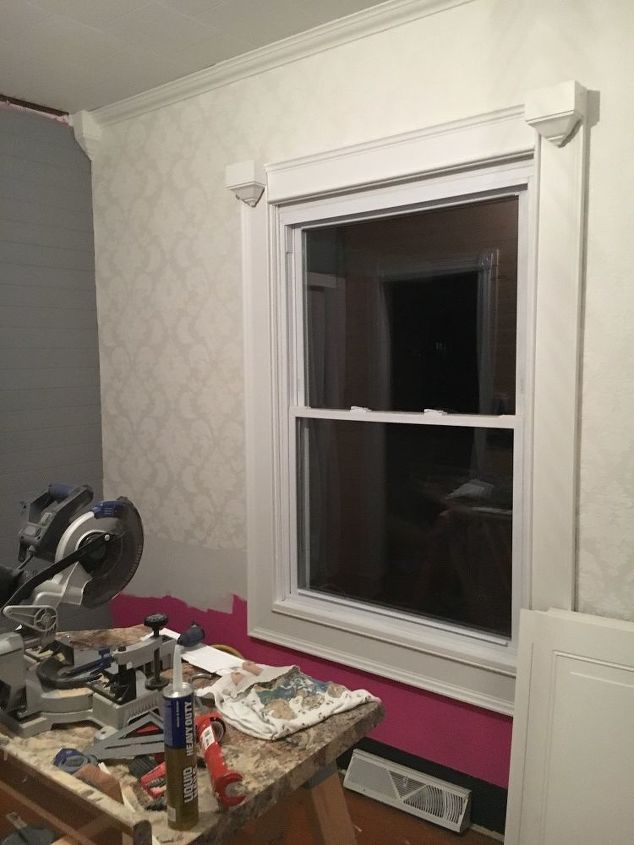
Wide trims! Love wide trims!
Windows got insulated and wide trims were used. The trim blocks at the top I added so I could actually use tension bar rods instead of drilling holes in the new trim to hang curtains.

Nothing is straight or level, or square!
This old house built back in the 1930s worked me over! Sometimes visual won over actual level ruling...
Coming along nicely.
The girl wanted a Paris themed room. This is what I came up with.
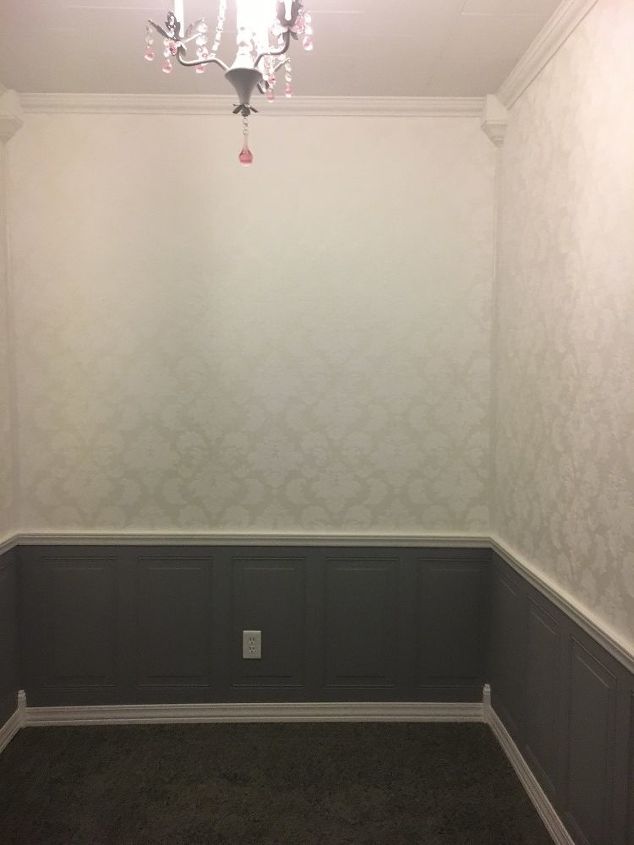
Too much trim? No such thing!
The wall board for the bottom added a little formal feel. All the outlets were replaced as well. The old brown outlets were updated to white.
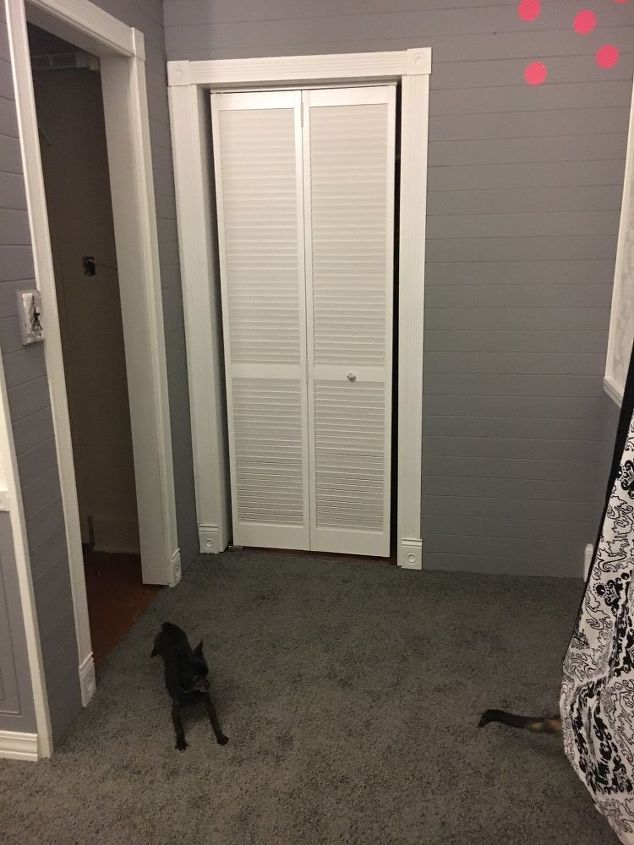
Supervisor Ovee hanging out with us.
Hung the doors. We used a little smaller than the opening door. When all the windows are open the air pulls through the door nicely.

Curtains of Damask and sheets.
Hung curtains between the corbel blocks with tension rods. No holes drilled!!!
The original floor 😢.
I was sorry to cover it up. It was tongue and groove planks. But the girl wanted gray carpet.
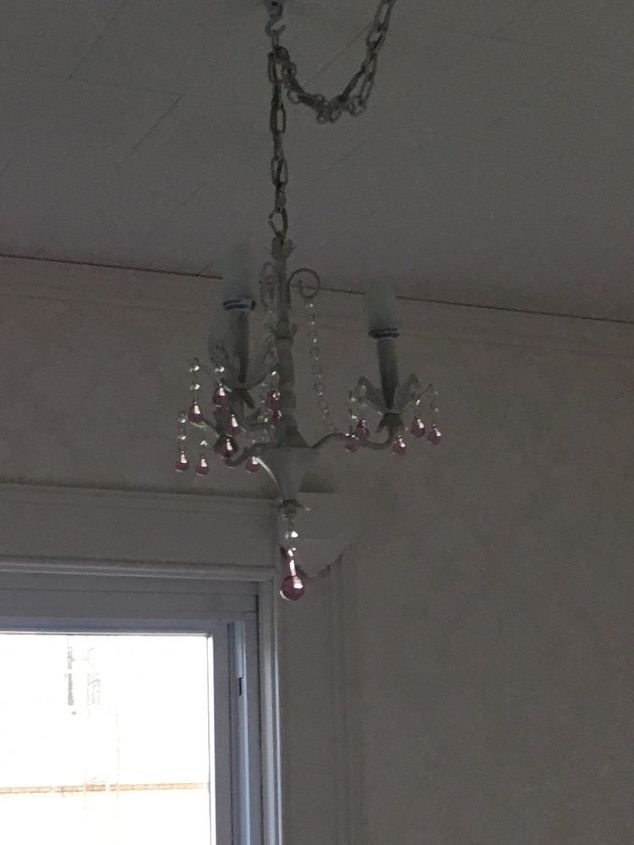
New light!
The old light was the smallest ceiling fan I ever saw in my life! So we added an LED chandelier.

Final approval...
Dibitty gave her final approval for the finished product!
Comments
Join the conversation
3 comments
-
That is what I call a complete transformation!
-
Fabulous, job.. Add another completed photo maybe, I'd love to see with furniture! Also...can you tell me where you found the corner and ceiling trim from and does that corner piece allow you to put the molding without mitered joints? thanks !


Frequently asked questions
Have a question about this project?
Fabulous, can you tell me how high the crown molding is ?