


DIY Crown Molding on Kitchen Cabinets
by
Kasey
2 Materials
$60
3 Hours
Medium
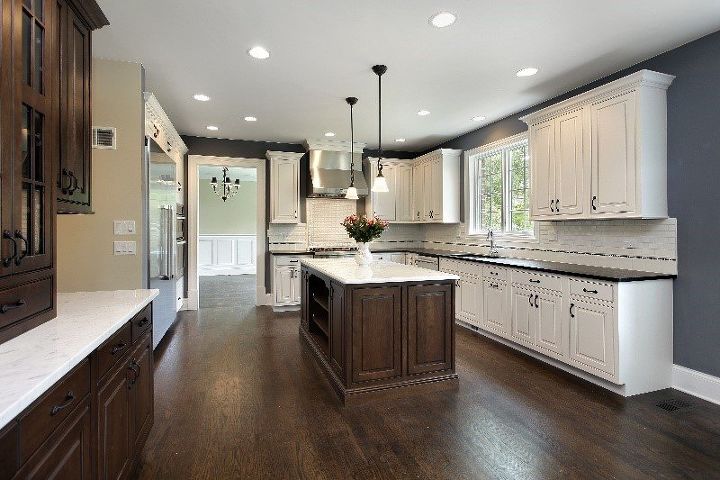
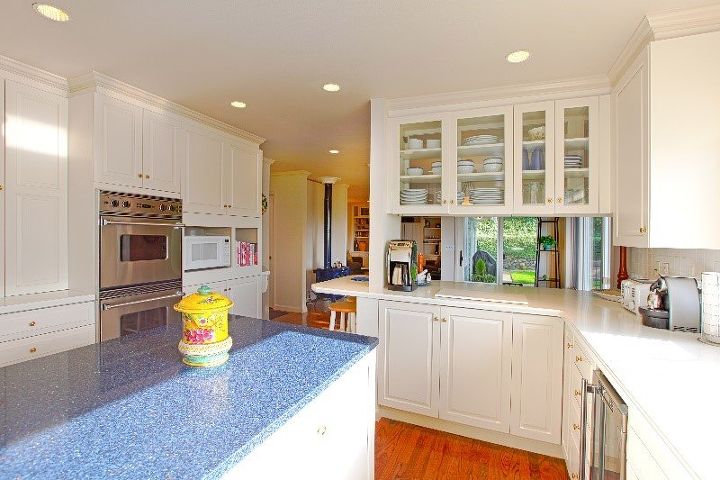
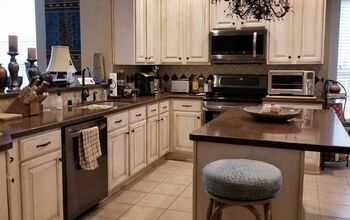
If you are seeking to add a touch of elegance and sophistication to your kitchen then crown molding might be just the subtle look that you crave. The molding creates the feel of a higher ceiling and gives the impression of a more expansive kitchen. It’s an easy and cost-efficient DIY project that adds exceptional visual contrast to any decor.
Materials Needed to Add Crown Molding to Your Kitchen Cabinets
● Crown molding -- Crown molding is typically sold in 8-foot lengths.
● Wood mounting strips/nailers -- Wood mounting strips are sold in varying lengths. The wood mounting strips/nailers should measure ¾ by 1 ½ inches.
● Baseboard-type molding -- Baseboard-type molding pieces are usually available in 8-foot lengths. The molding pieces will be used to create the riser for the crown molding to rest on.
● Miter saw
● Wood glue
● Nails 1 ½ inch nails
● Hammer
● Finish nails
● Wood putty
● Paint or stain
● Paintbrushes
● Tape measure
● Sandpaper 320 grit
● Caulk
● Touch-up paint
Steps to Add Crown Molding to Your Kitchen Cabinets
1. Add solid wood mounting strips, also called nailers or nailing blocks, across the length of the top edge of the cabinets where you will be applying the crown molding. Use long lengths of wood mounting strips for each length of cabinets. The mounting strips provide protection to your cabinets so they do not inadvertently crack when installing the crown molding. The strips will also help to hold the risers and crown molding pieces in place.
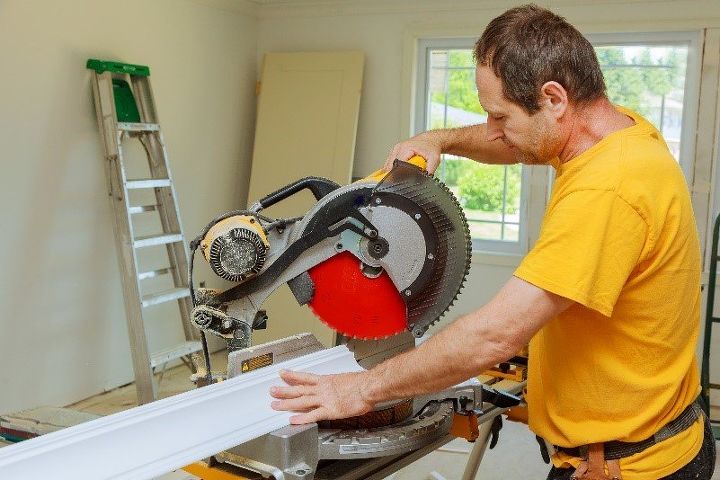
2. Cut the thin wood mounting strips using the miter saw to fit all areas that will eventually feature the crown molding.
3. Glue the wood mounting strips to the top edge of the cabinets.
4. Drive small finish nails into the wood mounting strips intermediately to further secure the strips to the wall.
5. Use baseboard-type molding to create a riser, also called a toe kick, by cutting the molding with a miter saw to create 45-degree angles. The baseboard-type molding will run the entire expanse of the wood mounting strips to create a base for the crown molding and lift it so it successfully touches the ceiling. However, if you have high ceilings, the crown molding does not need to touch the top of the ceiling to achieve the desired look needed to accentuate your cabinets.
6. Spread wood glue onto the back of the baseboard-type molding strip and affix it to the wood mounting strip.
7. Drive 1 ½ inch nails into the baseboard-type molding to further secure the molding to the wood mounting strips.
8. Using a tape measure to measure the run of each riser section.
9. Measure the crown molding using the measurements you obtained from measuring the run of each riser.
10. Mark the crown molding using a carpenter's pencil.
11. Cut the crown molding in all necessary areas using the miter saw adjusted so it cuts at a 45-degree angle. Trim the crown molding a smidgen past the carpenter’s pencil mark. You can always trim off the excess after installation.
12. Run a bead of wood glue down the length of the crown molding.
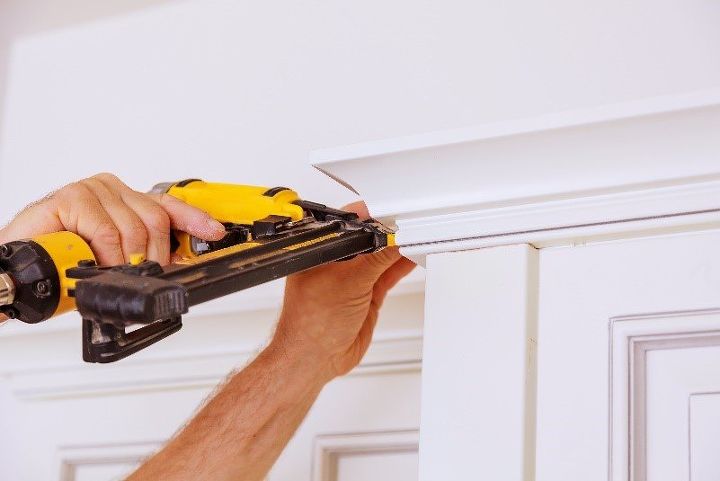
13. Affix the crown molding firmly to the surface of the riser. The crown molding should firmly touch the ceiling if that is the finished look you seek. If you wish to leave a gap between the ceiling and the top of the crown molding then that is also a viable option. It simply depends on the finished look that you wish to achieve with your crown molding.
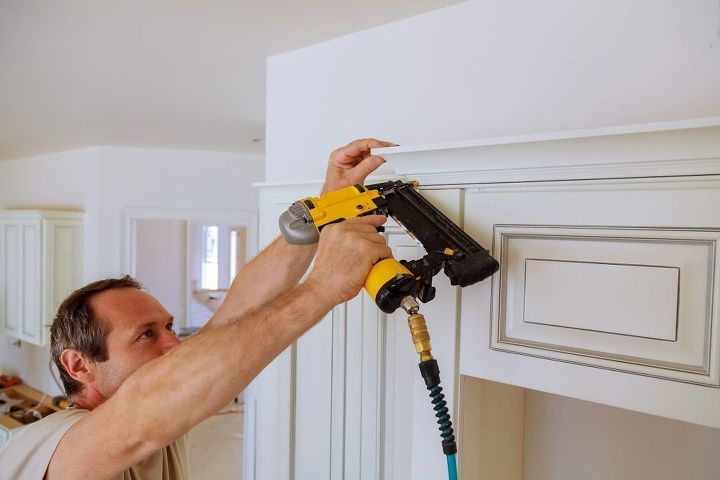
14. Nail the crown molding onto the riser using finish nails to further secure it to the riser.
15. Sand away any excess molding at the joints after the crown molding is firmly affixed to the riser.
16. Fill in any nail holes and smooth the joints to create a soft surface using wood putty.
17. Paint or stain the crown molding to match your kitchen.
Additional Tips for Installing Crown Molding to Your Kitchen Cabinets
Filling in the Gaps Where the Crown Molding Corners Meet:
When installing crown molding you will typically have gaps at the corners or where two pieces of cut molding meet. Fill in such areas using wood putty. Allow the wood putty to dry and then sand its surface to complete the finish. Paint or stain to completely cover the imperfection.
Filling in the Gaps where the Crown Molding Meets the Ceiling:
Ideally, the crown molding should fit flush against the ceiling’s surface if you want the crown molding to touch your ceiling. However, wood is never perfect and the small imperfections in the wood’s angle might cause there to be gaps between the crown molding and the ceiling. If such a gap should exist, you can run a bead of caulk between the crown molding and ceiling’s surface to fill the area. Smooth the caulk with your fingertip and all it to dry. When dry, you might want to touch it up with paint to create a barely noticeable surface.
Nailer and Air Compressor:
Installing crown molding requires a lot of nailing. Although the DIY project can be completed using only a hammer, it is easier if you invest in a nailer and air compressor.
High Ceilings:
Some kitchens have high ceilings and the kitchen cabinets do to not come close to reaching the ceiling. In such instances, crown molding can be affixed to the top frame of the kitchen cabinets and not rise all the way to touch the ceiling. Even if the crown molding does not touch the ceiling, it still provides a finished, polished appearance to the cabinets. In homes with exceptionally high ceilings, crown molding along the top of your cabinets creates a decorative lip and frame. You can even set knick-knacks on top of the cabinets behind the crown molding frame.
Installing crown molding to your kitchen cabinets is a great DIY budget product that instantly transforms your kitchen from drab to elegant.


Frequently asked questions
Have a question about this project?