


Wood Scraps & Wind Chimes

5 Materials
$6
2 Hours
Easy
Who else goes through the dollar store grabbing and tossing items in your shopping cart with no immediate plans for what you've chosen? Me, for sure because I'm drawn to a color or a theme of something I buy first and plan how to use it later. Like these ceramic wind chimes for instance, it was the coastal theme that appealed to me not the fact that it was a wind chime!
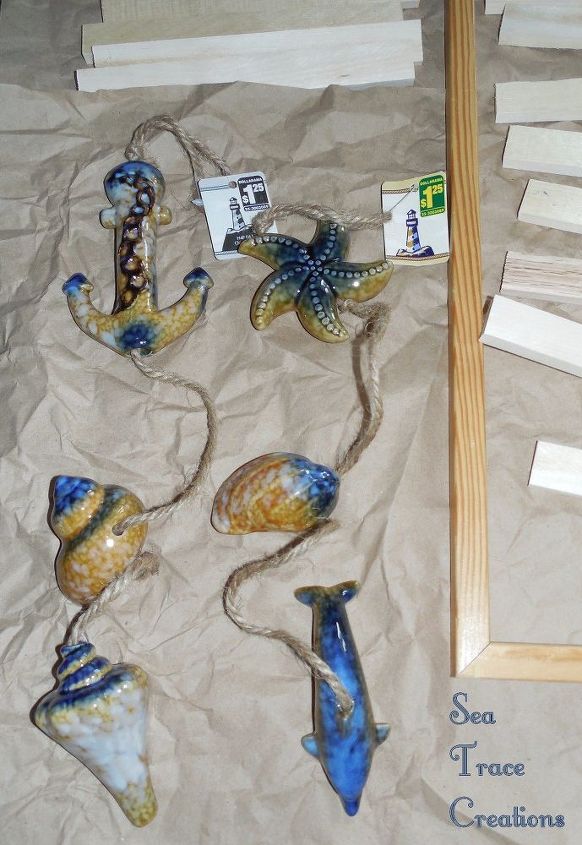
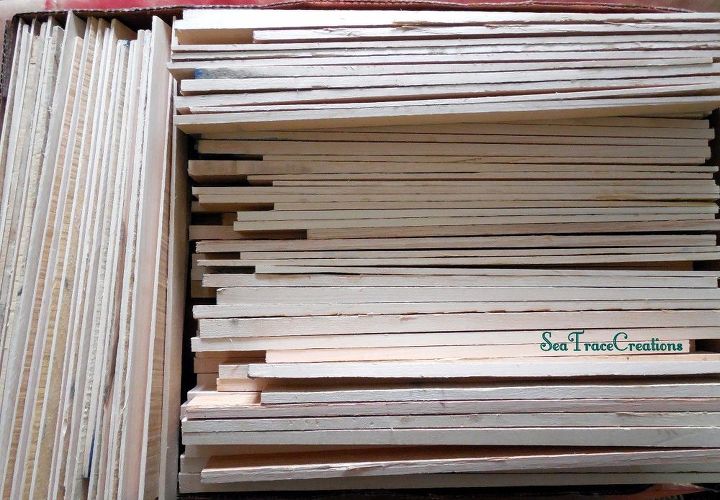
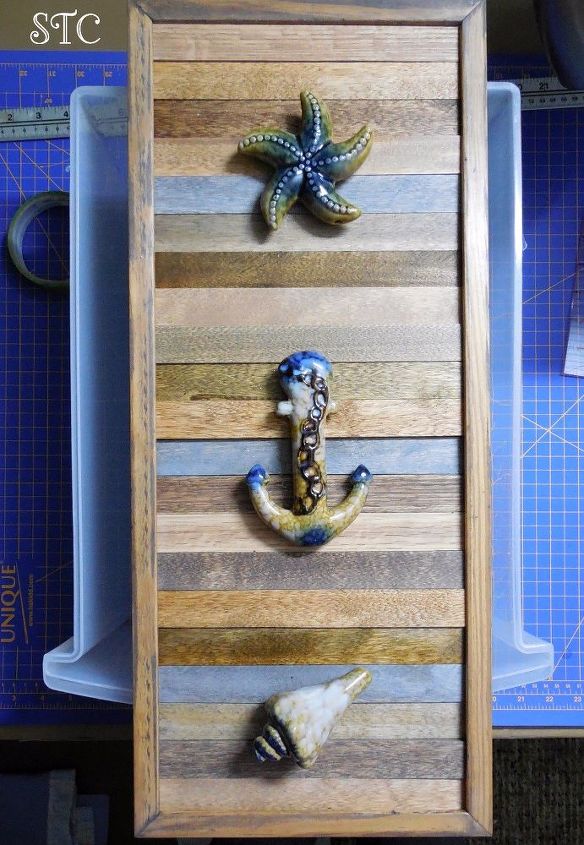
I removed the strings from the ceramic parts and selected pieces that could be glued and hung without the hole being apparent that was pre-drilled in them. Next I went to my wood scrap box and picked out some strips to stain, these could be substituted with wood shims.
I used the various colors of stain I already had and applied them with a cosmetic sponge. I recycled a long narrow picture frame that had the glass broken and now needed a new life. A thin piece of panel board was cut to fit as the back to which I glued the assorted colored strips onto. All pieces were laid flat in place to allow to dry overnight.


Lastly the three nautical items I chose were glued in place to hang vertically on my wall. Once items were securely attached to the wood and allowed to dry I added the necessary hardware on the back to hang my new art.
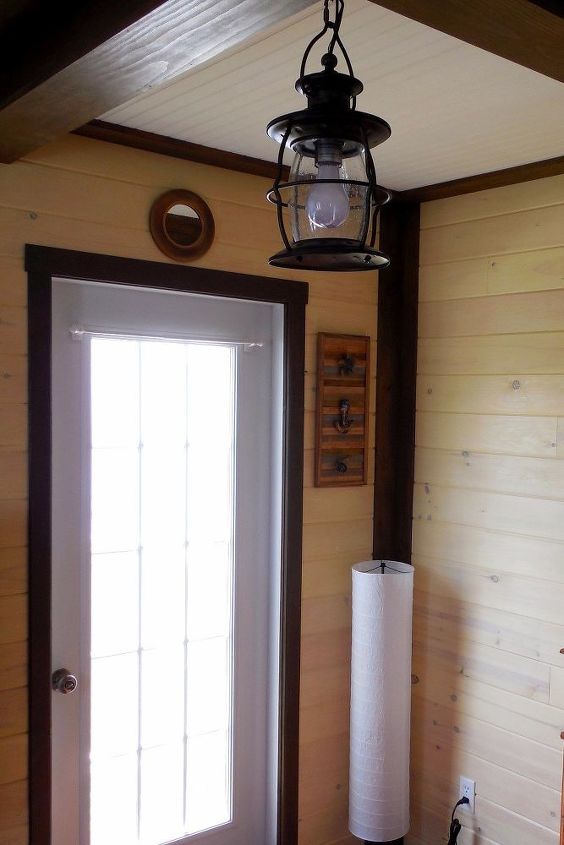
It's hanging in a coastal themed guest room on a narrow wall space that provided the perfect space to hang my wood scraps and wind chimes...ahemmmm I mean custom art! lol!
Comments
Join the conversation
2 comments
-
Yet another beautiful coastal decor piece from you!


Frequently asked questions
Have a question about this project?