


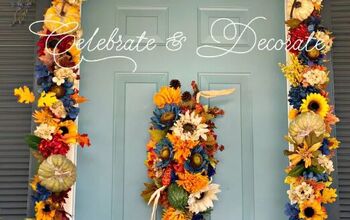
Fall Topiary Decoration

9 Materials
$10
3 Hours
Easy
I had one wreath from last year for Fall decorations and wanted to make more. I don't think it's just coincidence how things work out sometimes.
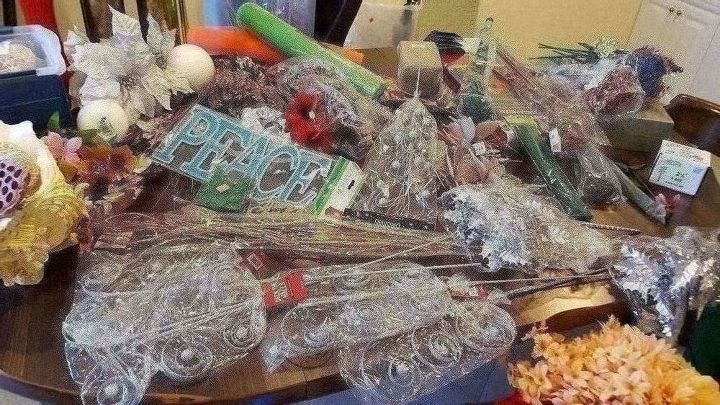
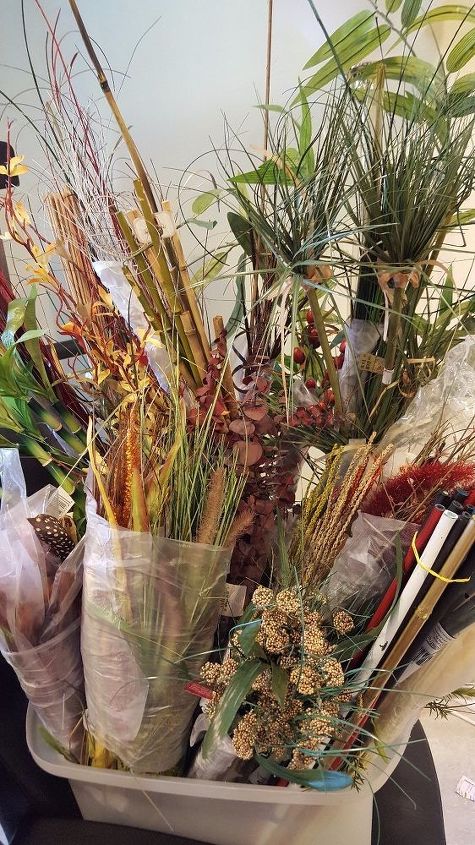
I received a notice about an estate sale of a florist, and what a haul I made. There were rooms full of flowers, greens, stems, picks, etc. I ended up with many other seasonal items as well as general purpose decor. What a haul I made and spent only $60 for all this!
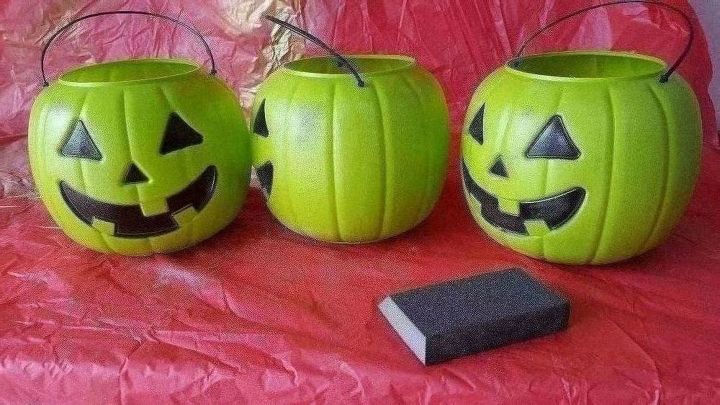
I started with making a topiary. I needed to purchase pumpkins for what I had in mind but the pickings were really small or too expensive. That didn't stop me, as DIYers would know. I purchased three pumpkin buckets from Walmart for $1 each. There weren't any orange colors available so I took these ugly green colored buckets.
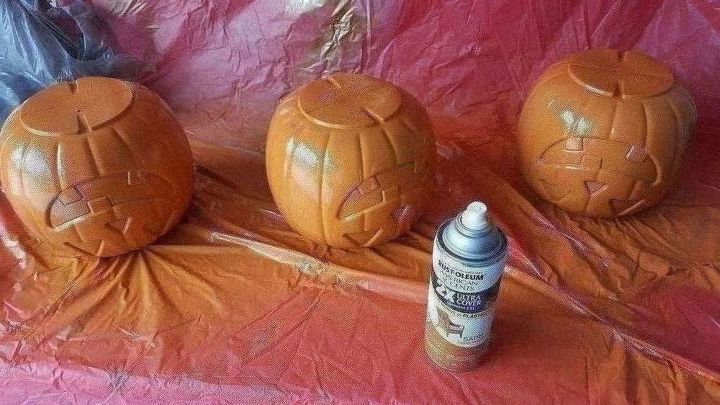
That's where spray paint comes in. After removing the handles and lightly sanding down the buckets, I painted them orange, 3 coats, with paint I already had.
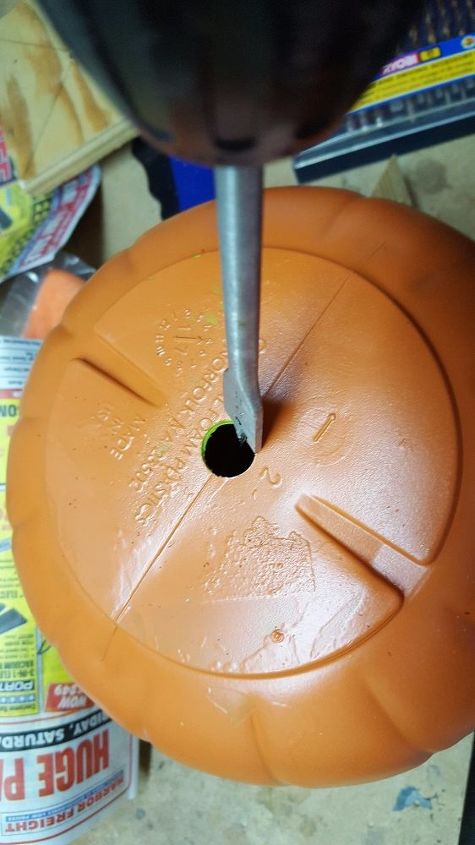
Next I drilled a 5/8" hole into the bottom of all the buckets using a drill spade (I think that's what it's called). I already had a dowel to use - 5/8" by 4' that I had picked up at Home Depot last year.
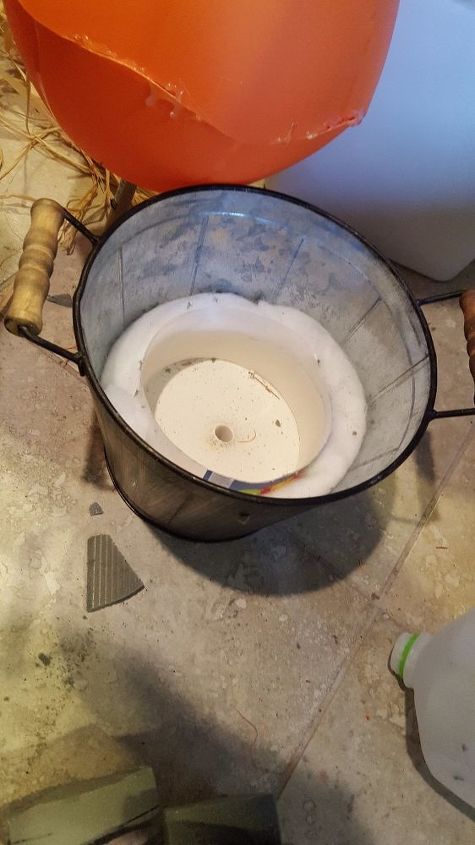
Now came the part of making a base. I had two metal pails I had picked up on clearance a while ago from Hobby Lobby that would work great for the bottom. But what came next was the scary part for me. I had never used plaster of paris before and needed to make a base for the topiary dowel. It turned out to be quite easy. I cut off the bottom of a milk container to set inside the pail and held this in place with fiberfill. I mixed the plaster of paris according to directions, and poured it in while holding the dowel in place. To give it time to dry I moved the bucket next to a table so the dowel was just touching the table for support and used a level to make sure it was vertical and let it dry overnight like that (sorry, no picture). After drying I made the mistake of picking up the whole thing by the dowel instead of by the bucket handles and the dowel came out. The plaster still held it in place pretty well, though, and without the dowel it will probably be much easier to store, so it turned out to be a little ooops, the first of two. But lesson learned. Turns out that I didn't like the orange color any more than the green. They were too fake, no texture. So I repainted them again, this time using gold and ivory. Funny thing, but when I spray painted them a clear coat for protection, the orange color showed through even though I had put two coats of gold and ivory on. But it was a good thing! It gave the pumpkins the more depth and texture I was looking for. I would probably be pretty upset if it happened on any other project but was perfect for this one. Sorry, but I didn't take any photos of them being repainted.
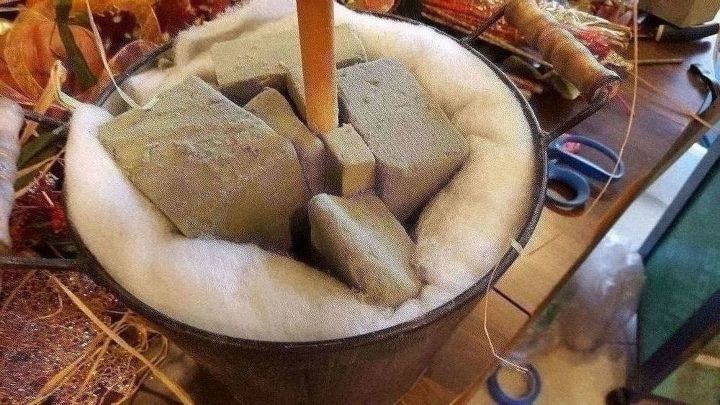
For added support I used more fiberfill and then cut up floral foam and packed it around the dowel.
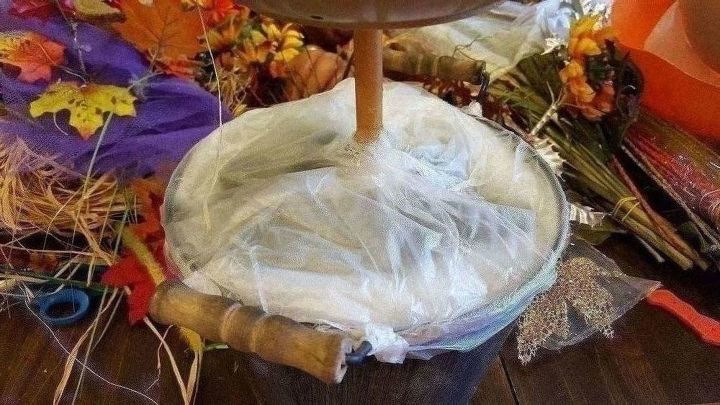
Because I wanted this to be an outdoor decoration I wrapped cling wrap around the top of the pail to keep out the rain. Ooops No. 2. I'll let you know why in a little bit.
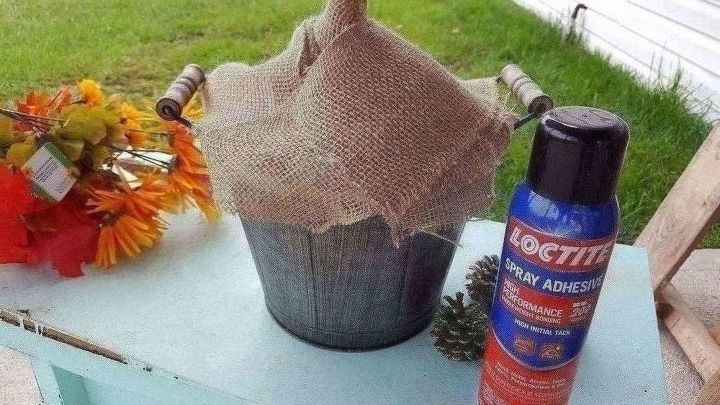
To cover the cling wrap I tried to use a spray adhesive and attach some burlap but the adhesive didn't hold. So the burlap was hot glued on.
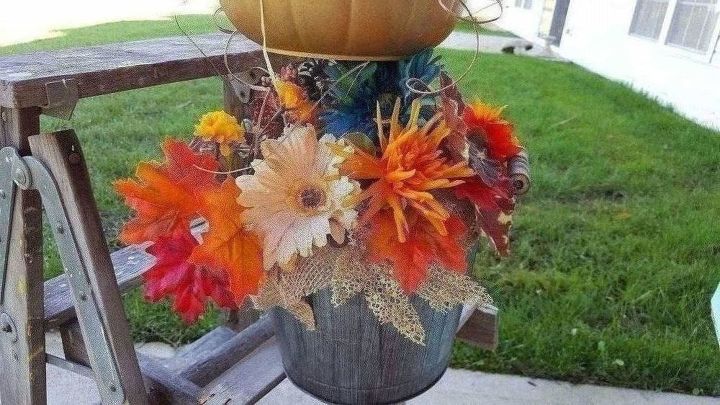
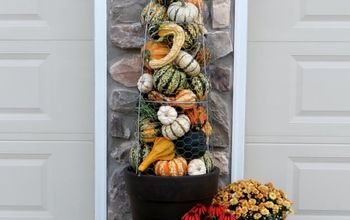
The pumpkins were slid down the dowel upside down so the top openings in the buckets were hidden. They fit very snugly on the dowel so they didn't need any additional glue to keep them in place. Next was to decorate with Fall items from my haul. So much to choose from! The Fall decorations conceal the fact that the buckets are flat on the top (because they’re upside down).
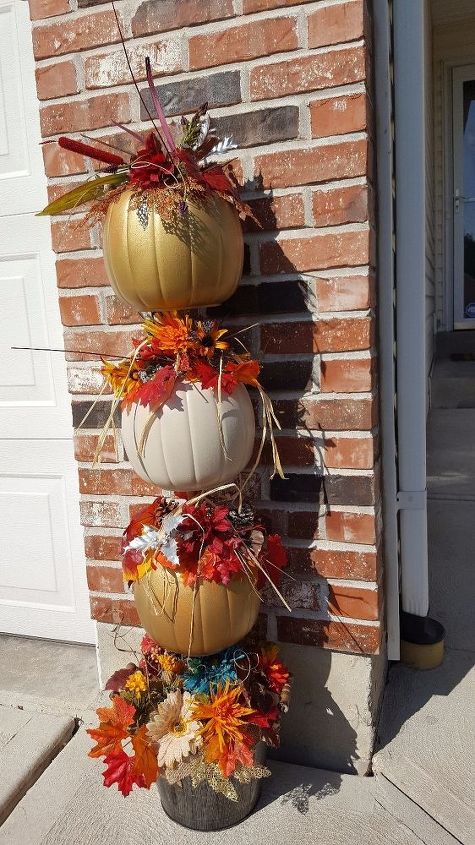
Can you tell these are $1 buckets? I was going to use this outdoors but that ooops I mentioned earlier? I forgot to weigh down the pail. When I went out to get the mail I saw that the wind had blown the topiary over. I don't think it weighs even 5 lbs. I didn't want to tear apart the decorations, burlap and cling wrap in order to put gravel or stones in so this just became an indoor project. I surprised myself on how nice this turned out. And I used a very small amount of the estate haul. More photos on the way with other projects I created using those. Thank you for looking! Be sure to jump over to my FB Nostalgictime Creations page and see what else I've been up to. Be sure to like my page, please! https://www.facebook.com/nostalgictimecreations/
Comments
Join the conversation
3 of 38 comments
-
I've also seen one where they connect the pumpkins and make a snowman.
-
Great idea! Well done, as are the instructions!


Frequently asked questions
Have a question about this project?
Are you calling the pumpkins "buckets"?
The pumpkins look pretty flat against the brick wall...did you cut some of the backside of the pumpkins off.? I sort of got lost in the instructions. It looks great even if I didnt understand all the instructions. It gets windy here in certain seasons so would definitely have to weigh down the bottom bucket.
How did you attach all of the fall foliage to the pumpkin buckets ? Hot glue ?