


Small Storage Box From Pallet Wood

by
Clint
3 Materials
$2
4 Hours
Easy
I was asked to make a small storage box which resembled one that was already bought from a shop with a couple of changes. It'll end up at a wedding next year in the men's bathroom where it'll store perfumes and toiletries. This is made completely from pallet wood and is a great beginner project as it can be made with less complicated joints if need be.
{
"id": "4398109",
"alt": "",
"title": "",
"video_link": "https://www.youtube.com/embed/wJxCC_5Bdkk",
"youtube_video_id": "wJxCC_5Bdkk"
}
{
"width": 634,
"height": 357,
"showRelated": true
}
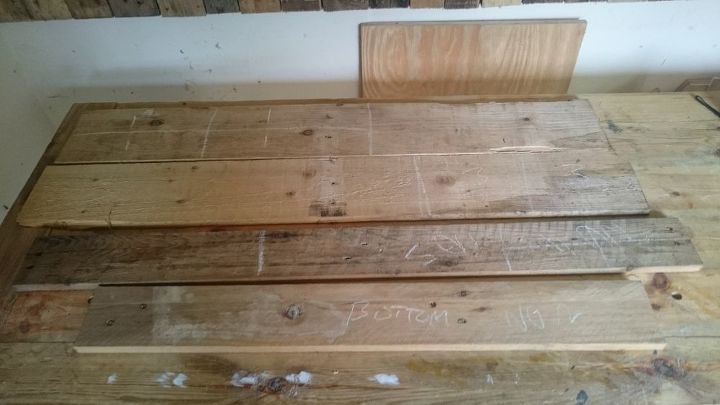
I started with a pile of pallet wood and marked out all the sections needed with some chalk, I find that this helps me figure out how much wood I need without permanently marking the wood.
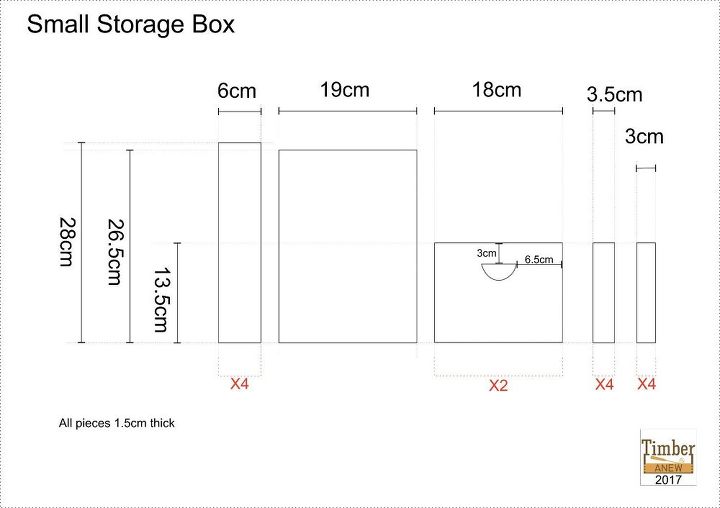
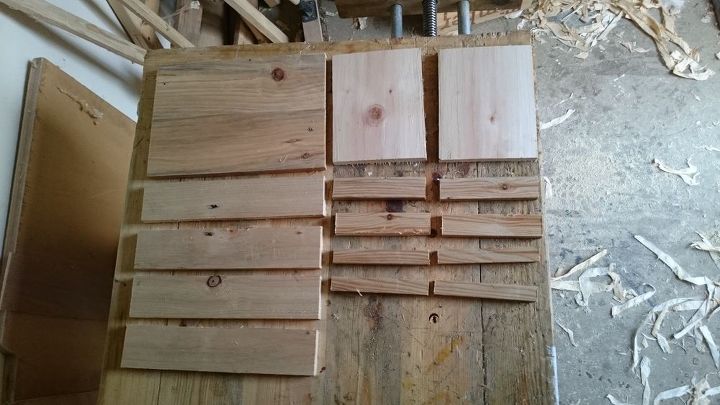
It was then just a case of cutting out all the marked pieces to the sizes shown on the plans.
With all the pieces made I then had to cut out the handles by drilling a hole in the corner of the handle, taking my coping saw apart and pushing it through the hole and finally re attaching it to the saw frame. This allowed me to cut inside the wood.
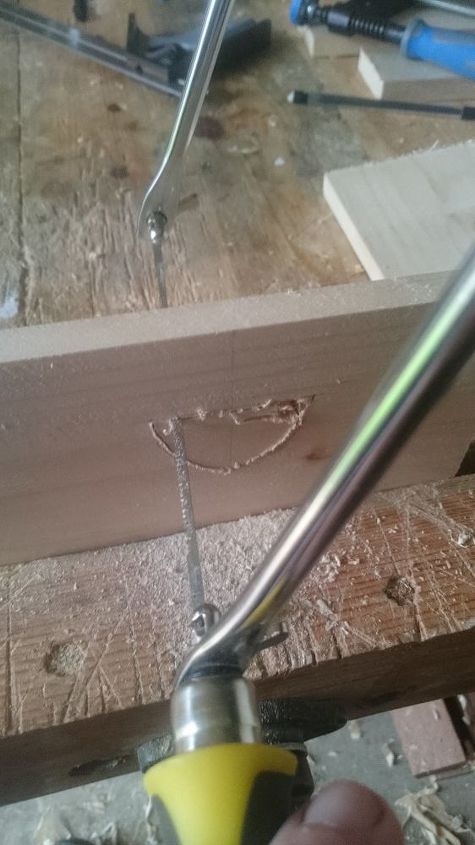
When the hole was cut I popped the waste wood out and used a file to make the handle more rounded and smooth and then finished it off with sandpaper.
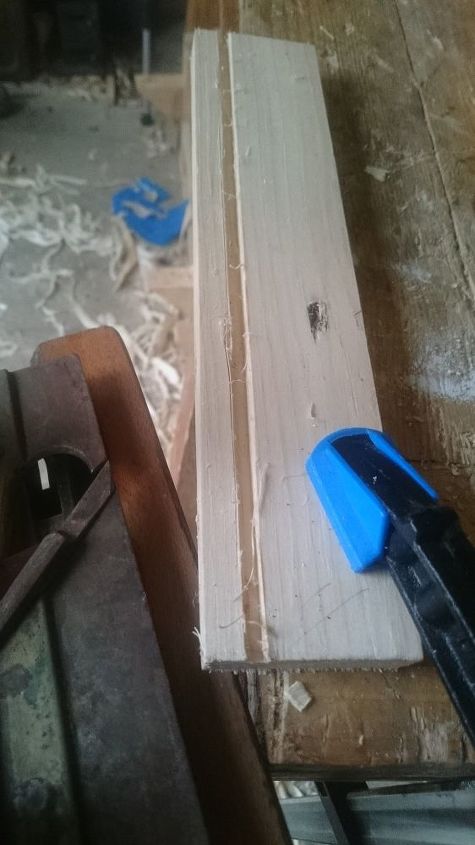
In order to attach the bottom of the box I decided to make a dado or groove in all of the sides for the bottom to slide into. I did this with a plough plane but it could also be achieved with a chisel. If you wanted to make this easier however you could just screw the bottom onto the box or even just glue it as long as the stuff you're storing in it isn't too heavy.
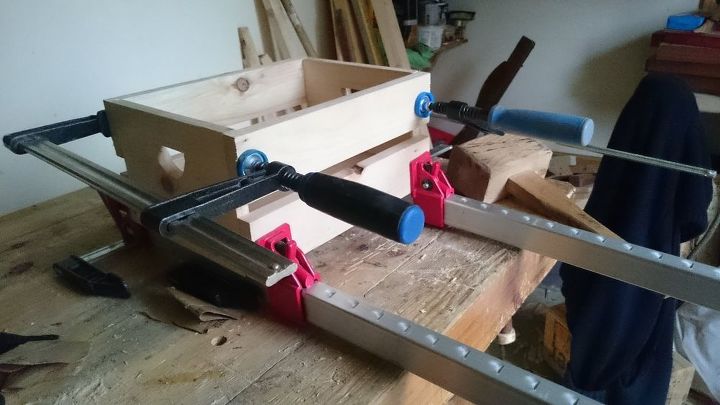
I decided to glue all the sides together which wouldn't be the finished box as these joints are too weak. It did however allow me, when unclamped, to drill holes into the sides and glue in some dowels. This step could also be done with screws if you want to skip the glue up and dowelling completely. I felt that dowels and glue would make a stronger joint over time (as well as being more fun to make).
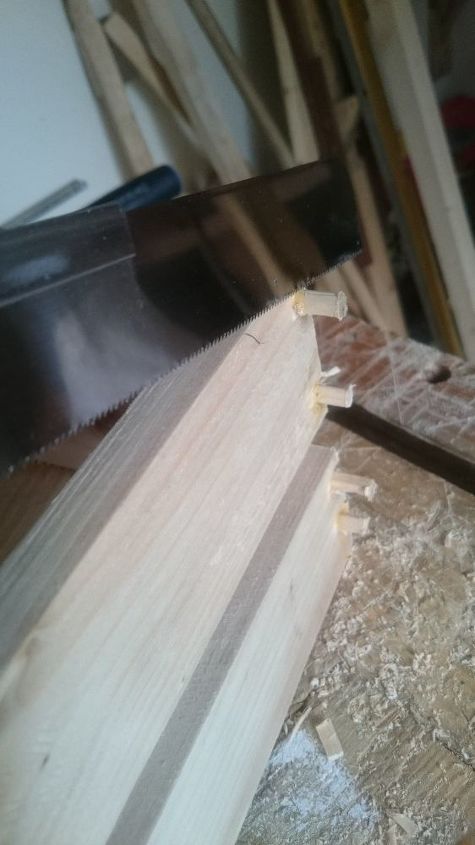
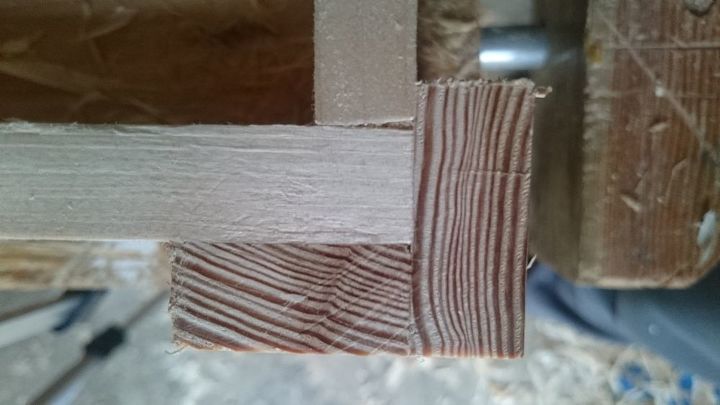
When the glue dried on the dowels I cut them off flush to the sides. I then had some sanding and planing to do to square up the sides before I glued the corner pieces on.
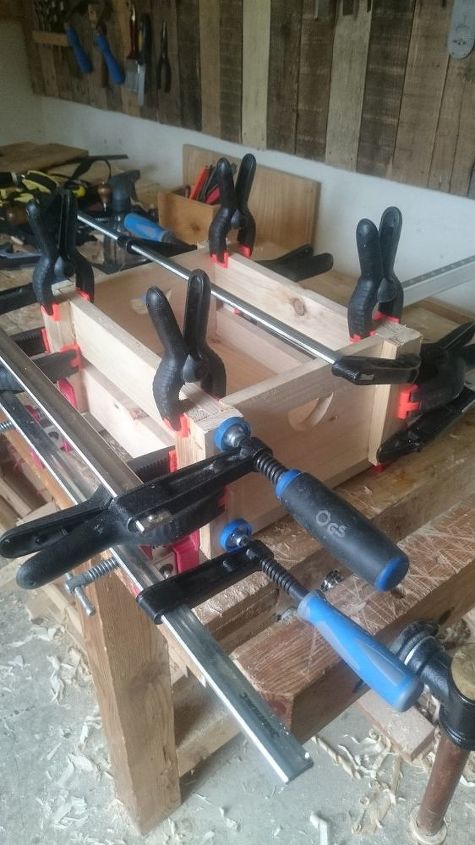
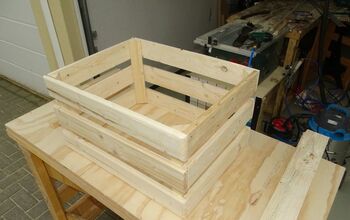
This was a slightly tricky glue up to say the least, I managed to handle it by gluing the corner pieces onto the lengths of the box first and then the others onto the width. There's a bit of fiddling to get them in the right place but its certainly achievable. Once again these could be attached with screws if you like but I feel like having the bare wood without screws in it looks better, but that's just my personal opinion of course!
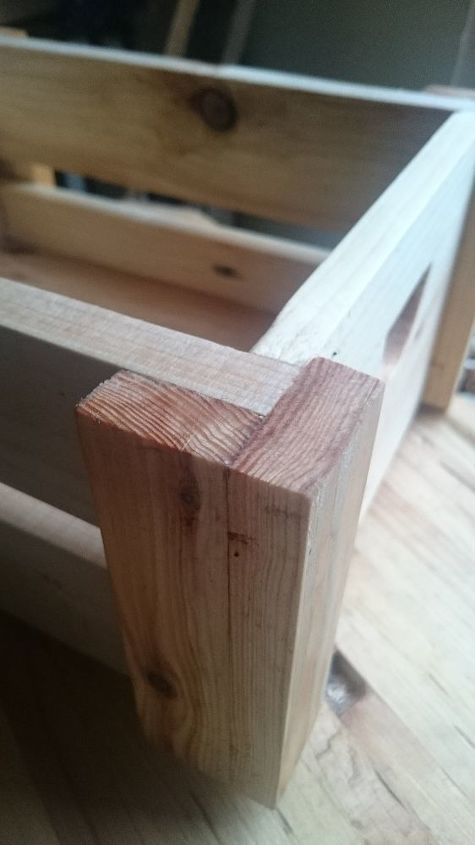
When the corners were dried I planed them square with the rest of the box and sanded the whole box down. You can see here how wonderful they look from the top with the end grain showing through. Who says pallet wood is ugly?
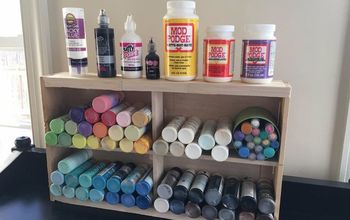
I used Danish Oil to finish the box off but I'm sure you could just use whatever you like depending on the purpose of your box.
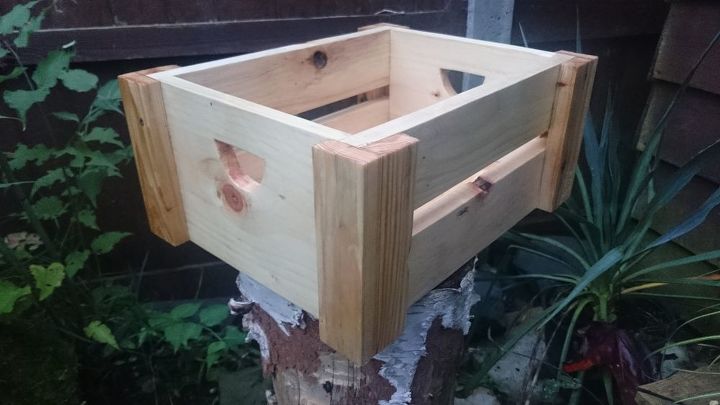
Then the box is done! This design could be scaled up to make a larger box or even scaled down to make a collection of tiny boxes perhaps. If you just use screws and glue its a very simple build and one anyone could achieve.
If you enjoyed that and you'd like to keep up with my other projects and check out my past projects then please like the . Thanks a lot!
Want more details about this and other DIY projects? Check out my blog post!


Frequently asked questions
Have a question about this project?