


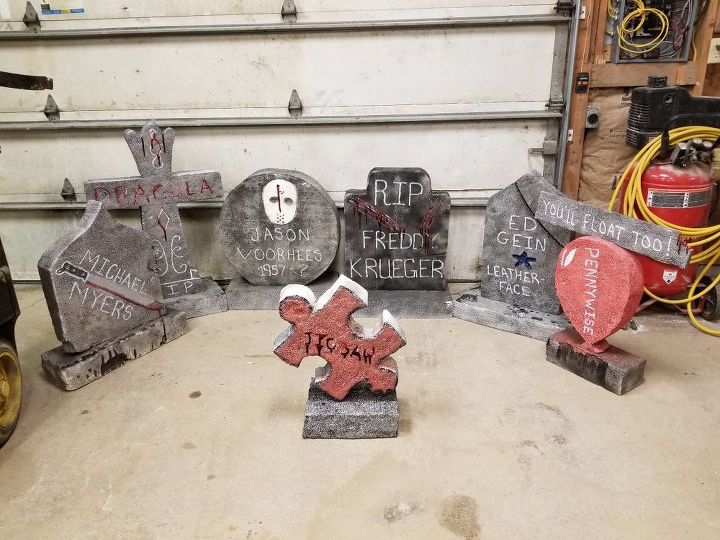
Halloween Decor

Why should you have to pay a ton of money for those Styrofoam headstones you see at the store when you can make it yourself.
Decide who you're going to use and use your imagination.
Get together anything you will need.
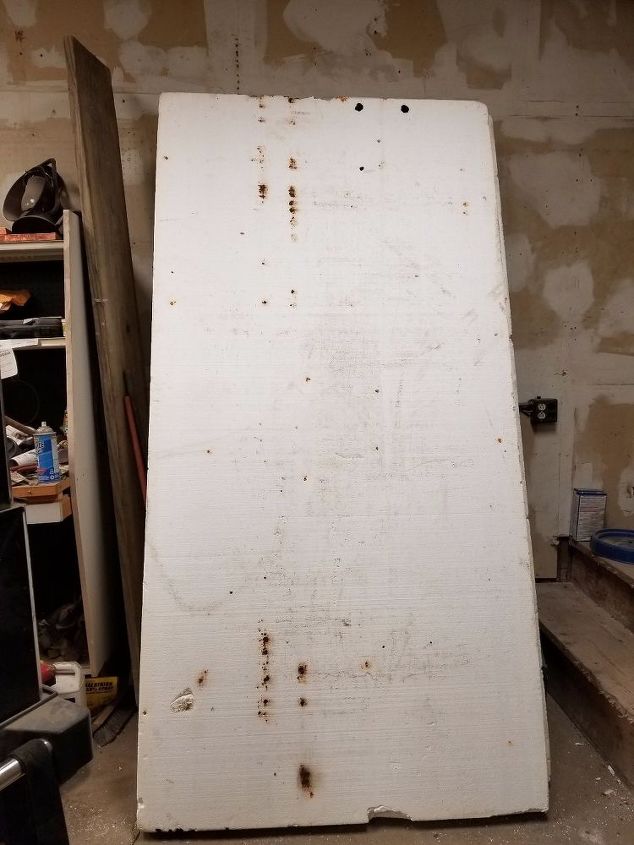
Get your Styrofoam (mine is used, got from my dad who's a commercial roofer). Decide what you want to do for a design.
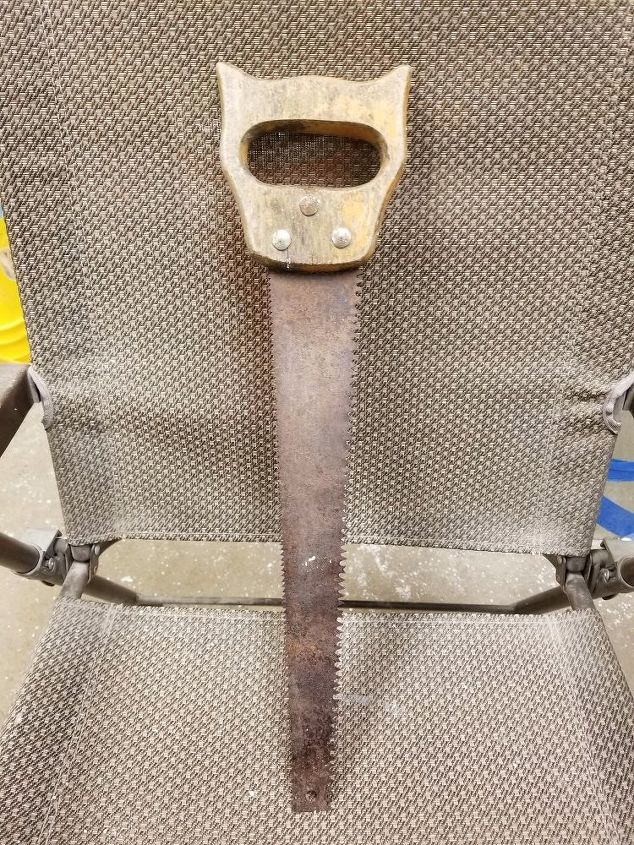
Cut you design out, I used a small double sided saw. Depending on you edges or curves, it can be a little tricky.
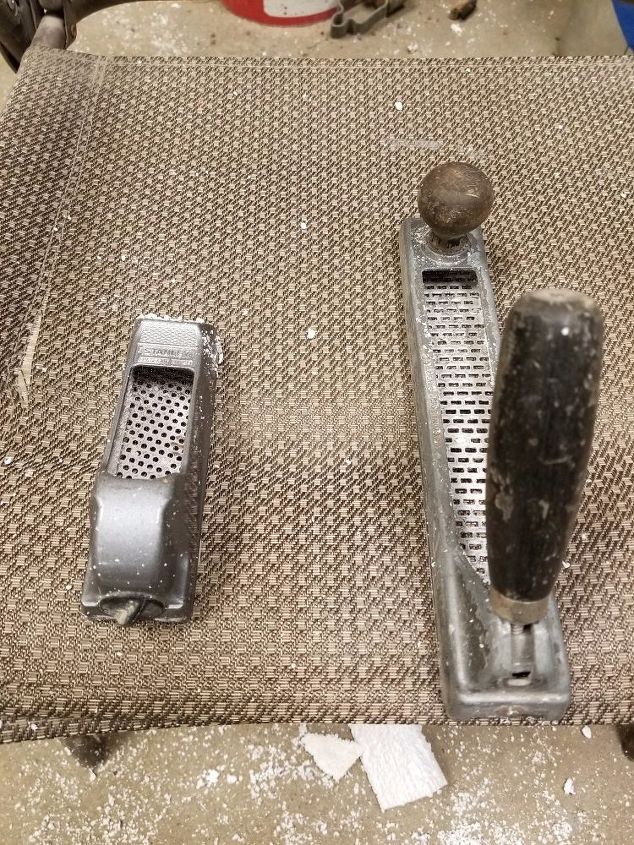
Once you have it all cut out, use the drywall tool to smooth the edges, so to speak.
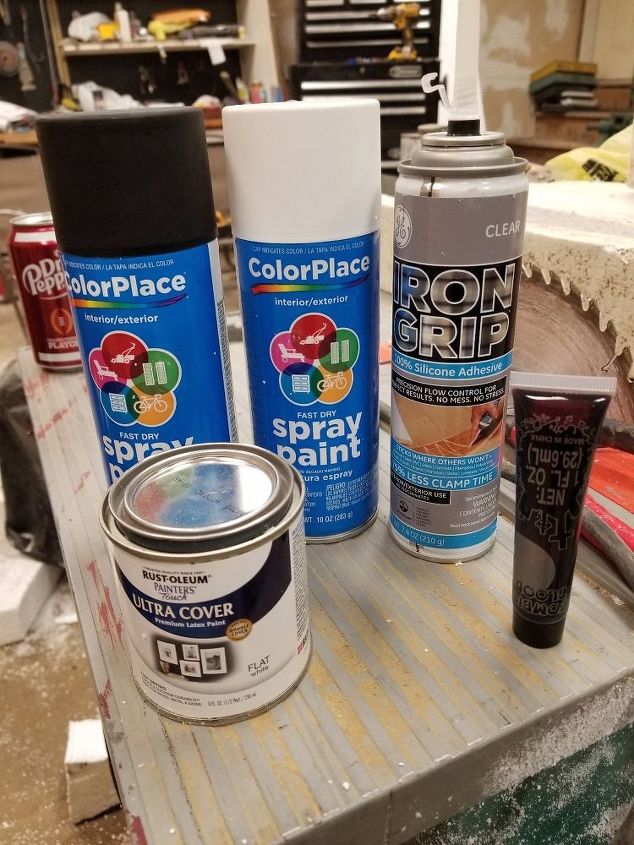
Once it's all cut and shaped the way you want it, paint away. I did some of the lettering after I painted. Try not to get too close to the styrofoam with the spray paint because it does eat away at it.
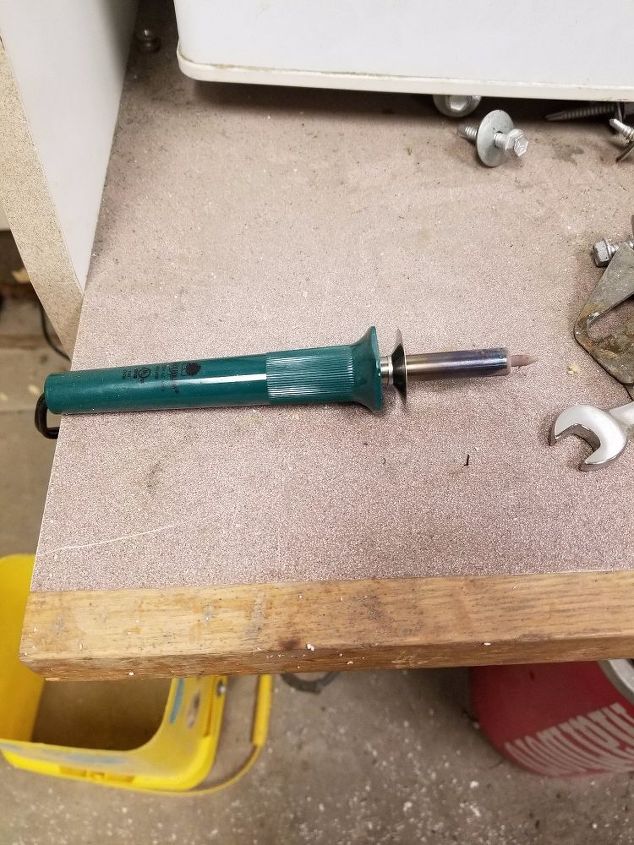
Once your painting is done, you use the wood burner to melt in your lettering in but, start with the tip because it does melt fast then, if you want your design or letters thicker or deeper then go over it.
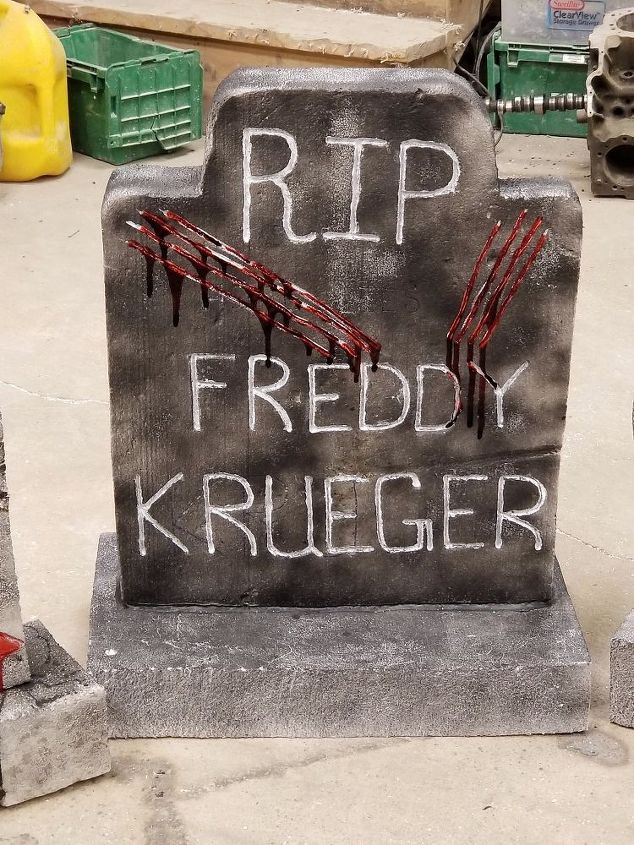
Add a little fake blood and you have a headstone that didn't cost you $50+
P.S. you can make a base too. That's where the wire comes in. You poke it into the base and into the stone to hold it together but, for that little extra support use an adhesive.
P.S.S. Have fun! They don't take long to make but it is addicting once you start.
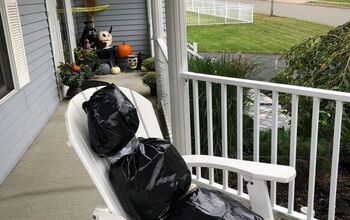
More Halloween Front Yard Ideas
Comments
Join the conversation
-
This is awesome!!
-
They look great! So many options.


Frequently asked questions
Have a question about this project?