


Repurpose Wine Bottles Into Festive Fall Decorations
3 Materials
$15
2 Days
Easy
I love welcoming fall into my home with my own DIY fall home decorations. I find therapeutic stress release in crafting. Tying that with my love for wine, I found the inspiration to upcycle wine bottles into handmade decorations. I think we all soon begin to realize how many wine bottles we're going through and throwing out ;)
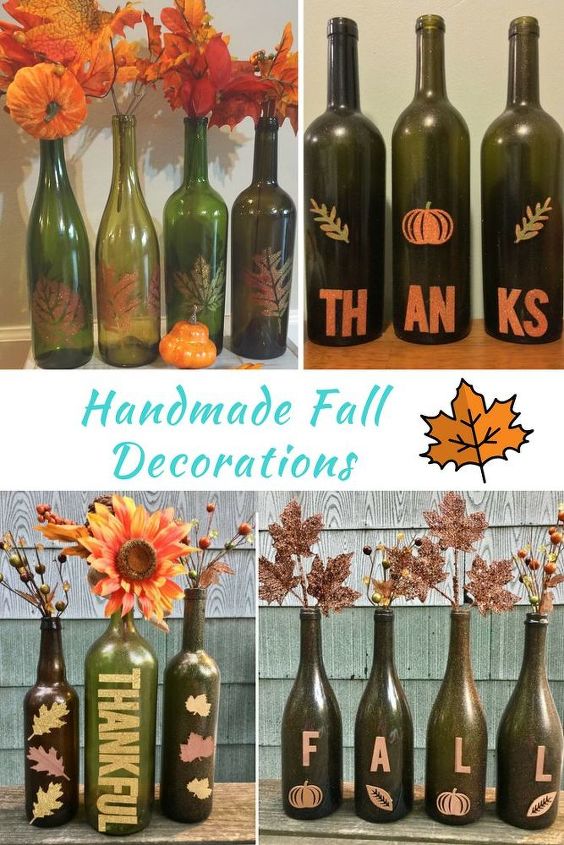
Upcyled Wine Bottle Ideas for Fall Home Decor
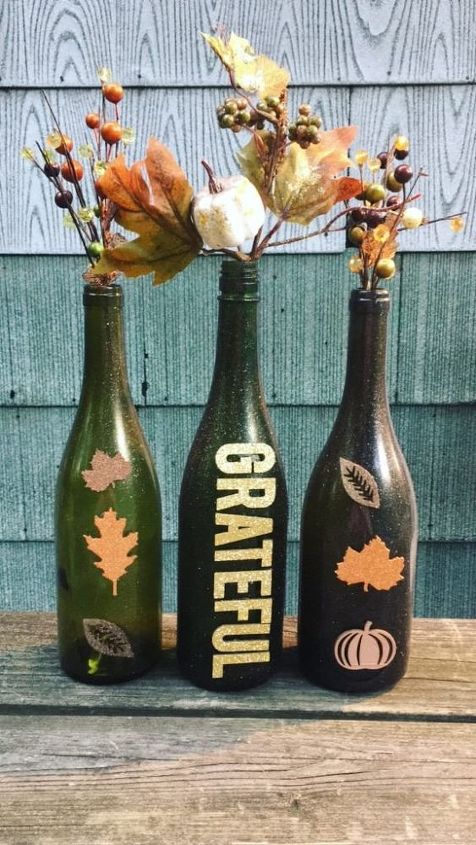
For fall seasonal decor I used leaves stencils, pumpkin stickers and autumn colors in my DIY wine bottle creations. Here's a few DIY fall decoration ideas you can make with items found at the craft store. These creative painted wine bottle decorations make great vases, candle stick holders, or they are great standing by themselves as decoration pieces.
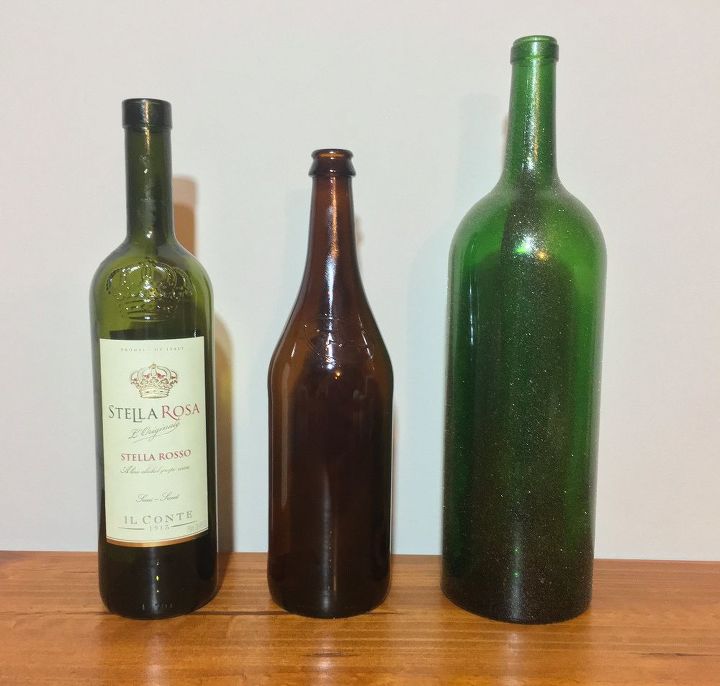
Remove the Wine Bottle Label
The first step is the hardest part! If you can get through cleaning the wine bottles, removing the sticky labels and glue residue - then the rest is just fun! Some wine bottle labels can be really tricky to remove. I start by running the bottle under warm water and using a handled dish-washing brush with a scraper.
If that doesn't work, I try soaking the bottles in hot soapy water until the water turns cold. The labels should separate and lift off easily. If not I mix 3 parts baking soda to 1 part vegetable oil (or whatever cheap cooking oil you are willing to sacrifice from the kitchen) to create a thick paste, about the consistency of Elmer's glue. This mixture should dissolve any stubborn glue or label. I slather this mixture onto the label or leftover glue residue and leave it over night. Then I return to the sink to scrub off the stickiness.
A final wash with dish-washing soap is needed to remove the oil & baking soda mixture. You'll want a clean, residue-free wine bottle before spraying, painting, or gluing anything on it.
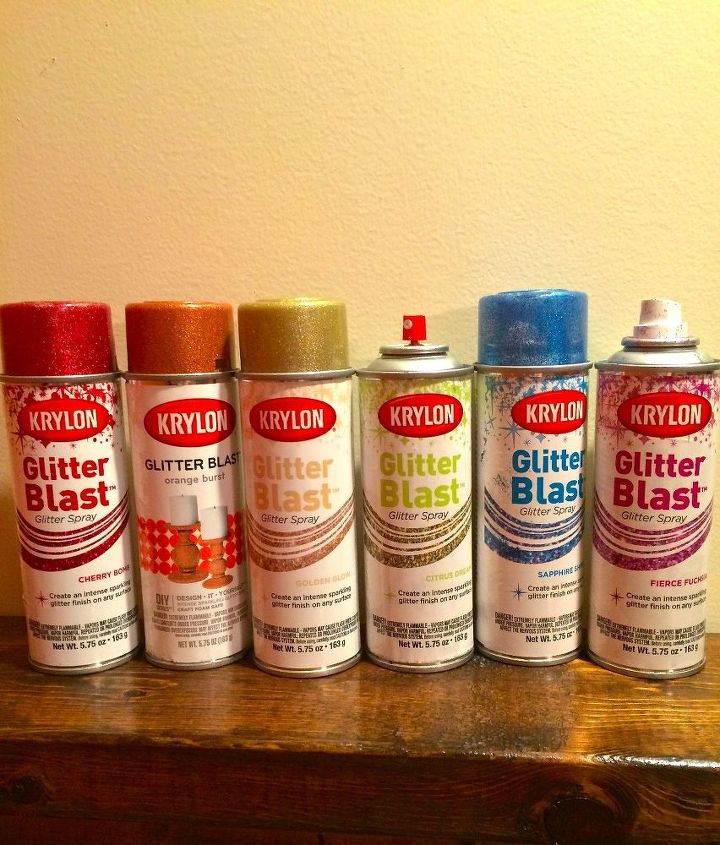
Krylon Glitter Blast Spray Paint
One crafty idea is to use Krylon's Glitter Blast spray paint to create fun and colorful designs on the wine bottles. You can find many colors of this glitter spray at craft stores, big box stores, home improvement stores and their corresponding online sites. I find it's often cheapest online at Walmart or The Home Depot, around $6 a bottle.
For the leaf design I started with a thin allover base coat of a golden or bronze glitter spray paint color. I always spray outside in the lawn with cardboard down on the grass for protection. I wear a mask and safety eye glasses, as this spray is strong and comes out in a solid stream and glitter does get everywhere. This glitter spray is something to adapt to working with - but easier once you get a hang of it.
Definitely shake the can well for at least two minuets and spray from at least 3 feet away for an even consistency. If you spray too close the spray gets wet and runs. I let this layer dry for 24 hours before starting on the decorative elements. Make sure to clean out the spray nozzle before the glitter dries and clogs the nozzle .
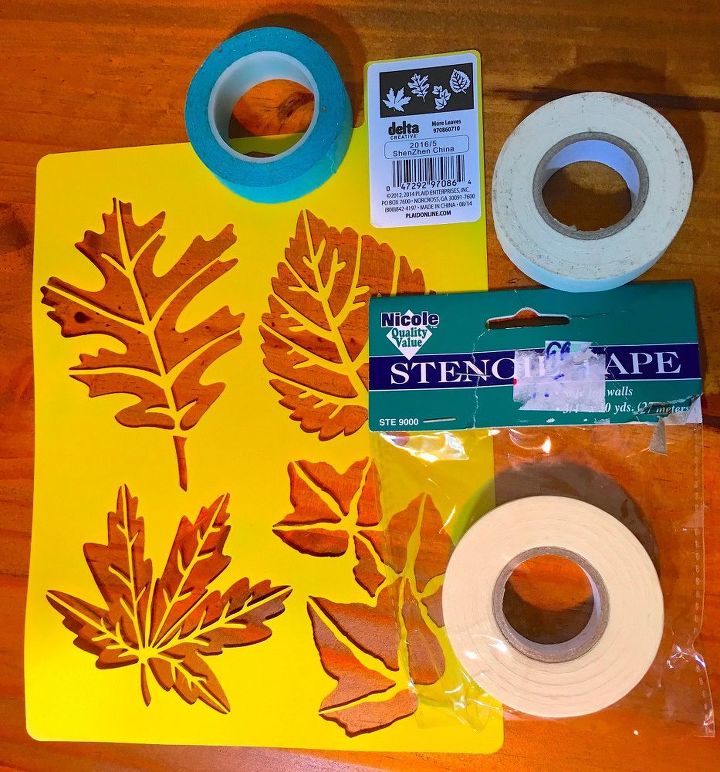
Flexible Stencil and Stencil Tape
To create a fun and festive fall leave design, I used a craft store flexible plastic stencil. I used re-positionable stencil tape to lightly tape the stencil onto the bottle. Since there's already a layer of textured glitter paint on the bottles its important not to use a tape thats too sticky, or that will leave a residue behind. There are also more fancy flexible adhesive stencils that work well too.
Next step is to cover all exposed areas of the bottle, leaving only the stencil pattern exposed. I use leftover newspapers, magazines and or even plastic shopping bags to cover all areas the round wine bottles. Once all the areas you don't want to spray with the leaf spray color are covered, spray evenly over the stencil pattern. If you spray too close to the bottle, the spray gets wet and runs behind the stencil. You worked so hard to tape the stencil precisely onto the bottle - so avoid doing that :) Same with layering, make sure to let the paint dry in between coats. In some designs I create an ombre effect by layering glitter spray colors.
I find it's best to remove the stencils (very carefully) about 20 minutes after spraying, before the paint has fully dried. If you let it dry too long the pattern may peel off with the stencil.

DIY Painted Wine Bottle
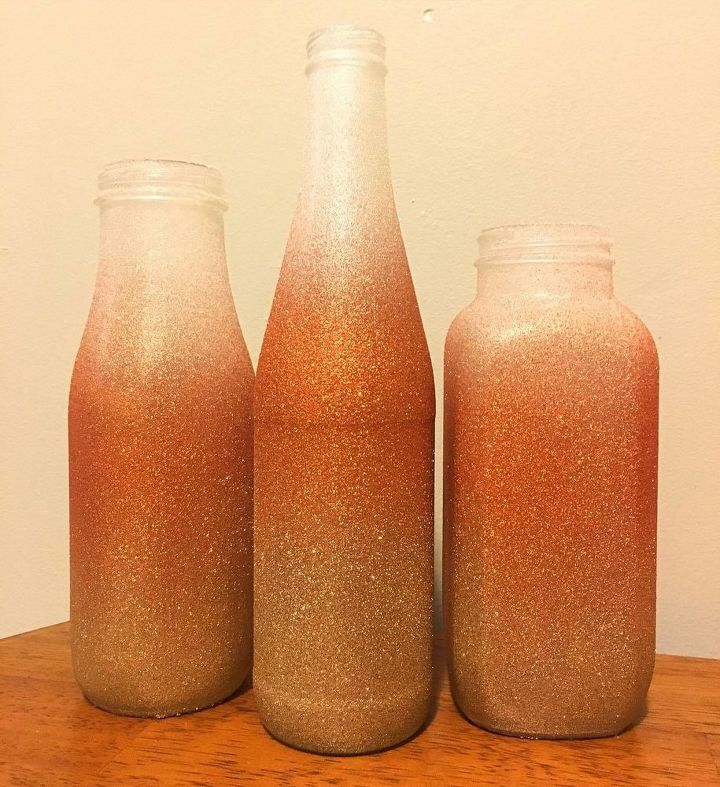
Candy Corn Painted Glass Bottles
An idea that doesn't require a stencil is creating a candy corn design. I created this with the Diamond Dust, Golden Glow and Orange Burst Glitter Blast colors.

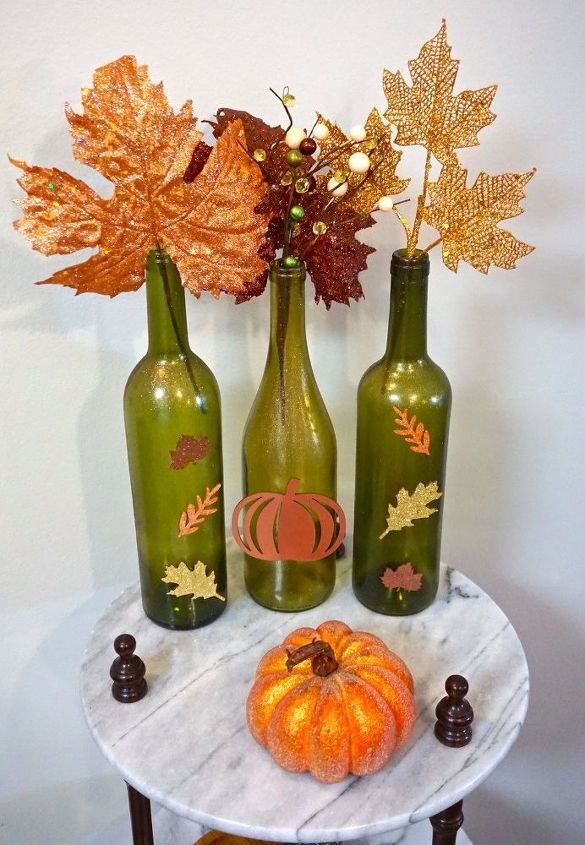
Festival Fall Stickers
For another fun and festive idea you can hot glue decals or place stickers on the wine bottles. I found these pieces at the Target dollar spot.
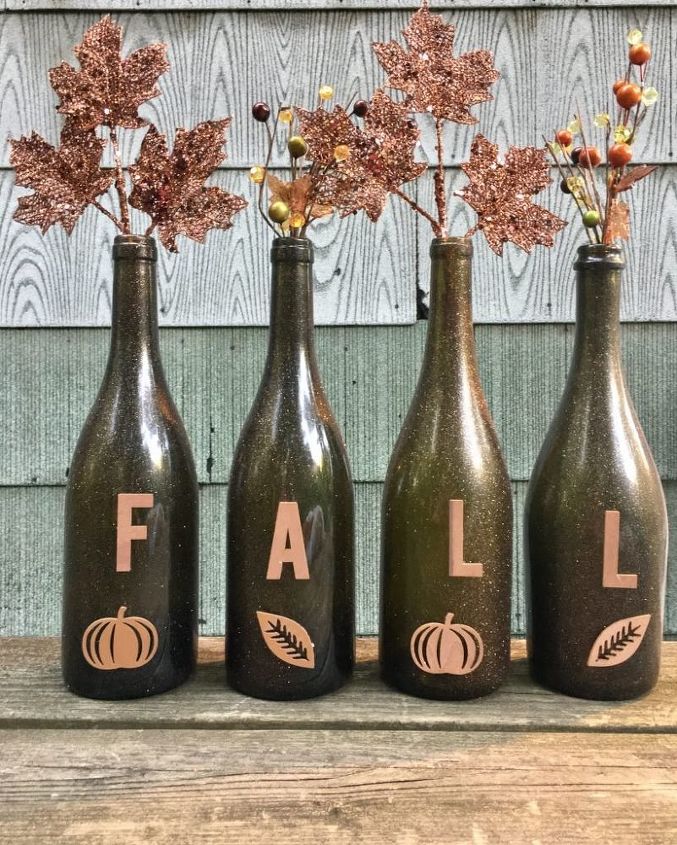
Handmade Fall Centerpiece
The most important part is to have fun with your creations :)

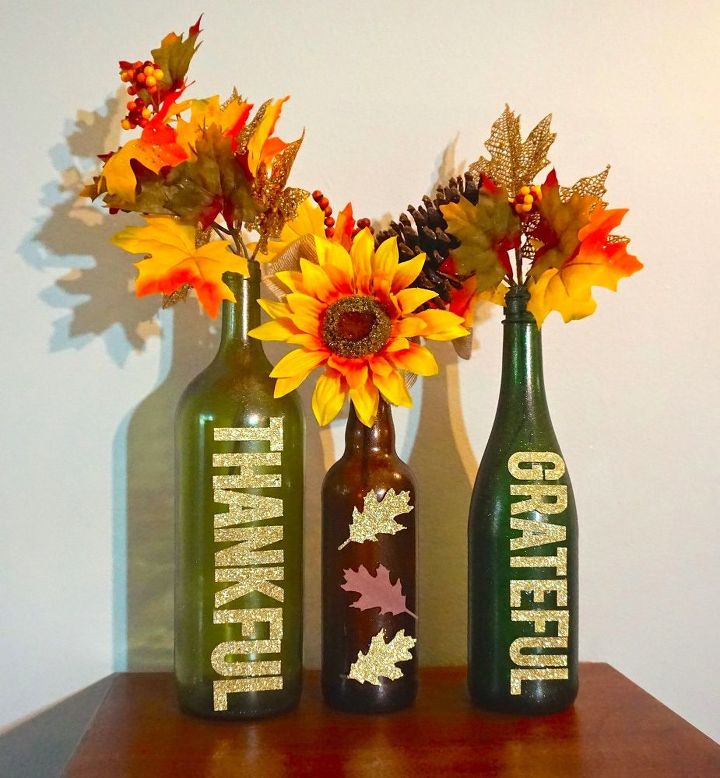
Thankful Fall Decorations

Want more details about this and other DIY projects? Check out my blog post!


Frequently asked questions
Have a question about this project?