


How To Make A DIY Holiday Decoration Reversible Sign
Here’s how I created my Harvest and Joy reversible outside decoration sign to add to my decorations. I hope this inspires you to create one for yourself. I first spray painted the wood on both sides with black chalk paint and let dry.
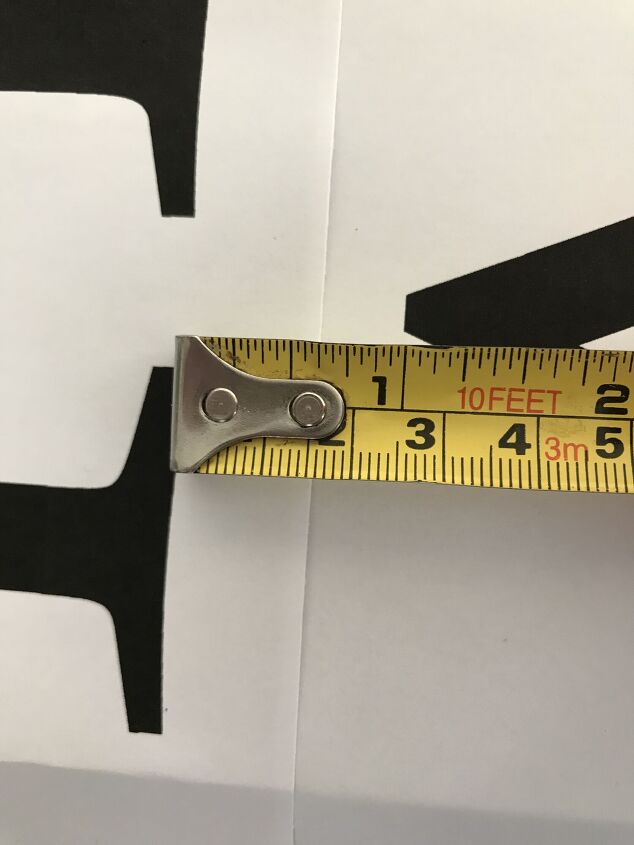
I created the harvest sign first. Print the papers out on the computer, then go and place them 1 inch apart about 18 inches from the bottom so you can see the entire word.
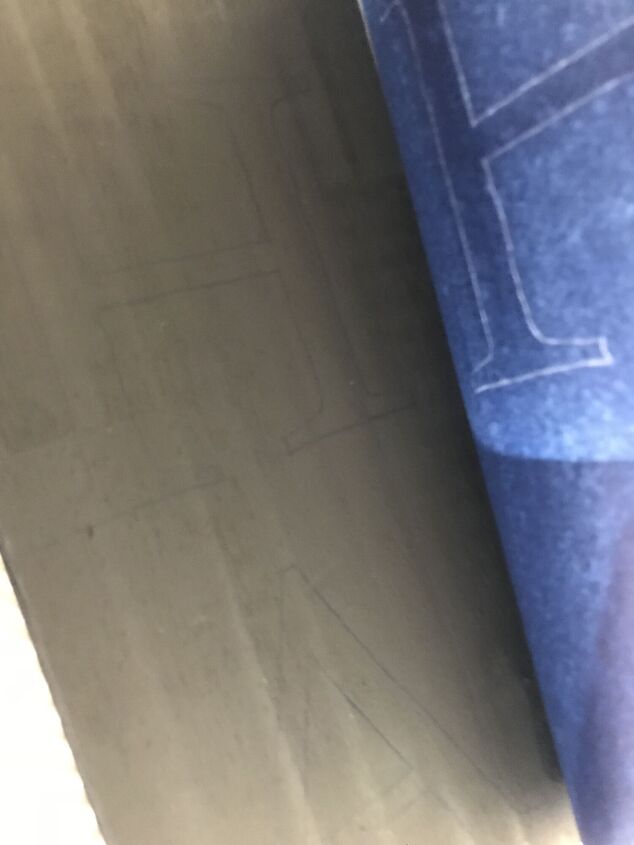
Using carbon paper or transform paper, trace the letters onto the painted wood. Old school product but worked great and I already had some. Paint the inside of letters with white paint. Do two coats. Let dry.
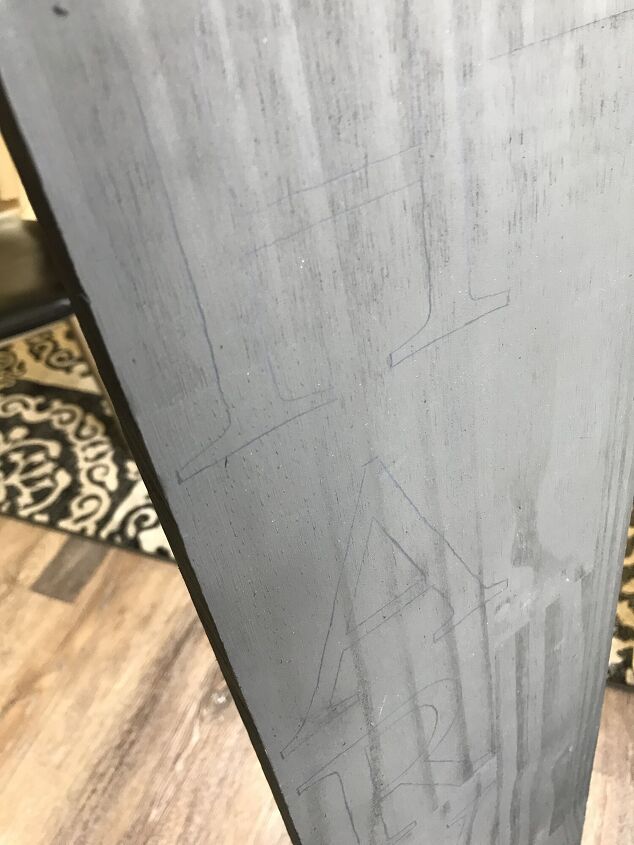
You can really see the transferred letters on this one.
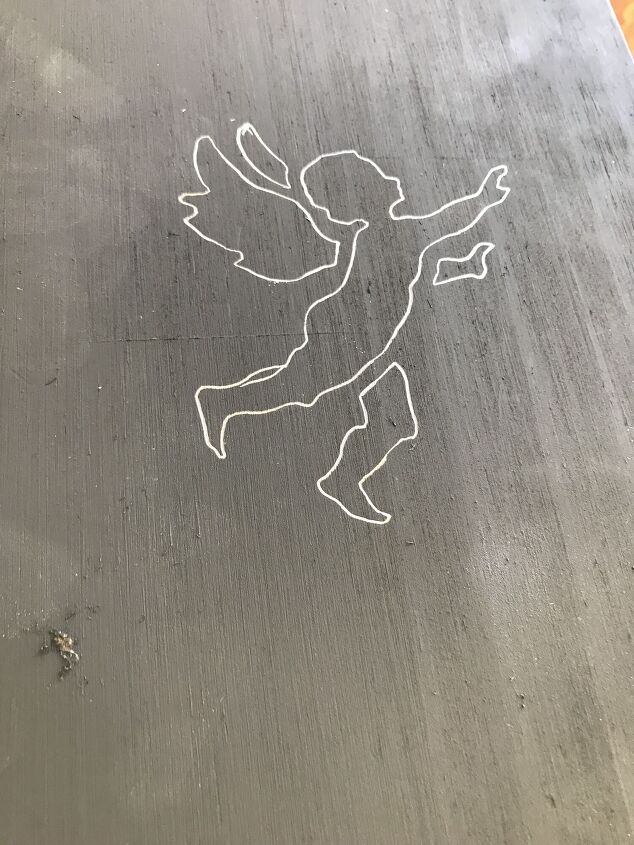
Now for the joy side, I traced the stencil of an angel. Also, I already had stencils for the holidays so I didn't need to buy this either.
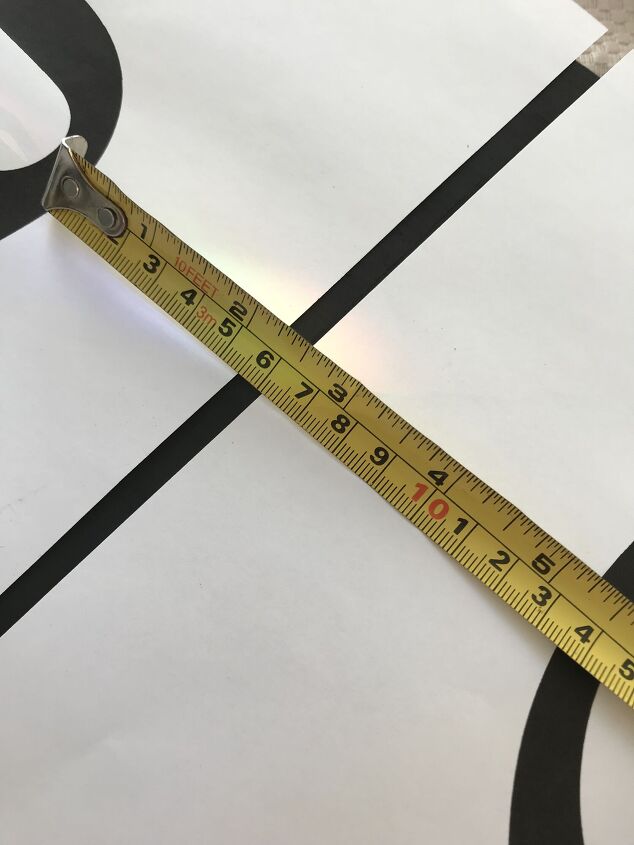
Because joy is smaller in letters than harvest, I separated the letters by 5 inches. Paint the inside of letters with white paint. Do two coats. Let dry.
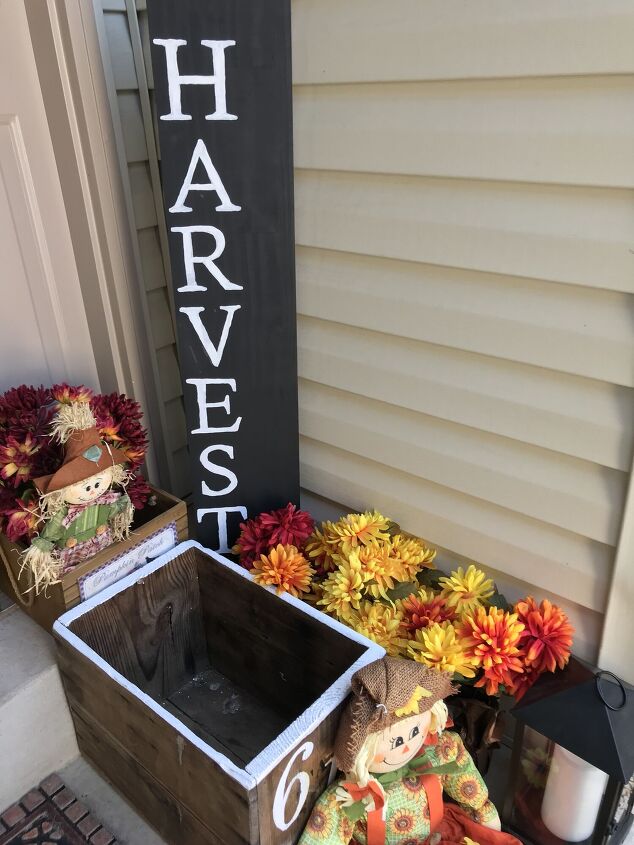
Here's the final project. What do you think?
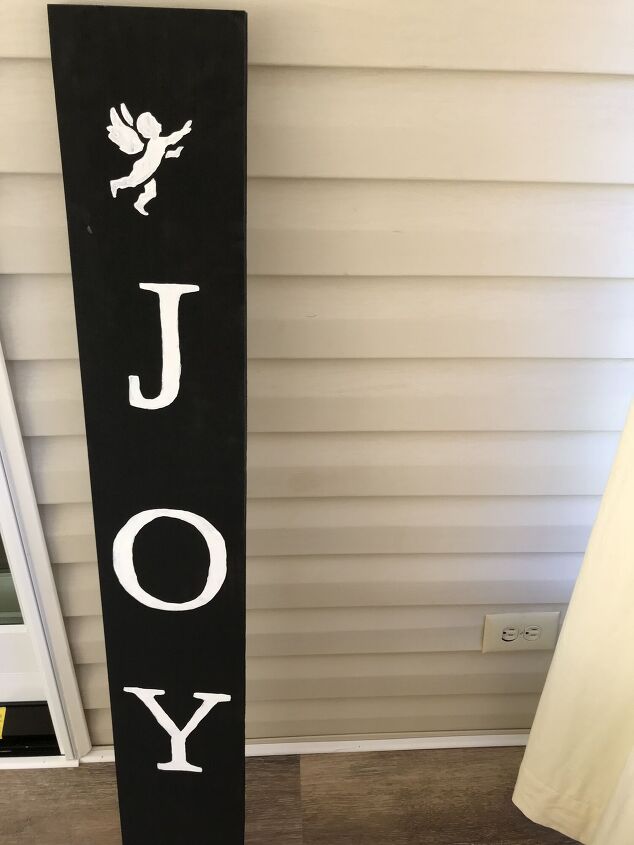
Here is the Joy side of the sign. I plan on dressing it up with greens, gold, and red ornaments.


Frequently asked questions
Have a question about this project?