


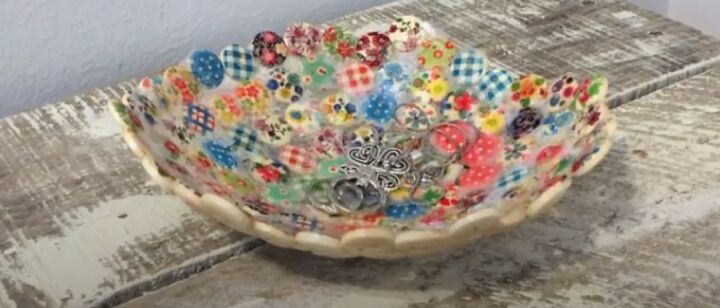
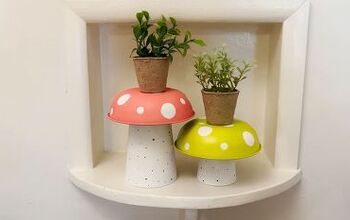
How to Craft Balloon Bowls With Buttons and Faux Leaves

Looking to upcycle some of the things you have lying around your house? All you need for the two projects below are buttons, leaves, balloons, and a few other basic DIY tools.
The demonstration and handy tips are here to inspire you, but hopefully, you'll spot some value in materials you often overlook!
Once you've learned how to make your very own balloon bowls, you could then explore other ideas and opportunities that spring to mind for making useful and pretty containers.
If you have a specific space to fill, what kind of beautiful bowl would fit it best?
Tools and Materials
- Colorful buttons and faux leaves
- Balloons or balls
- Liquid glue
- Paint brushes
- Saran wrap
- Pin and scissors
- A stand
Get the step-by-step instructions here:
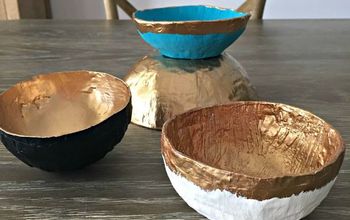
Button Bowl
1. Gather Your Materials
As the name suggests, buttons are an essential part of this balloon bowl project. While my demonstration uses colorful florals and patterns, you can go for something different.
Don’t forget the liquid glue, balloon, and something to burst it with – pin or scissors, whatever you prefer. The whole process will be quicker and easier if you gather all your necessary tools within reach on a flat, clear worktop.
Since you’ll be playing with glue, if you don’t feel comfortable marking the surface you’ve chosen to work on, it’s a good idea to cover it with a protective sheet. Once settled, it’s time to get busy.
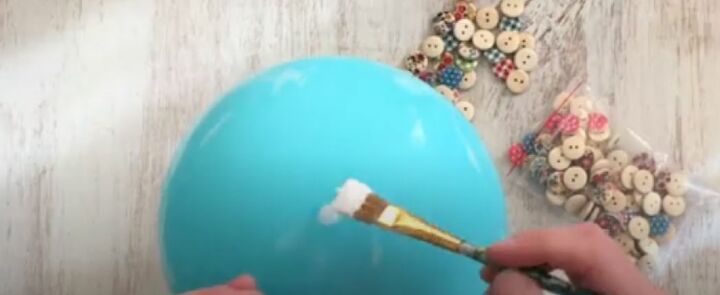
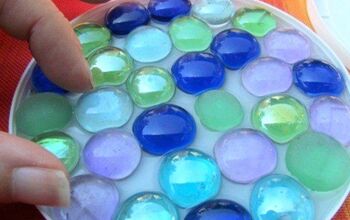
2. Glue Your Buttons to the Balloon
Blow up the balloon and turn it so that the tied end is against the worktop. Then take your brush and add a thin layer of glue on the balloon. Start sticking on buttons with their backs facing you.
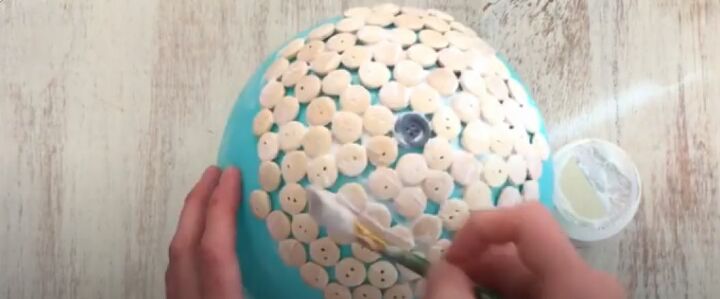
The aim is for the interesting side of the buttons to make up the interior of the bowl. Once satisfied with the number of buttons added (which will determine the size of the bowl), get the brush again and layer more glue over them.
Leave it all to dry. Then turn the balloon around and pop it.
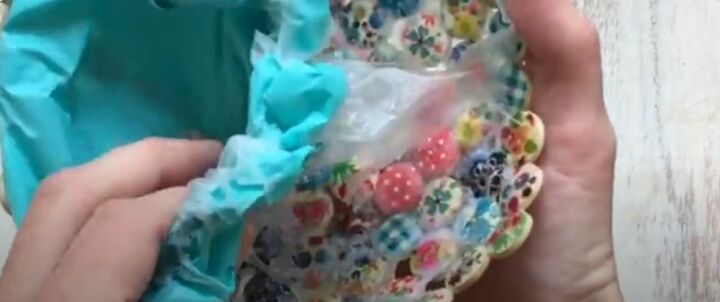
3. Remove Excess Glue
Gently peel the burst balloon off the now solid layer of buttons and remove any excess glue. You want to be left with a smooth surface on both sides of the bowl.
From here, the only step left is to test that the bowl is solid and stable when containing items.
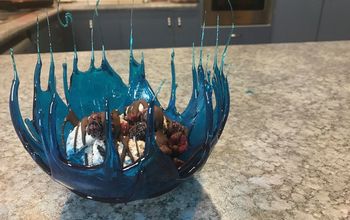
Leaf Bowl
1. Gather Your Materials
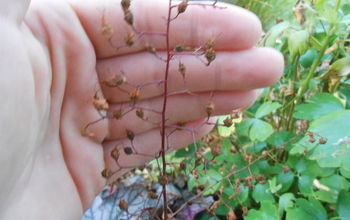
For this project, you could collect dry autumn leaves or simply buy a faux set online or from a local retailer. My demonstration uses a ball instead of a balloon, but you can choose either method, depending on your bowl’s desired look, in terms of size or shape.
You also need a brush – the broader, the better – as well as Saran wrap, glue, scissors, and a stand of some kind to rest the ball on.
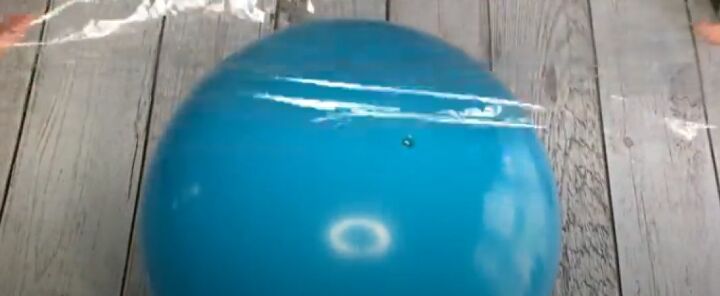
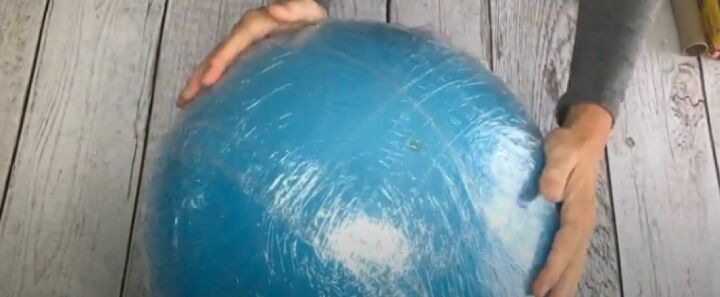
2. Cover the Ball or Balloon in Saran Wrap
The first step in this case is basically to cover half the ball in plastic film. To keep it all from rolling away, find a stand for your sphere of choice – a plate or pot will do the trick.
I added a couple of layers of Saran wrap to stop the rubber surface of the ball coming into contact with the glue and leaves: a rubber ball isn't as easy to peel off as a balloon.
The next stage is exactly the same as for the button bowls: with a broad brush, apply the first layer of glue.
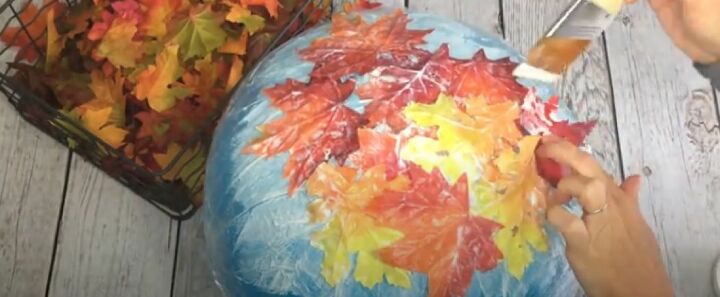
3. Glue on Your Faux Leaves
Now is the time for the pretty leaves. Stick them on, one on top of the other. Keep adding glue and leaves as necessary to achieve the desired effect, thickness, and size.
It’s easier to use your hands for this task, so expect to get them dirty! Make sure not to leave gaps as the end result might be holey and fragile.
When half the ball is covered with leaves, giving them the rounded bowl shape you want, leave the glue to dry. A couple of minutes are enough. Then turn the ball onto its bare side, cut into it with the scissors, and squeeze the air out.
4. Remove the Ball or Balloon
The final stage involves carefully peeling the deflated ball off the glued leaves. As I said, this can take a bit more effort than the buttoned balloon bowl, but with patience and some maneuvering, you can do it.
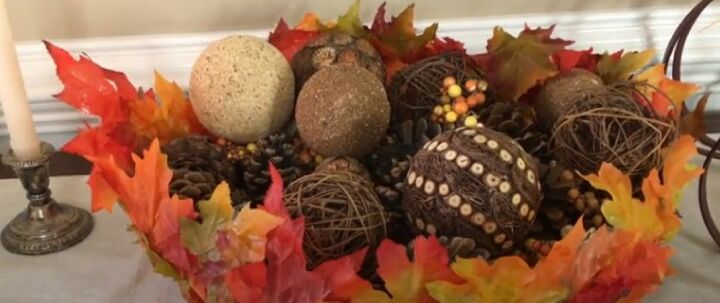
Pull off any excess glue too until, like in the first project, your leaf bowl is satisfyingly smooth. Set the finished project down for inspection.
Assuming it sits well and isn’t falling apart, fill it up with festive ornaments or use it to hold your keys and trinkets.
Ballon Bowls Tutorial
Follow this simple guide to create attractive bowls with the help of a balloon or ball and everyday household materials.
Once you're familiar enough with the two processes, let your imagination run wild with new possibilities. You could use scraps of paper of different shapes and colors instead of faux leaves, for example.
As well as balloon bowls, you could also make vases by gluing buttons – or another material more solid than leaves – further around the balloon.
Learning these creative DIY techniques will expand your artistic skills and boost your pride at the sight of the marvels your own two hands can produce.
So keep an eye out for promising materials and ideas that can take these bowl-making projects to the next level.
Tell your friends about these cool works of handy art and don’t be shy to share your creations for the whole world to see.
DIY fall crafts
Comments
Join the conversation
-
WOW! Sooo creative. They look great!
-
I'm making $80 an hour working from home. I was shocked when my neighbour told me she was averaging $120 but I see how it works now. I feel so much freedom now that I'm my own boss. This is what I do... http://ow.ly/AIN930gfStS


Frequently asked questions
Have a question about this project?
What's the time frame on doing this project including dry time, was looking to do a small project with girlfriends after dinner, something simple, but cute...help
What kind of glue???