


DIY Cute & Easy Summer Projects!

by
Melissa
6 Materials
$20
30 Minutes
Easy
If you are anything like me, I always like finding inspiration and doing cool DIY's on things I already have at home. I don't like spending a ton of money on supplies and spending hours on end creating a DIY project. With that being said, today I will be showing you two different cute and easy DIY summer projects that can spice up any space- whether it is your bedroom, living room, basement, reading nook, or anything else! Let's get started!
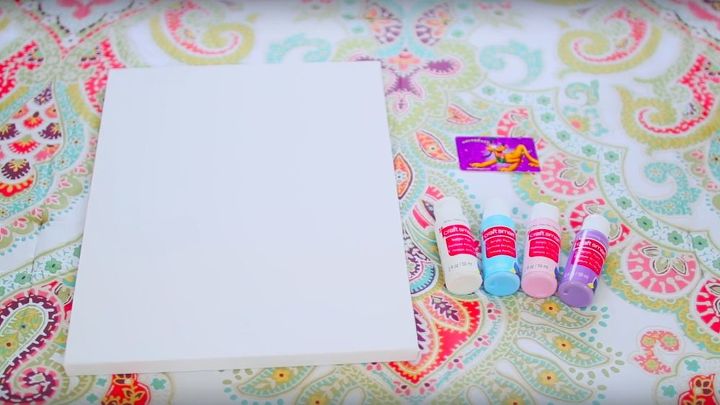
The supplies you will need for this project are:
- A blank canvas (any size of your choice)
- An unused gift card
- Acrylic paint colors
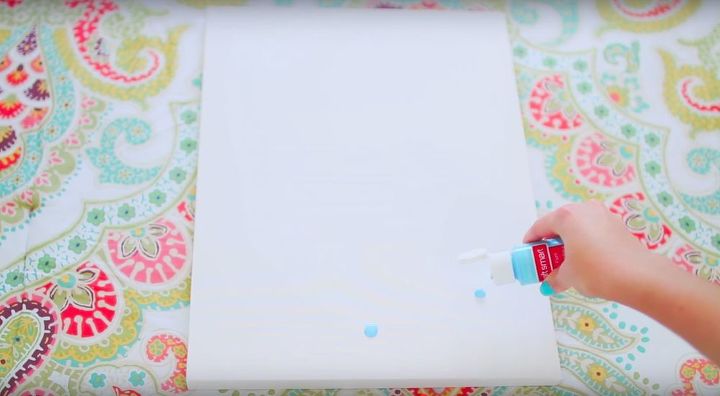
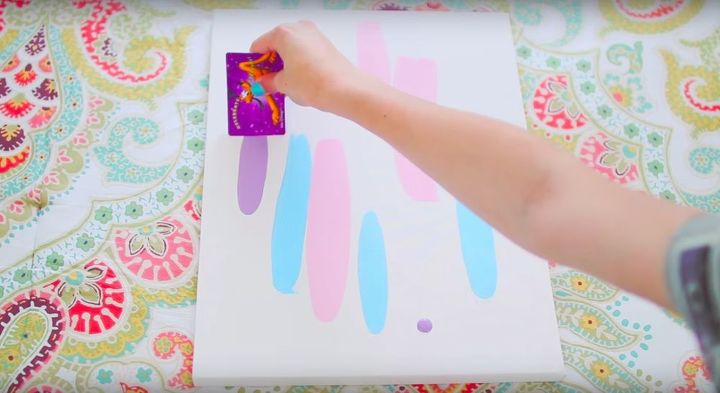
Start off with one bottle of acrylic paint and begin placing a few drops of acrylic paint spread evenly apart onto your blank canvas. Make sure the drops of paint are about half a dime size.
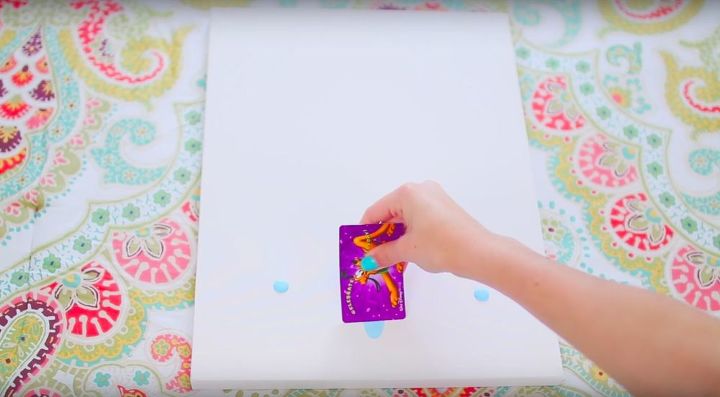
Now, take your gift card and begin swiping the drops of paint in an upwards (or downwards) motion.
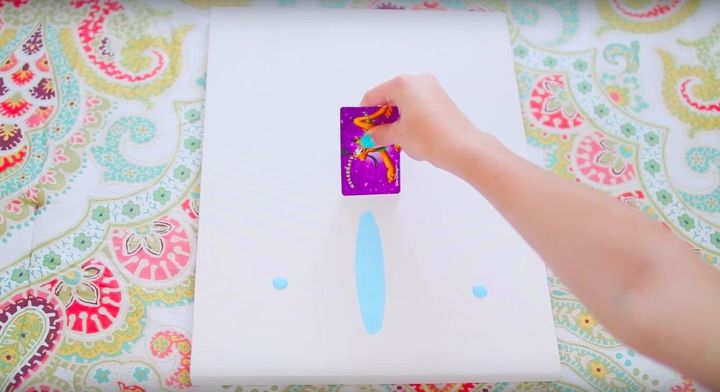
As you can see here, it should begin looking something like this. Essentially, swipe all the way up until there is no more paint left to be swiped.
Begin placing more drops of different coloured acrylic paint and repeat the same steps- drop and swipe upwards or downwards. It is up to you for where you choose to place your paint droplets. I would recommend keeping them close together to achieve a more colourful and filled canvas.
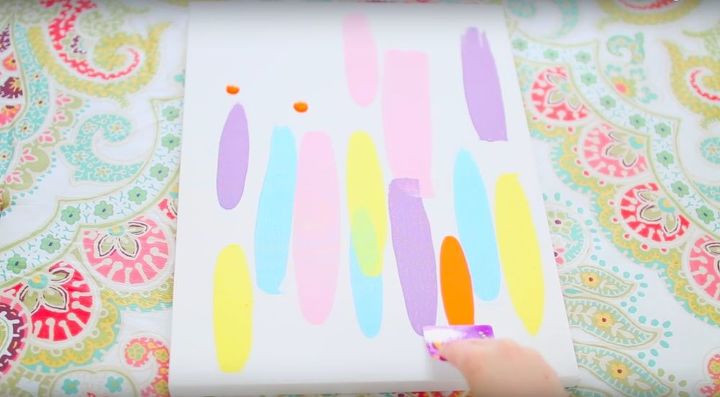
Then, I continued dropping different colours of acrylic paint and I swiped them away with my gift card. Super simple, right?!
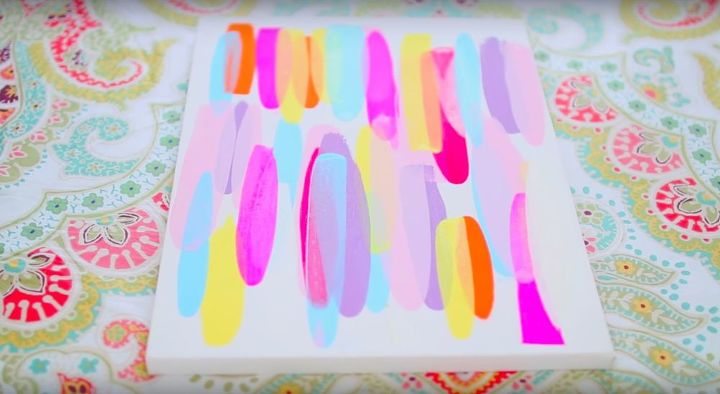
Just a quick note- you can overlap the paint colours and they won't mix if you leave a few minutes in between each set of paint colour droplets. In the end, this is what my finished masterpiece turned out to look like. The great thing about this DIY project is that you don't need to be an artist and it does not take up a lot of time!
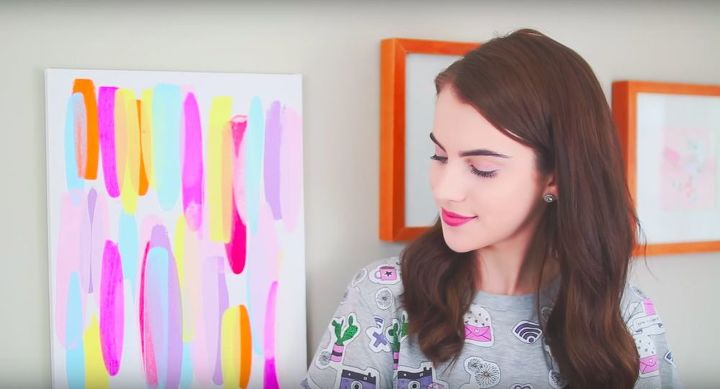
I decided to hang my masterpiece up on my bedroom wall and I love how much character it added to my room. I think the colours are a perfect fit for summer and this has to be one of my favourite DIY projects that I have ever done!
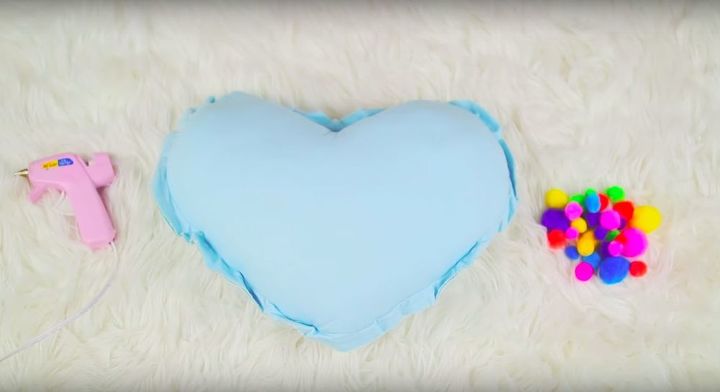
For this next project, you will need:
- A hot glue gun or fabric glue
- A plain pillow
- Different coloured/sized pompoms
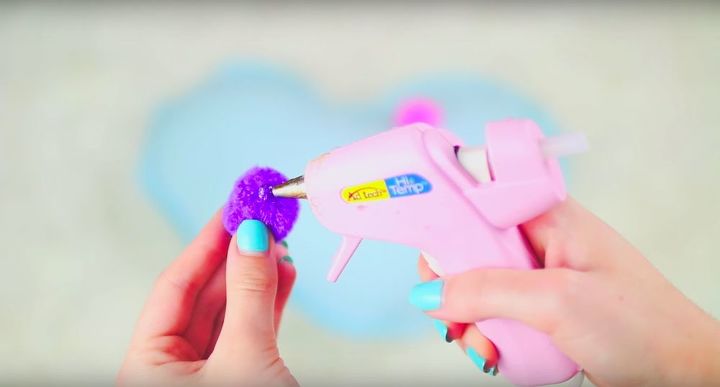
To start off, begin taking one pompom and place a bit of fabric glue on it (I happened to only have hot glue at home).
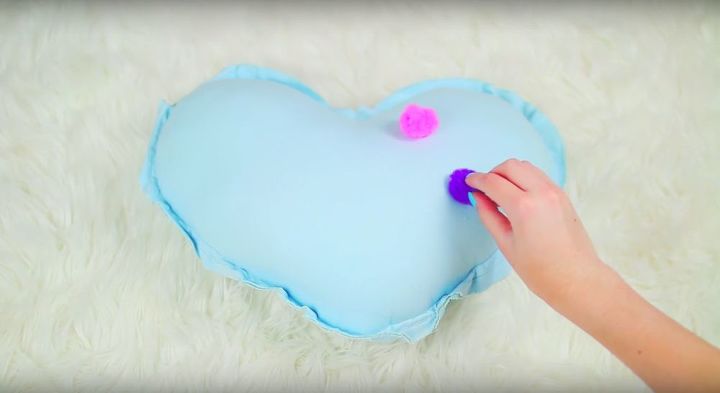
This is where you can be creative! You can place the pompoms on the outer trim of the pillow, you can make a shape, scatter them around like I have done, or anything else! All you have to do is place the pompom directly onto the pillow and it is as easy as that!
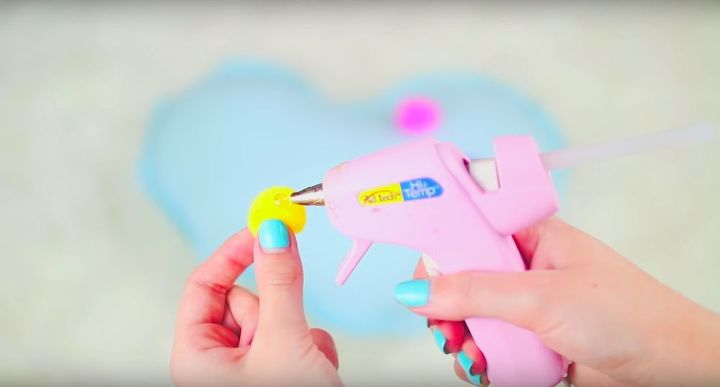
I continued the same process, except with different sized and coloured pompoms. If you are using hot glue, make sure to place a pretty generous amount so that the pompoms do not come off.
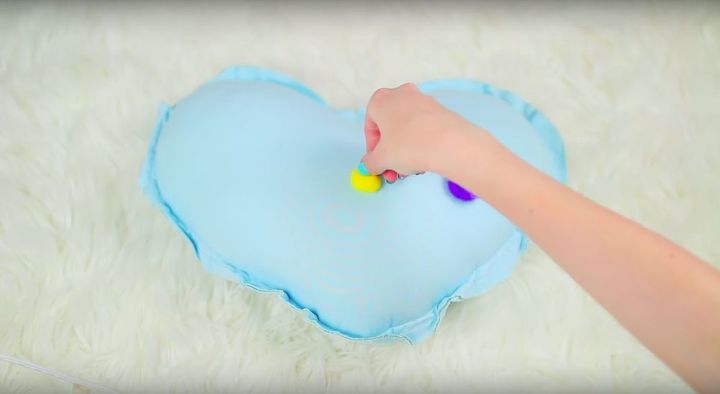
Again, place your pompom directly onto your pillow and ensure that it is glued well.
This is what mine started to look like at the beginning!
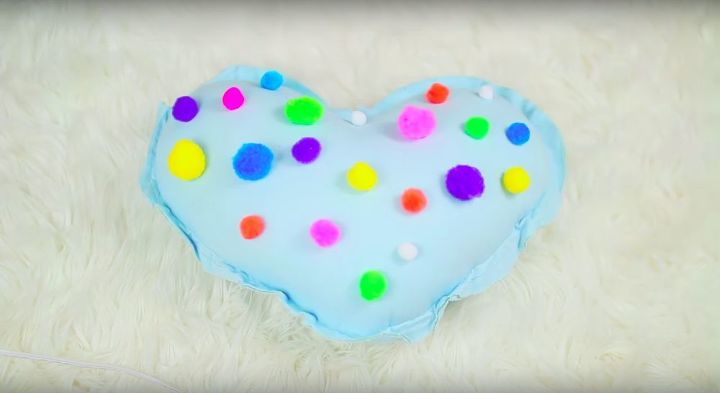
Here is what my pillow turned out to look like in the end! I love the variety of colours and I personally feel the scattered look best suited the shape and design of the pillow.
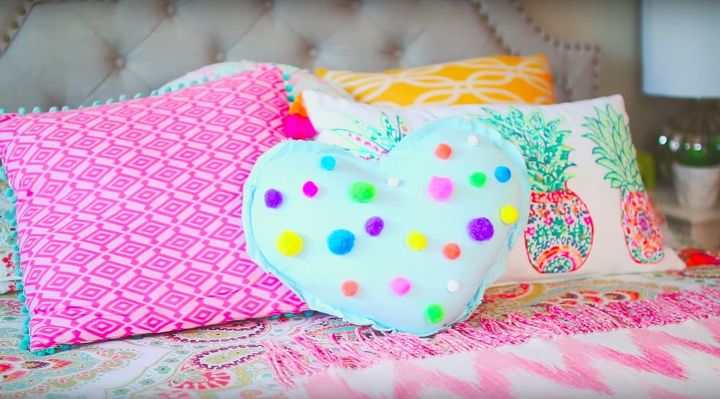
I placed my finished pillow on my bed and I feel that the colours really complimented the rest of my pillows. This has to be one of the easiest DIY's I have ever done and it can add so much to a plain space!
If you would like to see more DIY's and fun summer projects, check out my video on YouTube that shows a few other ideas! https://www.youtube.com/watch?v=11CPZWCsTLU
Have fun crafting!
Comments
Join the conversation
2 comments
-
Really creative!
-
fun!


Frequently asked questions
Have a question about this project?