


Decoupage Dresser Drawers With Napkins

6 Materials
$20
3 Hours
Easy
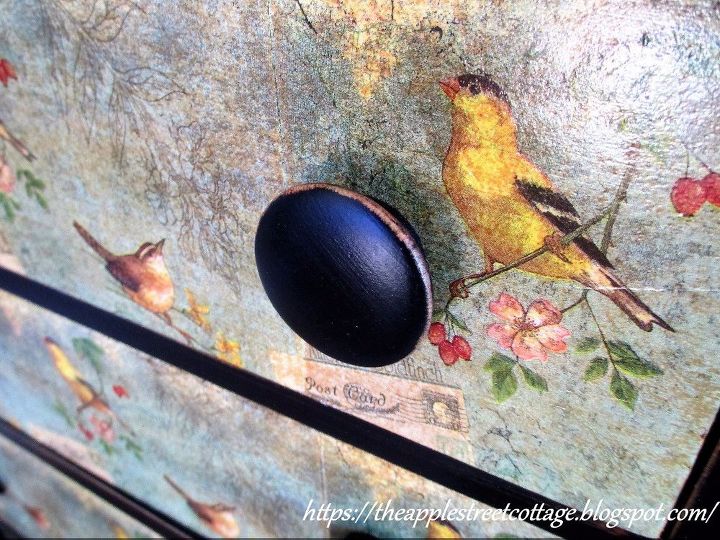
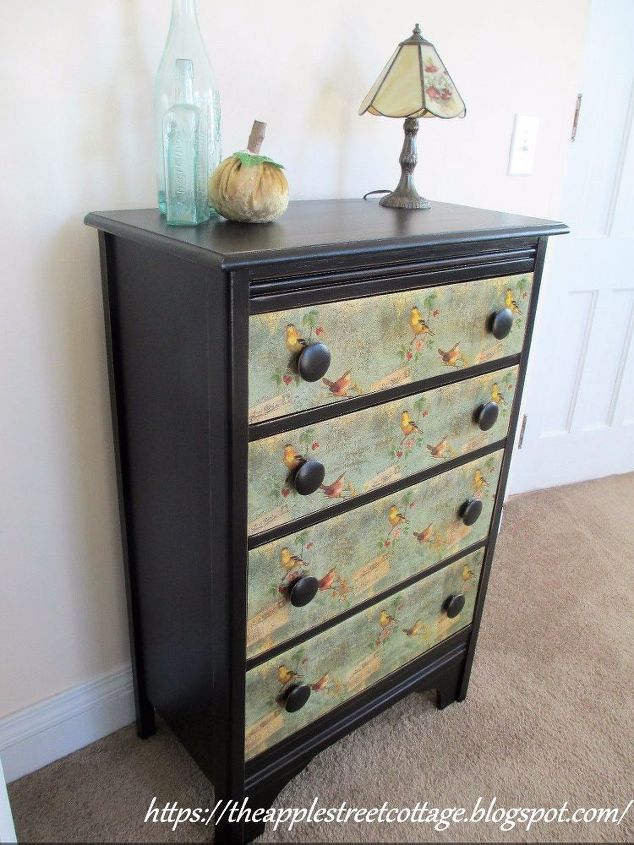
This is an easy, inexpensive way to update a dresser. Here's how it looks:

Let's get started. The drawers were sanded down to bare wood and the edges were painted black to match the rest of the dresser. The napkins were found at the Dollar Store. Since they are 2-ply napkins and you only need one, separate those layers!
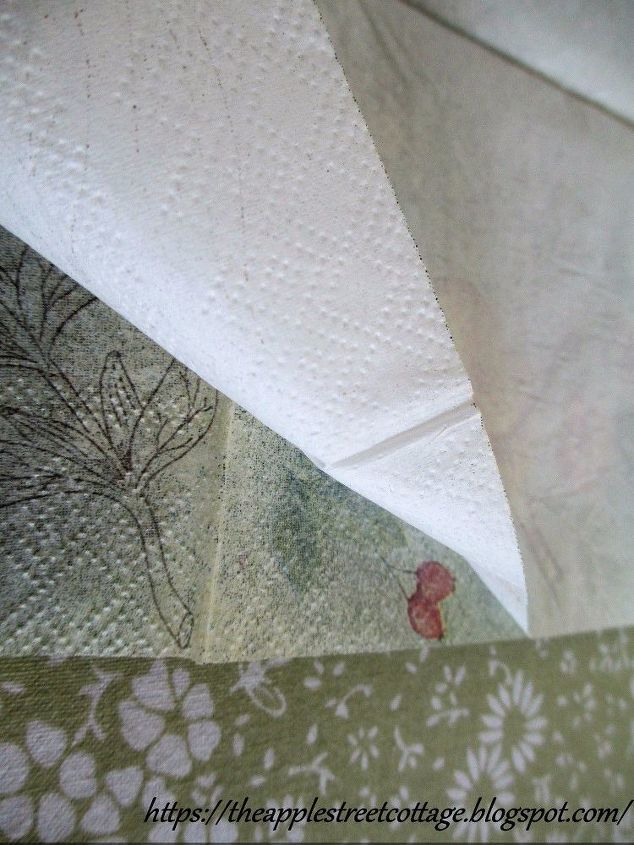
Iron the one-layer. It helps when you are ready to lay it down on the wet decoupage medium.
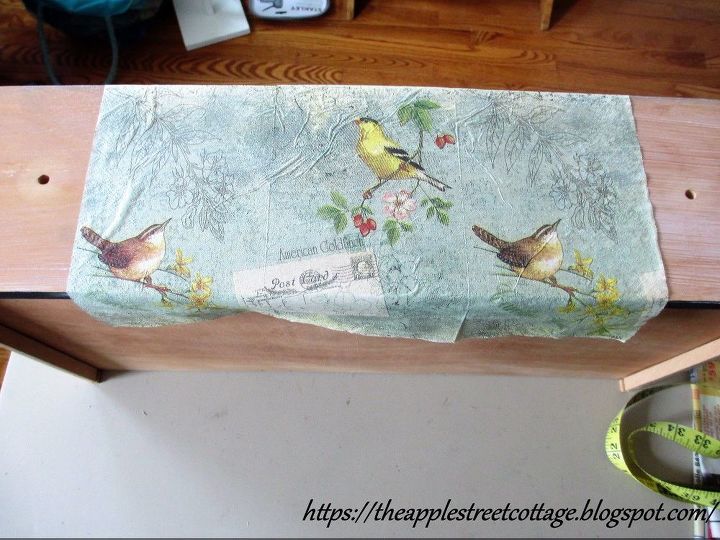
Since the napkins were not wide enough to cover the entire drawer, I was going to have to piece them together. These napkins also had a very definite pattern that was going to need matching, so it was time for some measuring. I found the middle of the drawer and matched it to the middle of the napkin. Then I marked the edges of the napkin on the edge of the drawer with chalk.
At this point, you need to match two more napkins on either end. If your napkins have a random pattern, you don't have to worry, but in this case, matching was a must. Once I knew how they were going to be placed, the drawer was brushed with decoupage medium. I used Mod Podge (satin finish) and brushed it on with a chip brush.
The first napkin was placed in the center of the drawer:
The napkins were placed on the drawer over the decoupage medium and I needed to smooth them out. There was no way to do that without ripping the napkin, but I found a solution....Stop by my blog to see that solution and a couple of other tricks I learned to make this project easier.
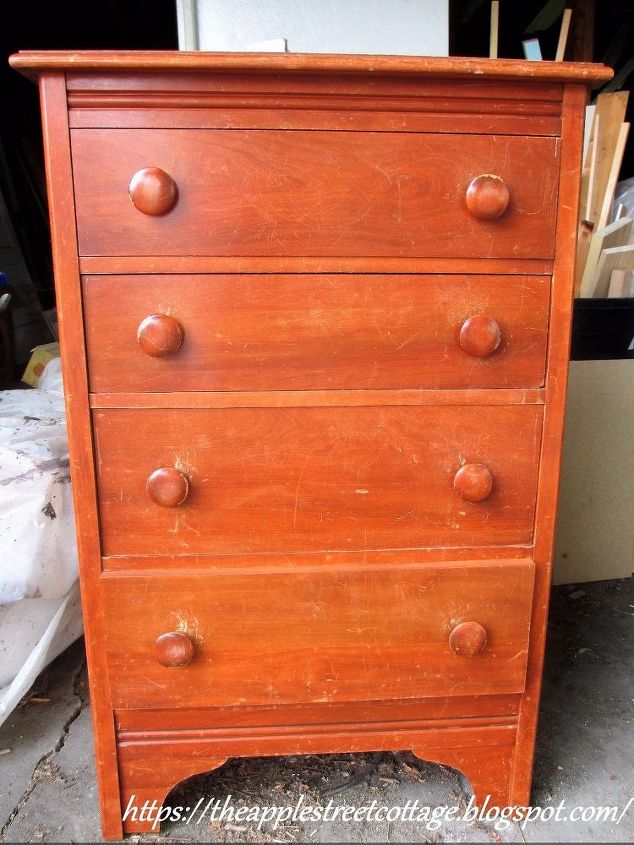
This little dresser went from this:
To this:
Thanks for taking a look. Be sure to see more pictures and details on my blog!
Comments
Join the conversation
4 of 65 comments
-
Absolutely beautiful!
-
I've had the same idea for some time but needed some inspiration. I think I've just got it. Thank you. Beautiful end result.
I want mine to look Asian so will search for the right napkins and will use black paint.


Frequently asked questions
Have a question about this project?
Where did you buy the napkins? I want some just like these.
Do you know if this could be done on a metal file cabinet?
Could you use cloth napkins?