Looking for ideas on what to do with leftover plastic test vials
by
Barb
+6
Have hundreds of small square clear test vials I have been saving hoping to think of something to make out of them instead of throwing in the garbage. Any ideas would be helpful. Thanks Barb
Related Discussions
Suggested Project Book

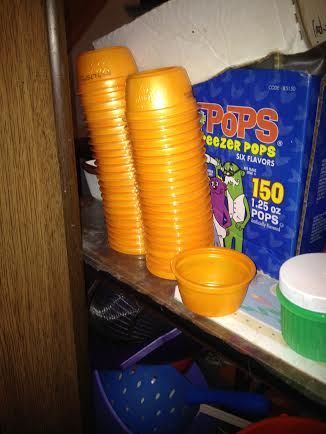
Could you post a picture to show us what they look like? It might help us come up with some fun ideas for you!
It's hard to know what will work with no picture and no size, but I searched for craft projects using test vials and came up with quite a few that might work. Rather than rely on myself to choose one, I'm sending all of them. To follow a picture, click on it to make it large, then click on View on the top right of the box that comes up. Maybe these will spark some ideas.
https://www.google.com/search?q=diy+craft+small+square+test+vials&tbm=isch&tbo=u&source=univ&sa=X&ved=0ahUKEwja5JDzoKvXAhUE9YMKHTUhDk0QsAQIJw&biw=1371&bih=689
Have fun!
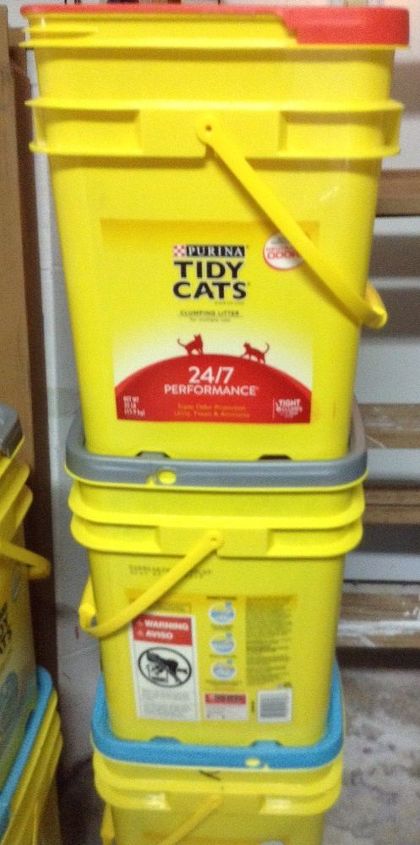
Yes, Here is a picture of the box of them
You can try tying them or glue them together to creates a shape for fresh cut flowers
You might be able to use them to make a windchime if they are sturdy enough.
Have you thought about using them to store jewelry in? I have put some of my better bracelets in plastic medicine bottles.
Thanks I did think of that, but, that would only use a few at a time.
It's Christmas ! Put cocoa in them and wrap the tops with the holiday colored plastic wrap , then wrap some small marshmallows in the alternate color wrap and decorate styrofoam cups to put them in with a candy cane. Voila !
Make a square base of wood or foamboard to use for a clock face. I think I would paint it black or silver. Follow the directions to drill (for wood) the right size hole to insert clock hands and battery case for the clock. Start placing the plastic boxes in positions to mark off the hours. Make sure you leave enough space for the clock hands. You can make the lines of boxes as long as you choose. Don’t glue them until you are pleased with the length and design of the boxes. Mark the ends and angles with a sharp pencil. Now you can decide if you want to cut away the unused space between the lines, with a saw or X-acto knife. Do that, then glue the boxes to the base. I would use dots of Elmer’s Clear School Glue, Super Glue, or Clear Gorilla Glue. Sand or smooth all the outside edges, and trim the edges with washi or transparent tape, if you wish. Insert and stablize all the clock parts including the battery, and attach a hanger at the top of the 12 arm. Now you have a unique clock to keep, give away or save.
You could also build a Christmas tree using many tiny boxes as you want. Plan the bottom row, laying the boxes side by side, with the open ends toward the back. You will want to make each row one or two boxes fewer than the row below. If you choose two less, then the boxes will make the vertical rows in a straight line, also. If you choose one less, you will leave an equal amount of space on each end, but the columns will be staggered. Two less, and the tree will be shorter and fatter. One less, and the tree will be taller and slimmer. Glue each box in place, using dots of clear glue (Elmer’s or Super Glue or Gorilla Glue).
Now for the fun! From the back, place an LED or tiny fairy light in some or all of the boxes. Glue a plastic or glass star on top. I guarantee the recipient will be thrilled with a tree like this, or I’ll take it instead! Haha. 😇