


DIY Scrap Wood Pumpkins
4 Materials
1 Hour
Easy
These DIY scrap wood pumpkins are so simple to make, and they're a great addition to your fall decor! The next time you have some wood leftover from a project, this is the perfect solution! If you like this idea, you can find more easy and affordable DIY ideas on my blog, Love & Renovations.
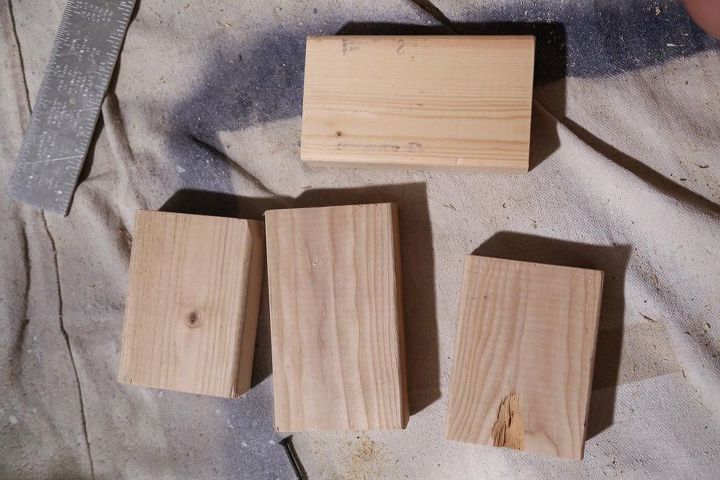
I started off with some scrap 2X4s left over from various other projects. I made a few different sizes of pumpkin, but followed the same basic formula for each one: cut two pieces at the smaller size, then two pieces that are about 1.5" larger. There's no exact science to this, and you can play around with the sizing that works best for you.
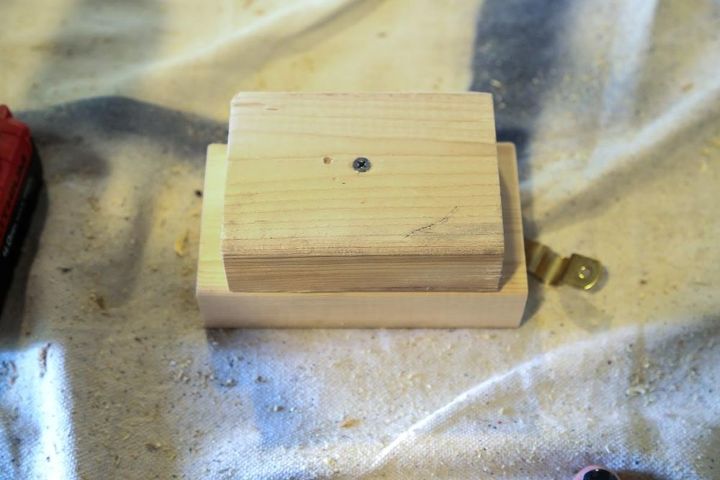
Use your drill and a screw to attach each of the pieces together, with the smaller pieces sandwiching the larger ones. I just started on the bottom as you see here, then flipped the whole thing over and attached the other two pieces on top. You should have one visible screw on the top and one on the bottom (but we'll cover the top one up).
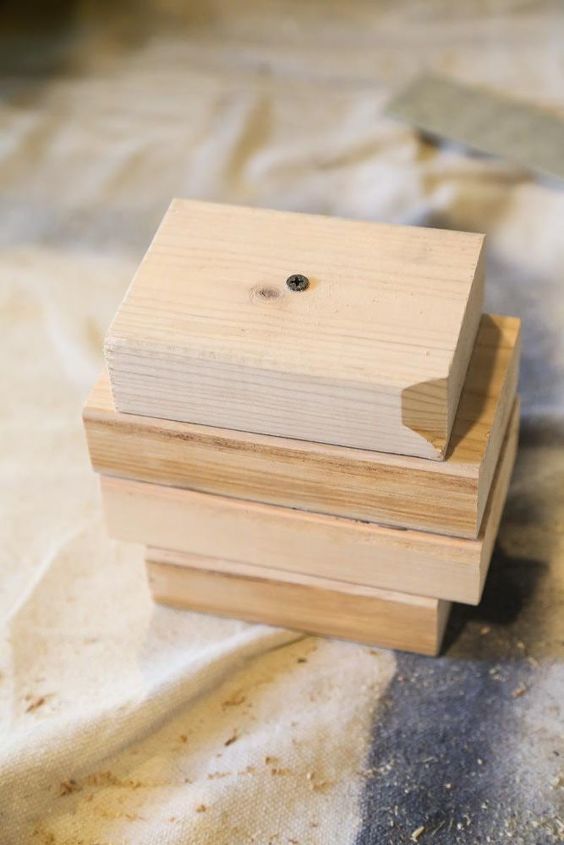
Once your pumpkin resembles a pumpkin, grab some spray paint and paint it whatever color you'd like.
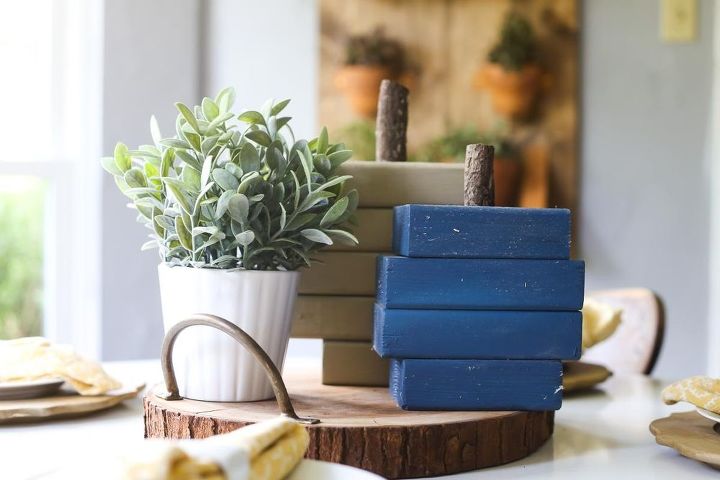
Finally, grab a stick from outside and cut it down - hot glue that on the top to act as your stem. And that's it! You can see more photos and details on the full blog post.
Resources for this project:
See all materials


Any price and availability information displayed on [relevant Amazon Site(s), as applicable] at the time of purchase will apply to the purchase of this product.
Hometalk may collect a small share of sales from the links on this page.More info

Want more details about this and other DIY projects? Check out my blog post!


Frequently asked questions
Have a question about this project?