


Basement Renovation: From Dark and Neglected to Bright and Inspiring!
Damaged walls and a worn out stained carpet were just some of the challenges in making over this dark and neglected basement. It took many creative and inexpensive projects but I finally have a bright and inspiring creative space where I can experiment and test out new design ideas!

This is what the space looked like before - it was very dark and neglected and had definitely seen better days!
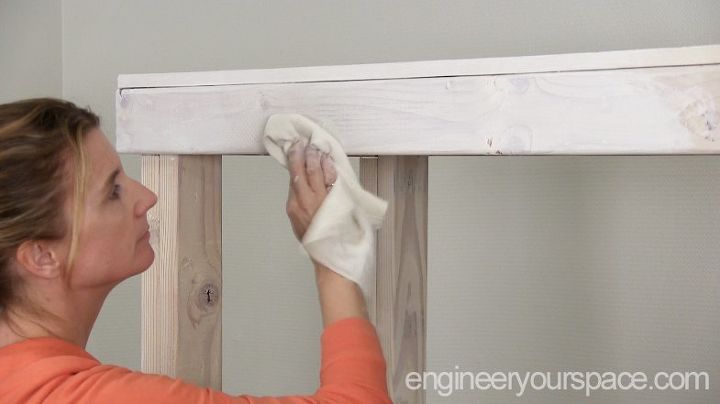
I started by fixing the walls and painting the room. Since I needed lots of storage, I kept the shelving unit that was made with 2"x4"s but I wanted it to blend in with the wall more so I experimented with a white wash treatment (I'll share how I did that in a separate post).
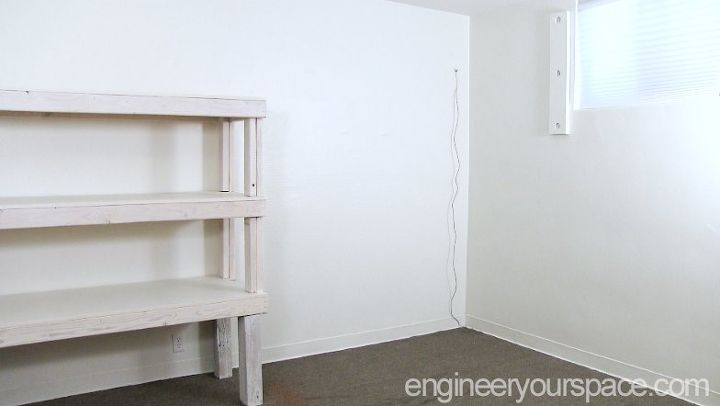
Just painting everything and removing the security bars made a huge difference in the room but there were still some imperfections on the back wall and that wire sticking out of it too.

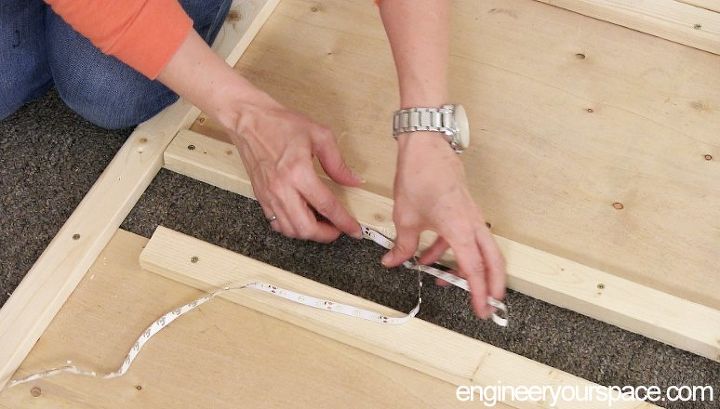
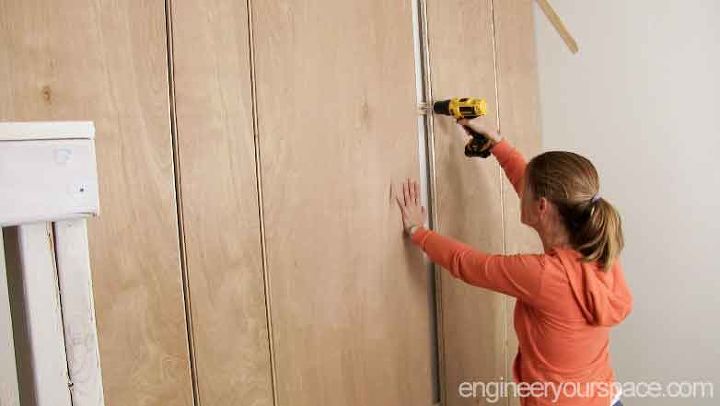
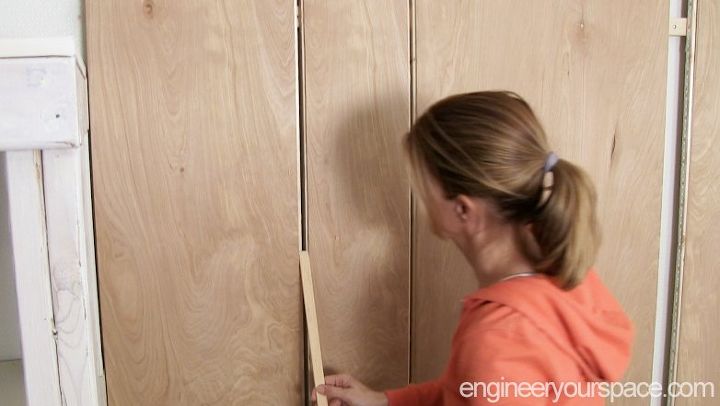
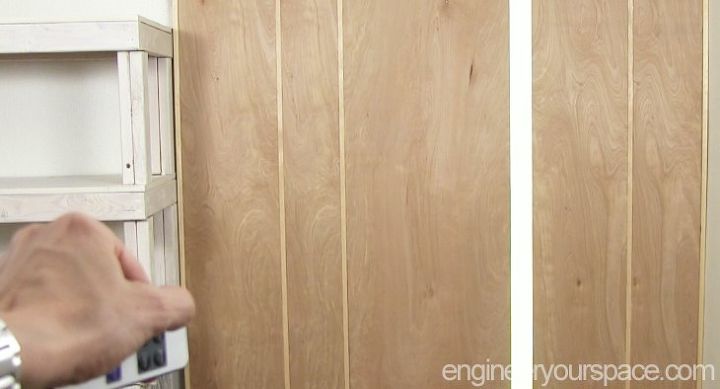
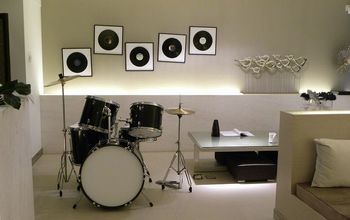
So I built a wall panel to cover it up - I used 1"x2" and 1/4" thick plywood to build sections of different widths and arranged them to have 3 gaps that are 3/4" wide and one gap that is 3" wide.
The idea for the 3" gap was to make a light feature. I installed remote controlled LED lights on the sides - the strip of lights has a sticky backing but it didn't stick very well on natural wood so I used stronger double sided tape to secure it.
I used wood shims to hold the panel in place while I attached it to the wall - since the panel is not very heavy and it rests on the floor, I only had to use a few screw anchors.
Then I filled the smaller gaps with 3/4" screen molding - the fit is tight enough so they stay in place without having to glue them. And for the light diffuser, I used corrugated transparent plastic sheets.
I love how the light feature turned out and that you can control it with a remote control!
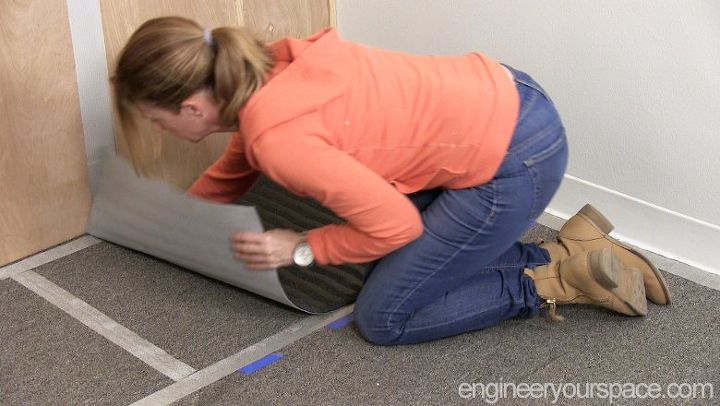
The existing carpet is beyond saving and it's going to be replaced in a few months but I wanted to do something to cover it up temporarily. I thought I would try out a crazy idea I had: using double sided carpet tape and floor mats from IKEA work to cover it up!

I wasn't sure if it would work but because the mats have a rubber backing and the existing carpet is very low pile, it worked like a charm. The tape can leave a residue on the existing carpet so if you want to keep the existing carpet in good condition, I would do a test first.
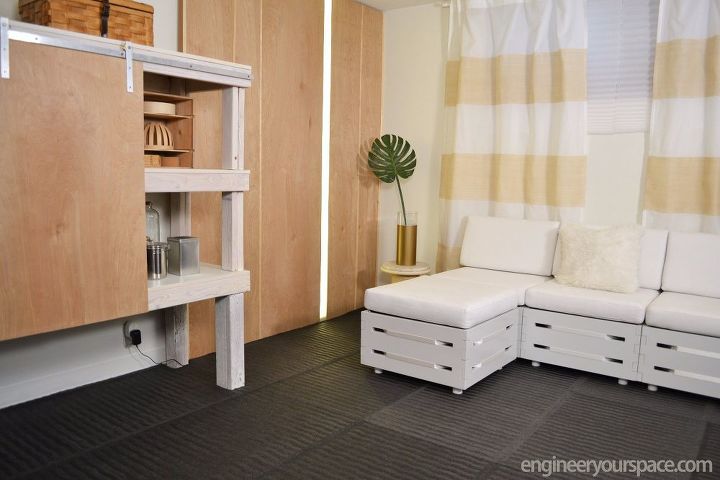
Once the floor was taken care of, it was time to add furniture and accessories. I used inexpensive sheer curtains and upgraded them with burlap to warm up the room and make it feel cozier (I shared how I made the curtains in this video).
This makeover was a lot of work but so worth it! Now I have a beautiful bright and inspiring space where I can come up with more creative ideas. You can see more details on the room transformation and the projects in this video - enjoy!
And I share how I made the barn doors with DIY hardware in this video.


Frequently asked questions
Have a question about this project?