


How to Make Tree Branch Card Holders
3 Materials
$1
20 Minutes
Easy
If you are looking for a cute, quick and FREE way to display cards/photos of all sorts then this is the perfect post for you!
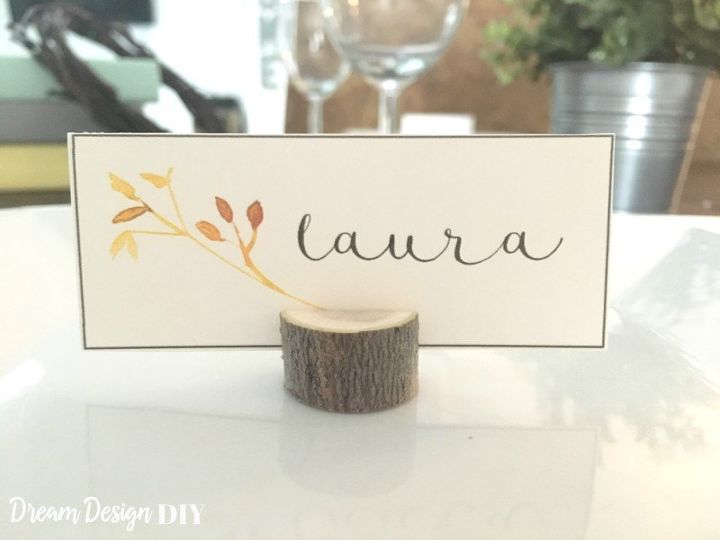
These card holders have limitless functions. Use them for name place cards at a party or holiday, labeling food dishes, displaying photos, holding business cards on your desk, etc. They are made from something you probably have in your yard…tree branches.
With an early heavy snowfall this fall we woke up to several tree branches in our yard. Loss for the tree = gain for me. I grabbed one of these branches and got to work.
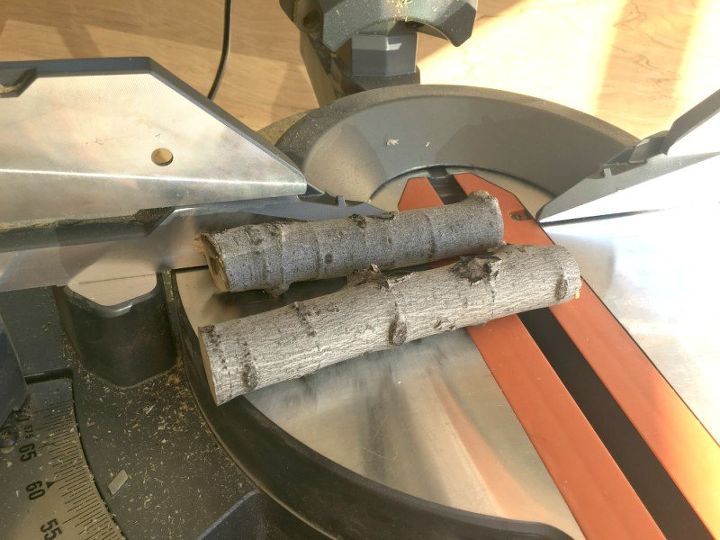
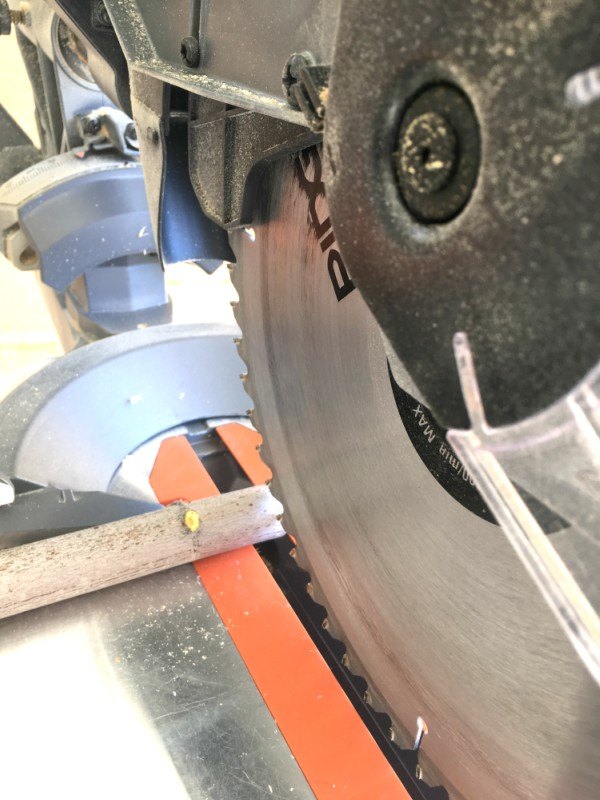
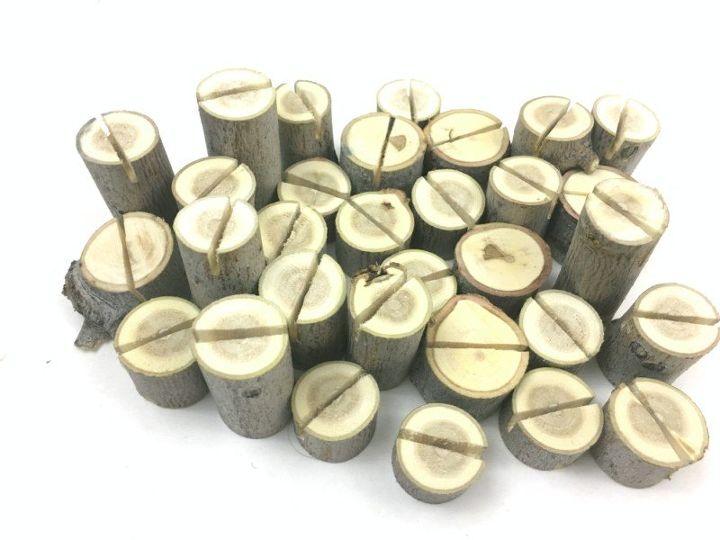
Once I had the section of my branch cut, I cut it into smaller more manageable sizes with a miter saw.
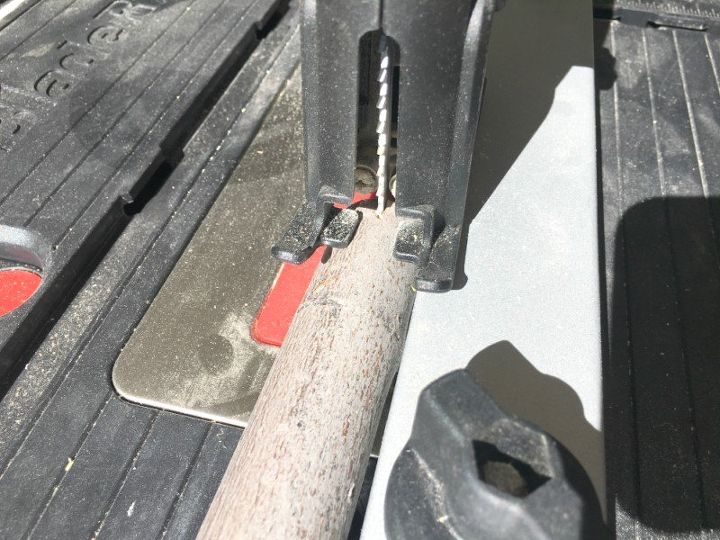
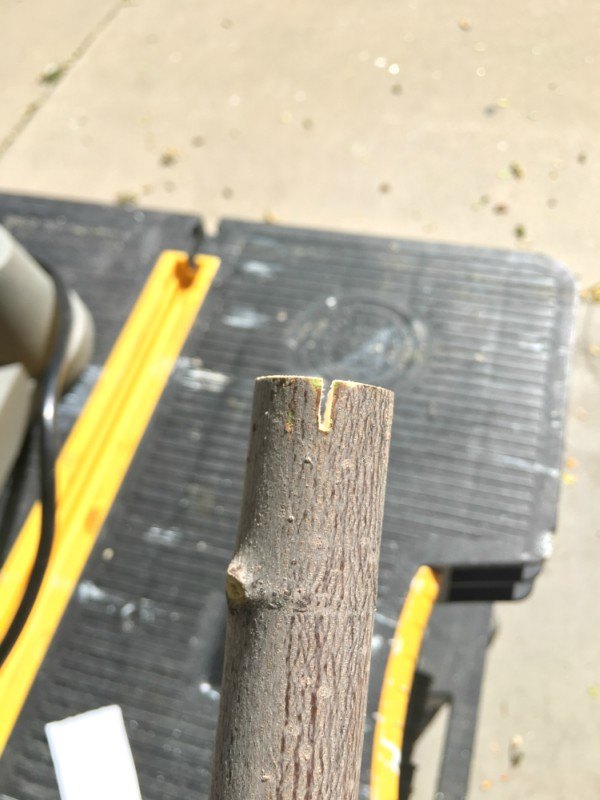
At this point I kept the branches longer making it easier and safer to cut a notch. Then I cut a 1/4 inch notch in the end using the Rockwell Bladerunner.
I used a miter saw to cut the holders to size.
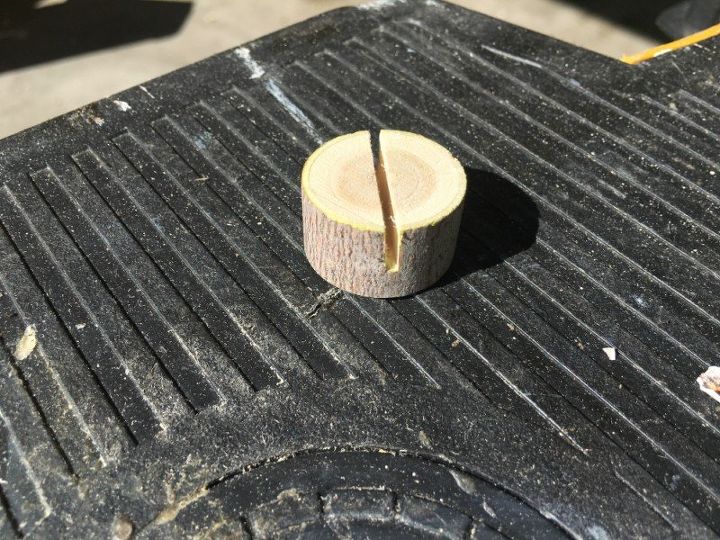
Since I planned to use these for various reasons I cut a variety of lengths.
With the upcoming holidays these are perfect for place card holders for your guests.
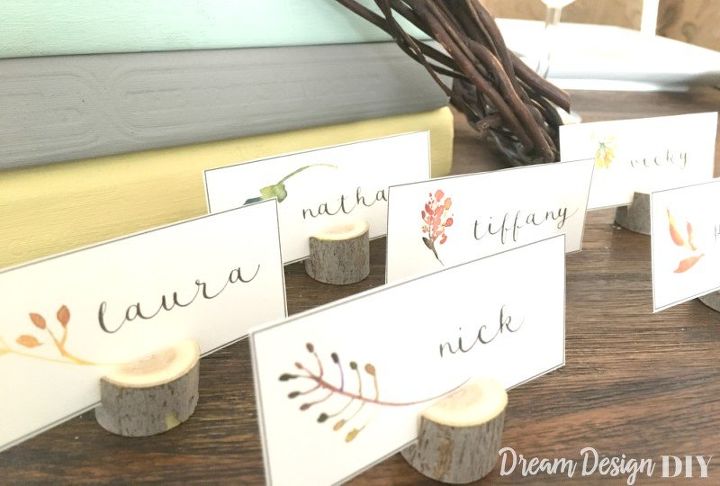
To see the entire post and get your FREE Place Card Printables come visit me below.
Here are some other projects you may like.
Paper letters get an aged look with the post DIY Faux Galvanized Patina Letters Using Acrylic Paint.
Have some scrap wood laying around? Make some wood lanterns that would look great on your porch. Check out How to Make Wood Lanterns from Scrap Wood.
Thank you so much for hanging out.
Tiffany


Any price and availability information displayed on [relevant Amazon Site(s), as applicable] at the time of purchase will apply to the purchase of this product.
Hometalk may collect a small share of sales from the links on this page.More info

Want more details about this and other DIY projects? Check out my blog post!


Frequently asked questions
Have a question about this project?