


Twinkling Mini-Christmas Trees
by
Marie
9 Materials
$15
4 Days
Easy
I was inspired by another Hometalker who posted about how she made Christmas Trees using pine cones. Sadly I don't have a pine tree at my house.
I was watching a co-worker clearing small pine cones from the front of our office. BINGO! I asked if I can have them. He told me that he would bring me bigger ones from his home.

While waiting for my pine cones to arrive I painted my miniature clay flower pots and decorated them with some gold glitter. I used a couple coats of sealer to keep the glitter from rubbing off.
After my pine cones arrived I baked them to kill off any little bugs. Of course I didn't set the timer so I baked them a little too long. They actually came out pretty dark. But at least I knew there would be no little crawly bugs.
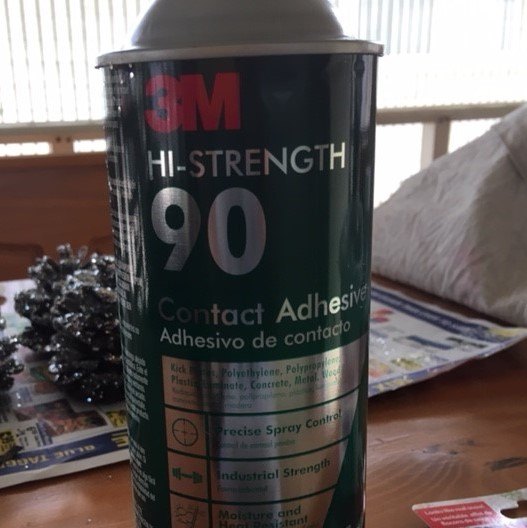
After they cooled I sprayed them with a spray adhesive so the glitter would stick.
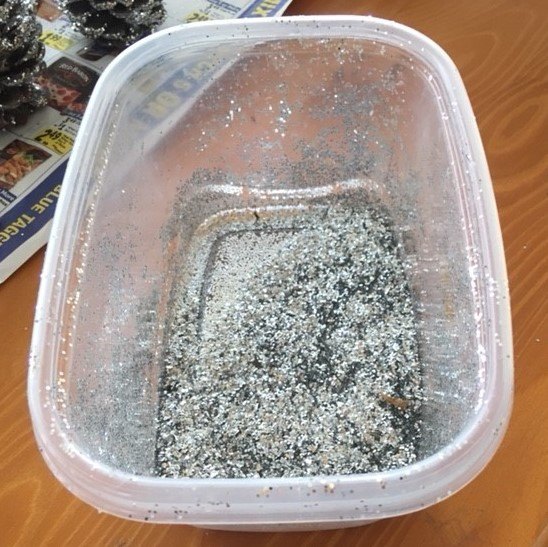
I first tried to gently toss them in a glitter filled bag. That didn't work to well for me. The bag didn't seal and glitter ended up all over the place. My hubby suggested I use a plastic tub. Gently rolling the glitter onto the pine cone worked better for me.
This is after the first application of glitter. I was hoping for more glitter to stick. So I sprayed some more adhesive and rolled the pine cones in some more glitter.
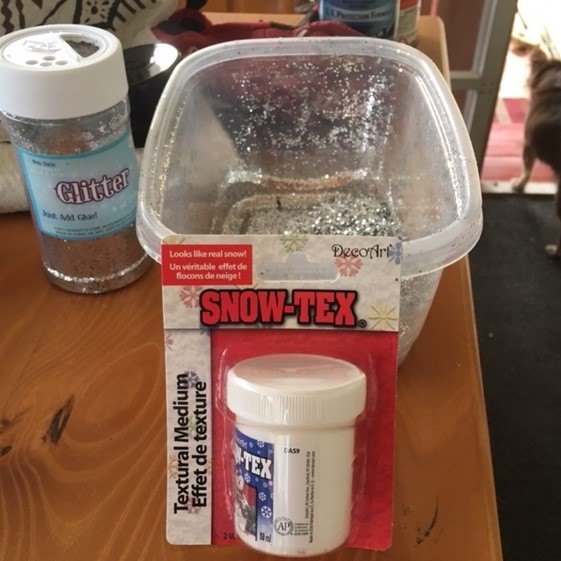
I have never used this paint on snow. You can glop in on or smear it with a paint brush. It hardens as it dries. I can see myself using it again.

After the glitter was dry I painted on some snow to the ends of the "branches" and to some of the spots the glitter didn't cover.
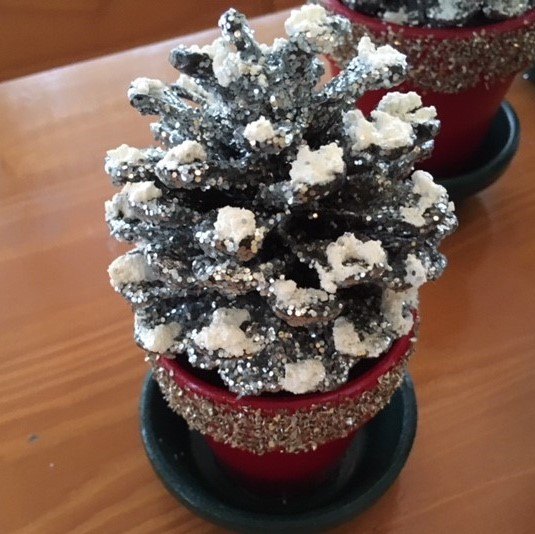
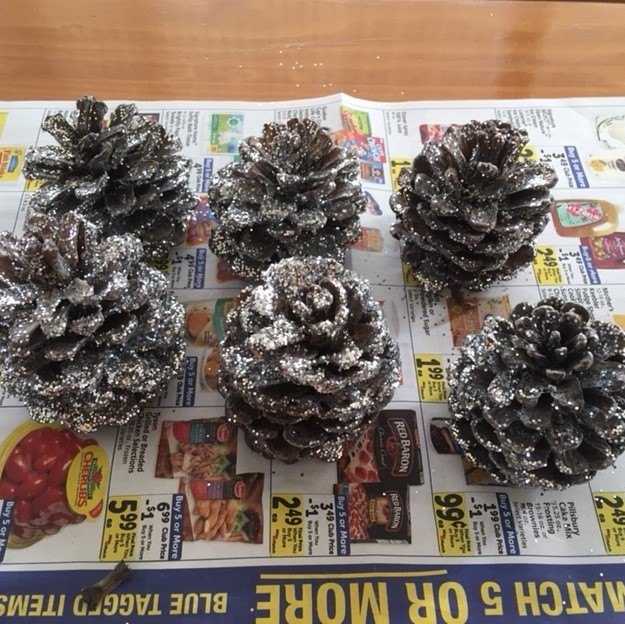
This picture show the pine cone with 2 coats of glitter and the painted on snow. I could have stopped here. They looked pretty enough but I wanted more.
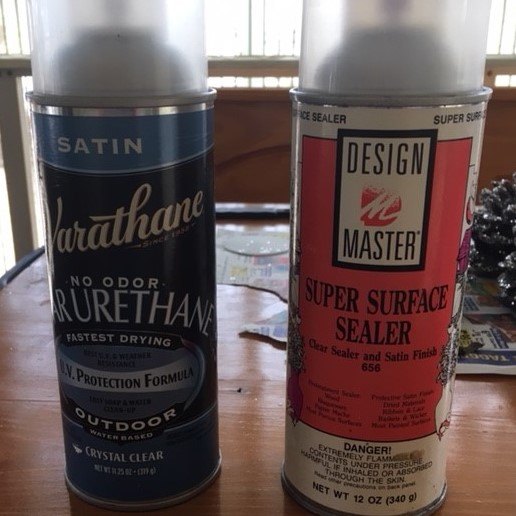
Once the snow was dry I used about three coats of sealer to keep the glitter from coming off in my hands every time I touched the tree.
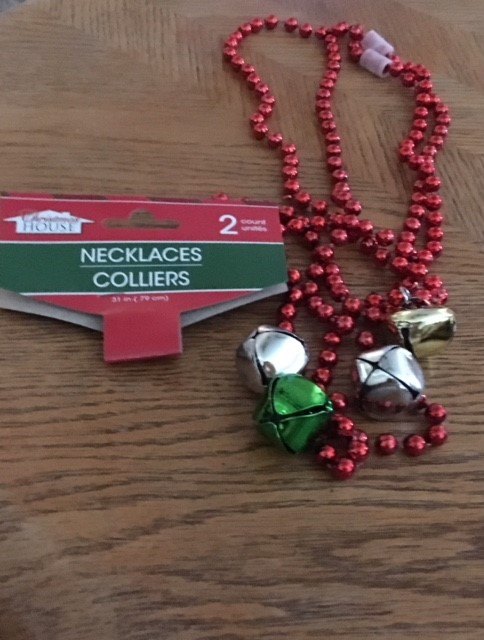
Of course once I began thinking I got a little carried away and took my inspiration a few steps further. I decided I wanted some color. At first I thought some holly berries, which I still think would be very pretty. But I decided on Christmas decorations, red balls. I used the hot glue gun to adhere them to the pine cones.
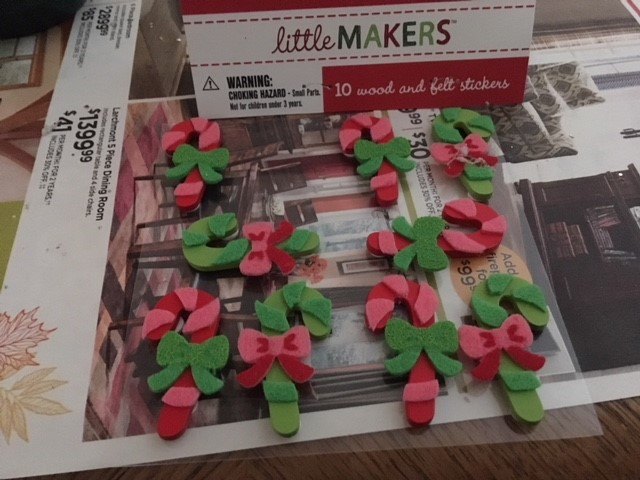
By the sixth tree my red balls were running low. I thought the candy canes might be too big but once they were on I thought they came out cute. They are self adhesive, however I think they weren't meant to adhere to glitter so I used the hot glue gun to adhere them as well.
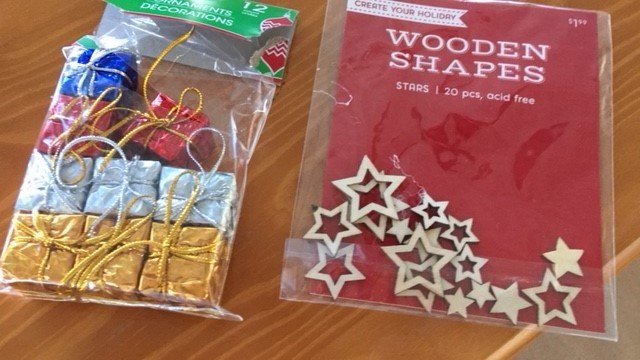
Every tree needs a star on top and presents underneath. I used the hot glue gun here too being real careful not to melt the presents.
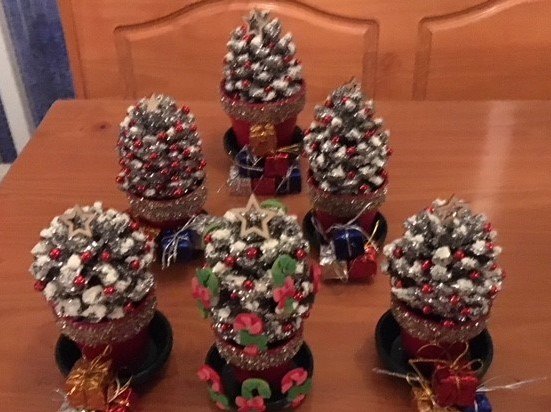
Here they are all completed. Didn't they come out just so pretty? The Christmas Trees actually twinkle as the sun goes down.
I can't really say how long it took to make my Pine Cone Christmas Trees. I worked on them sporadically. I waited a couple days to make sure the adhesive and snow were really dry before sealing them. Then waited a couple days to make sure the sealant dried before decorating them. The last night putting all the balls, candy canes, starts and presents on took a couple hours.
Comments
Join the conversation
2 comments
-
I'm a sucker for anything miniature and glittery! I love em!
-
Thank you Wendy


Frequently asked questions
Have a question about this project?