


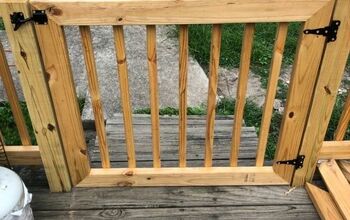
Spindle Baby Gate

10 Materials
$20
4 Hours
Easy
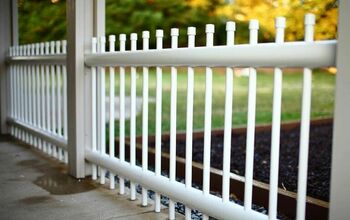
Plastic tension gates are so passé and usually just plain ugly. A good friend (and new mom) recently chatted up her woes of looking and looking...and looking for something that would keep her precious girl safe while fitting in with her décor. So far, it had been a lost cause. Chain stores only offered the plastics as an option and anyone willing to do custom work was way out of her price range. My DIY option got her the look she was going for and costs less than $20 to make!
Measure your opening and subtract an inch on the width. For example, if your opening is 34 inches wide, you'll want your gate to be 33 inches to allow for opening and closing as well as the hinge hardware. Cut two 1x4s for the width and two for the height, which will serve as your frame. The height pieces will set between the two width pieces so ensure you include their width amounts into the overall height. Otherwise your gate will be about 2 inches higher than expected.
Measure and mark the width pieces for spindle placement. Mark both width pieces so the spindles sit equal distance from each other but not more than 3 inches apart.
Use the drill and wood boring bit to drill a short hole into the markings so that the spindle sits down into the width pieces. Don't drill all the way down through the wood!
Assemble three of the 1x4s into a frame. Start by drilling two pilot holes into the top of both ends of the width pieces. Line up a height piece under the holes and run two screws through the width and into the height. Do the same thing on the other end of the same width piece (four screws used total). By the time you are done with this step, you should have two heights and one width securely screwed together.
Place some wood glue into the holes for the spindle and then place a spindle in each.
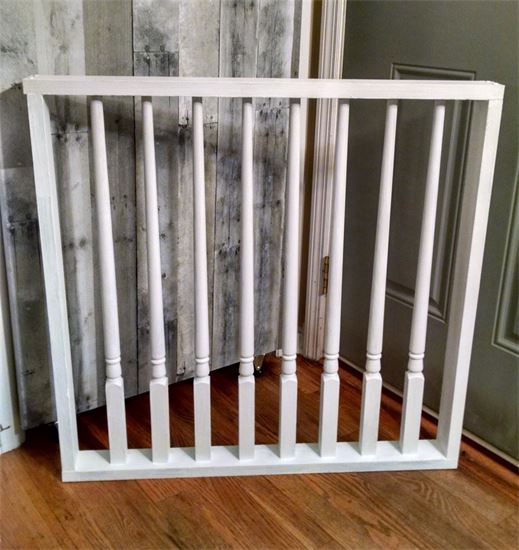
Add wood glue to the spindle holes in the remaining, unattached width piece and immediately place on top of the three-sided frame, fitting in the spindles into the holes. Use the remaining four screws to secure the width piece to the rest of the frame. Wipe up any glue drips, straighten each spindle, and leave to dry.
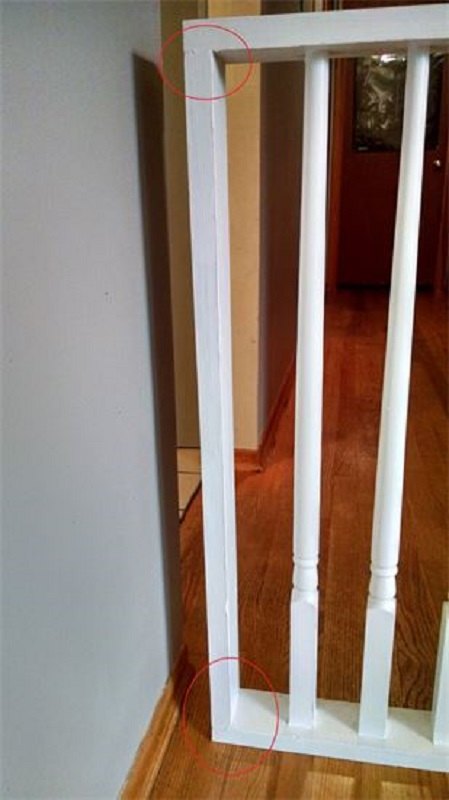
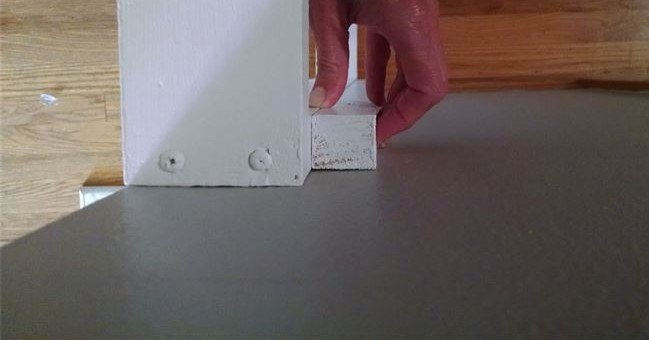
Caulk each place where the wood meets up for a clean, seamless look. Wipe away excess, let dry, and paint.
Once the paint has dried, attached the hinge and slide lock hardware.
You can also cut a 1x1 piece as a 'stop' to ensure the gate only opens one way and doesn't swing out into the area you need to close off.
Much better than plastic!!
Resources for this project:


Wood stair spindles/balusters (number dependent on width)


Any price and availability information displayed on [relevant Amazon Site(s), as applicable] at the time of purchase will apply to the purchase of this product.
Hometalk may collect a small share of sales from the links on this page.More info


Frequently asked questions
Have a question about this project?