


JOYful Wreath Topiary

by
Ann M
7 Materials
$3
1 Hour
Easy
I was recently at Target and in their Dollar area saw this darling wreath for $3.00. It was actually a wound up wire of tiny leaves But right away I knew I’d be making a wreath topiary with it!

“Wreath” found at target
I needed a pot and stick and some styrofoam to keep it together so I dug in my stash and found these. I found these 2 pack pots at Dollar Tree during the summer and had a pack of 12 inch sticks from a previous project.
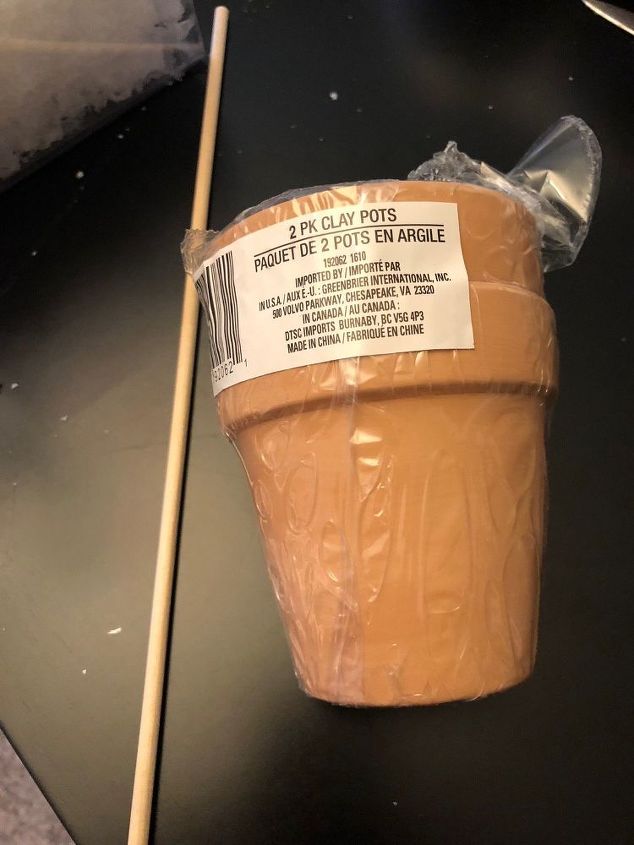
Pot and stick
I always have styrofoam so I cut a chunk of that and placed that in the pot and the stick in the foam in the pot to secure it.
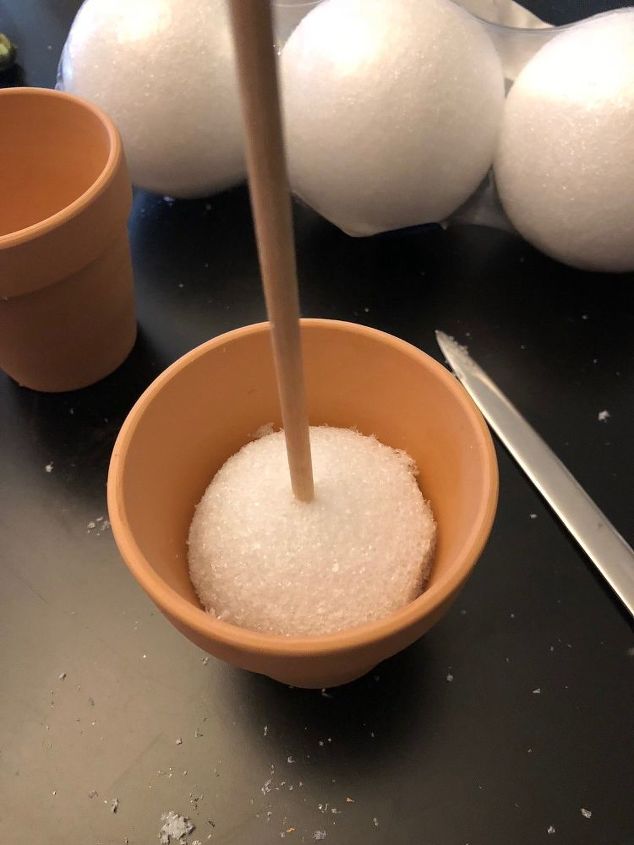
Secure in pot
I then took the wired leaves and first cut a 12 inch piece to wrap around the stick and another piece the same size to be used later. I then cut the remaining wire in half to make 2 separate wreaths the same size.

Winding the wire into a wreath
Taking one of the halves, wind it onto itself forming a wreath. Basically make a circle the size wreath you want connecting it here and then taking the long end bringing it inside the circle in and out wrapping it around the circle until you come to the end and connect. With the size wreath I made, I wrapped this around 3 Times. Take the second half and make an identical size 2nd wreath. I tried to make a video but it didn’t turn out!
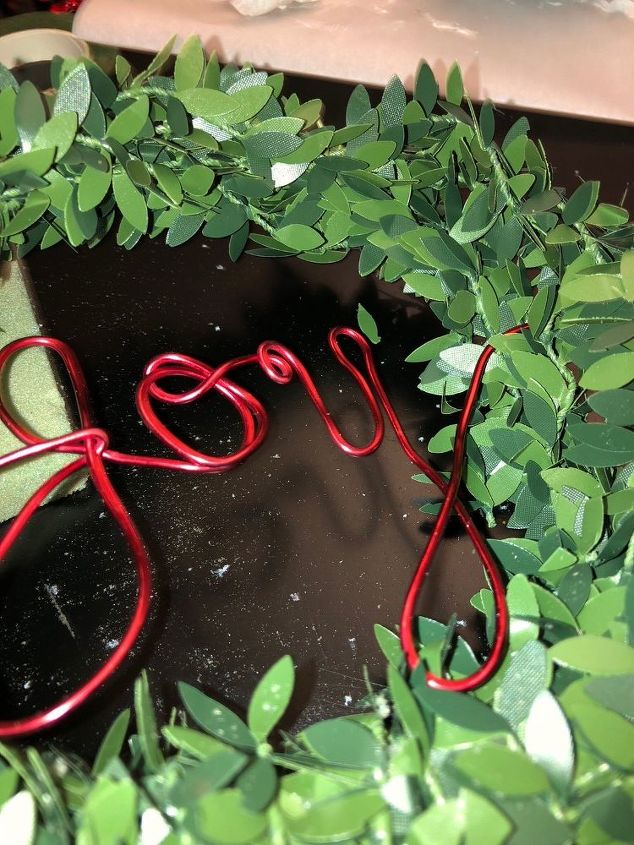
I found this wire at Dollar Tree. It’s very flexible and comes in many colors.
You’re going to use this to form a Holiday word to fit inside you’re wreath.
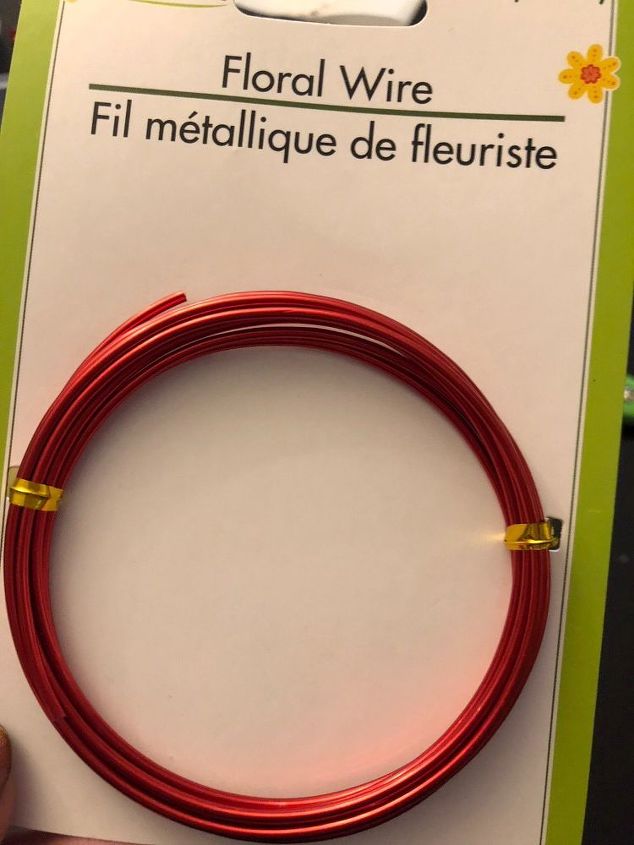
Wire for word
You’re going to choose a word that will fit inside your wreath. I chose JOY.
Leaving a tail about 3 inches long, begin forming your letters in script. Some people find it easier to write out the word on paper and follow that with the wire but I’ve been doing this for so long I find it easier just to form it in my hands. They make great gift toppers using the recipients name. Remember to leave another 3 inch tail at the end And yes I know I need a balance on my nails!
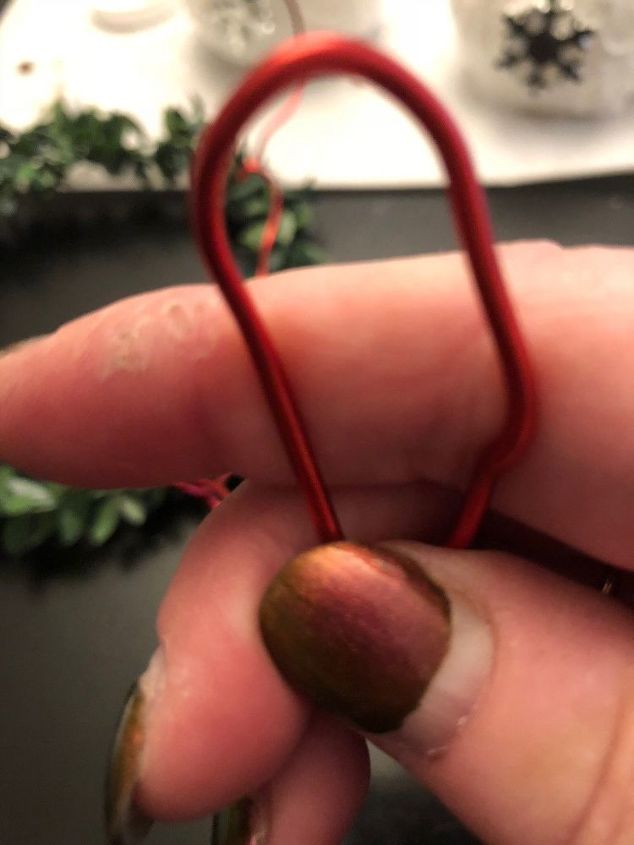
Making a J
Once your word is completed, take one wreath and place your word on top in the middle adjusting to fit and secure to wreath with the end tails.
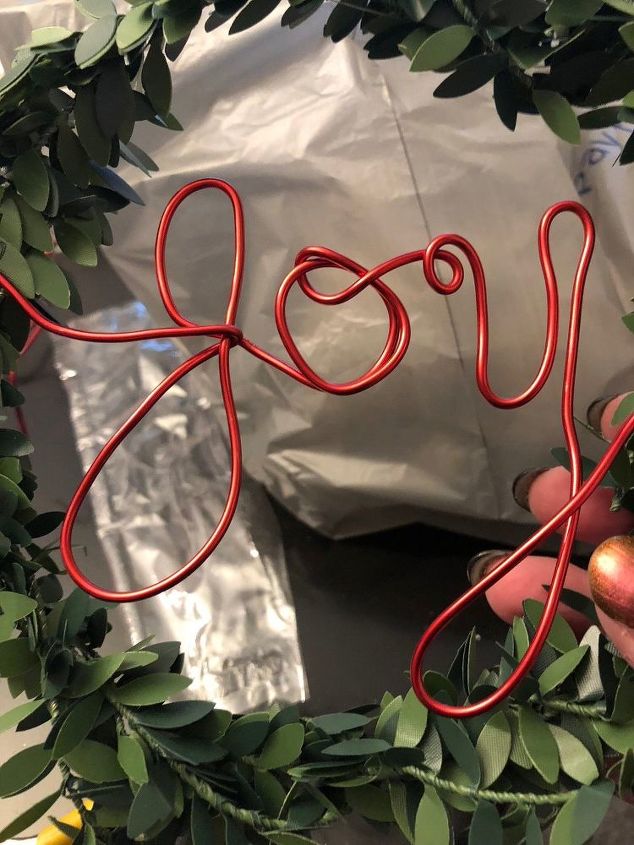
Finishing the word
After securing the word to one wreath, place the second wreath on top sandwiching the word in the middle. Take 2 pieces of green florist wire and twist tie the wreath at two places at the top approximately at 10 and 2 on a clock. Leave the bottom open.
Sandwich your word
Next cut a small piece of floral foam that fits inside the bottom sandwich
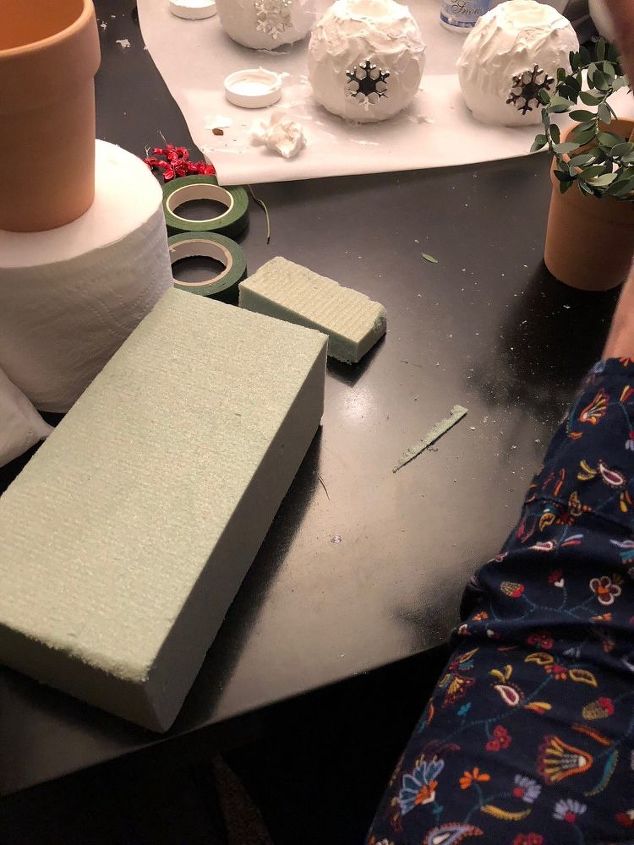
Add foam to bottom
Now insert this in between the 2 wreaths at the bottom taking the wired leaf section you laid aside in step 3 winding this around and around to secure foam and also to cover it. I forgot to take a picture of this.
Next go to the stick in the pot and wrap florist tape around the top inch. This prevents the wreath from slipping down the stick.
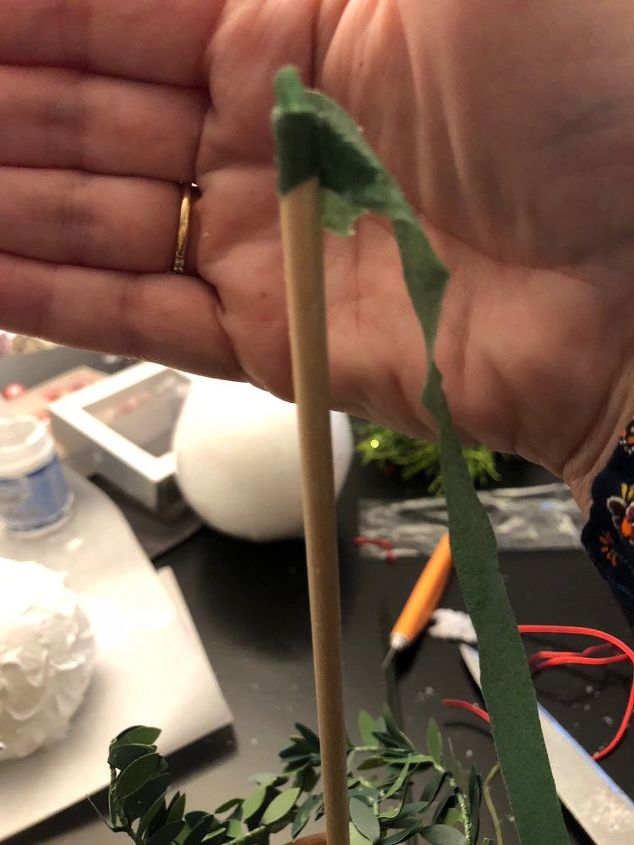
Use floral tape
Now take your last laid aside wired leaf piece and wind this around the stick. Then CAREFULLY place the wreath on the stick, inserting the stick into the foam. Move slowly. You don’t want the stick to go all the way through.
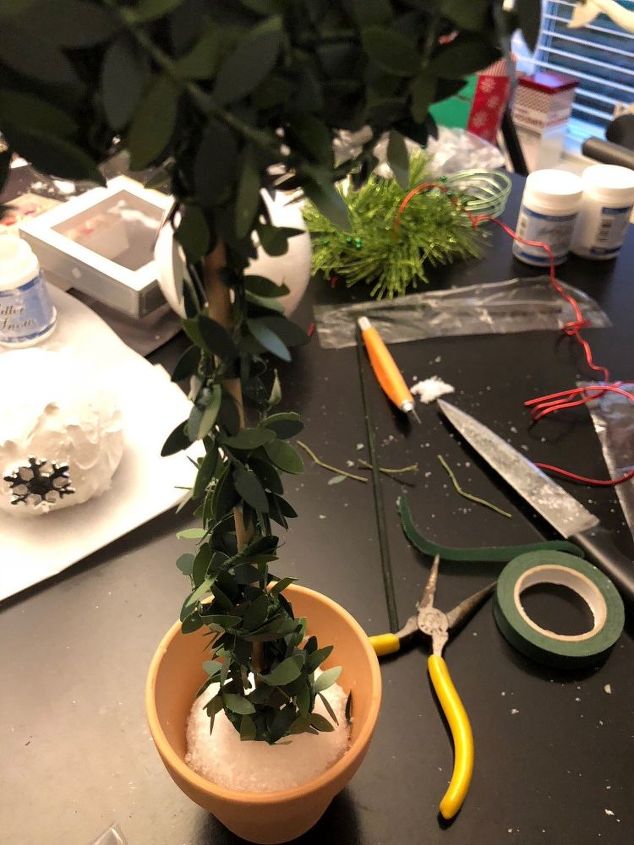
Ready to finish
At this point you can use as is. I chose to place the pot into a Christmas pot I had and fill it all in with moss.

JOYful
Enjoy your new topiary.

Hope this season brings you Joy!
Comments
Join the conversation
4 of 10 comments
-
Oh wow! So creative and festive. Great job! 🎄
-
This is so pretty and could be used year round especially if you could take the word joy out when not using for Christmas! I think it would also be pretty if you added a small set of battery operated fairy lights to it hiding the battery back under your moss.


Frequently asked questions
Have a question about this project?