


Simple Pinecone Garland (with NO Hot Glue!)
6 Materials
$10
1 Hour
Medium
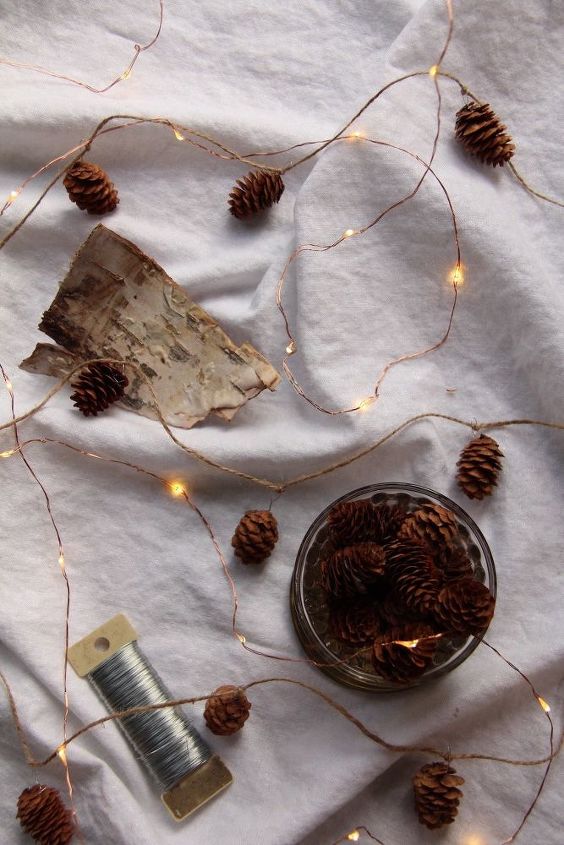
Pinecones are adorable any time of the year, but I love using them for Christmas decor.
My friends and I get together in December for a craft night where we make DIY ornaments and eat holiday food. Ever since I pinned a pinecone garland onto my Natural Christmas Decorations Pinterest Board, I've been wondering if there was a way to make it without hot glue. Hot glue doesn't mix well with large groups, plus it has a tendency to crack off as the pinecones dry. Finally I figured it out...floral wire!
This pinecone garland is a simple way to bring a little bit of nature into your home during the holiday season. It’s quick to make and looks lovely hung on a plain wall or the Christmas tree.
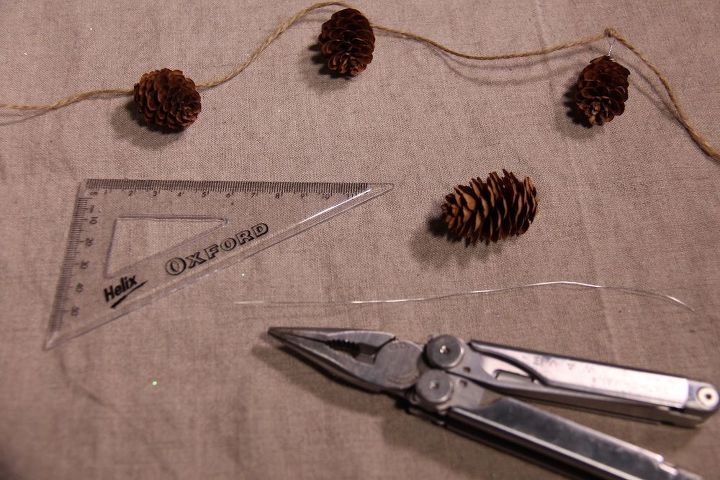
Gather your supplies
BEFORE - Gather your supplies. You'll need pinecones or other conifer cones (I used hemlock cones, which are quite small), thin floral wire, a multitool, a length of thin jute twine, scissors, and a ruler.
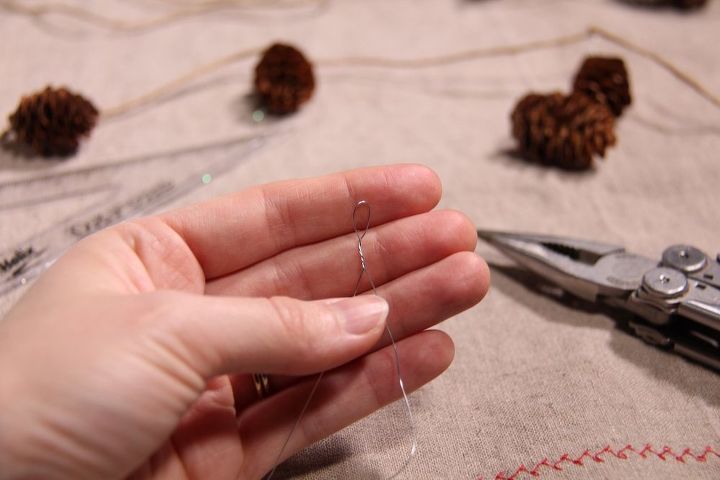
Cut and twist pieces of wire into small loops
Cut a length of floral wire for each pinecone to be added to the garland. I cut a piece of wire about 20 cm long (about 8 inches) for each cone. My cones were mini so you may need a longer length (test one out before you cut them all!).
Twist the wire in the middle to create a loop in the centre of the wire. Make a few additional twists to secure the loop.

Slide the wire ends into the cone's layers
Place each end of the wire between two layers at the top end of the pinecone. Twist the wire around the cone. Tuck the wire between the layers of the top of the pinecone.
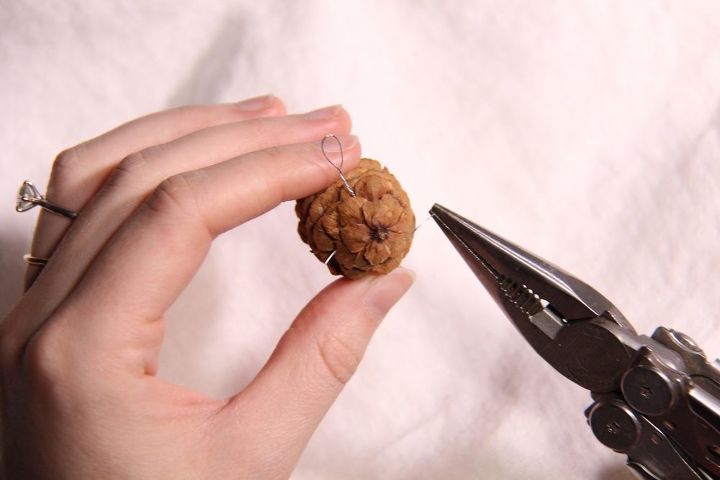
Tuck in the ends of the wire
Use the tool to carefully push any visible ends of the floral wire into the cone so the ends don’t stick out.
Once the wire is properly attached to the cone, gently bend the loop upwards so that the pinecone will hang vertically/straight.
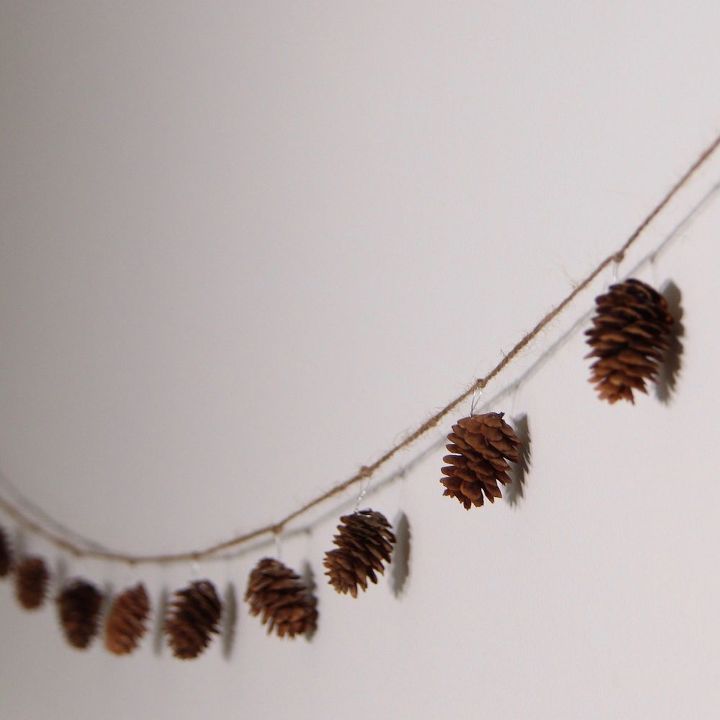
Tie a loop in the far end of the twine. String each pinecone onto the twine by placing the twine through the wire loop and tying the twine in a knot. Use a ruler if you'd like to space the cones evenly.
Once all cones are tied on, tie a loop in the other end of the garland to finish it off.
AFTER - Enjoy your pinecone garland! Hang your garland on the tree, on the mantle, on a wall, or wherever you like!
More detail on these steps and supplies can be found in the original post (linked down below):
Resources for this project:
See all materials


Any price and availability information displayed on [relevant Amazon Site(s), as applicable] at the time of purchase will apply to the purchase of this product.
Hometalk may collect a small share of sales from the links on this page.More info

Want more details about this and other DIY projects? Check out my blog post!
Comments
Join the conversation
4 comments
-
Cute!

-
It looks like there are lights in it, but the directions do not mention it.


Frequently asked questions
Have a question about this project?