


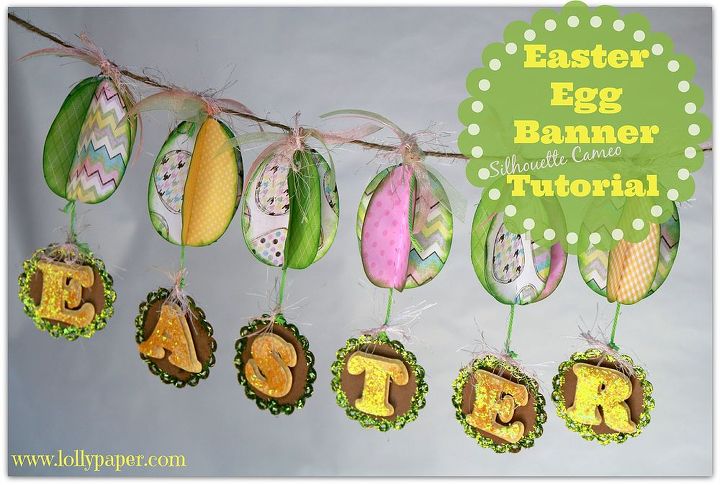
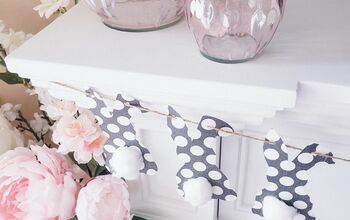
Easter Egg Banner

by
Lollypaper
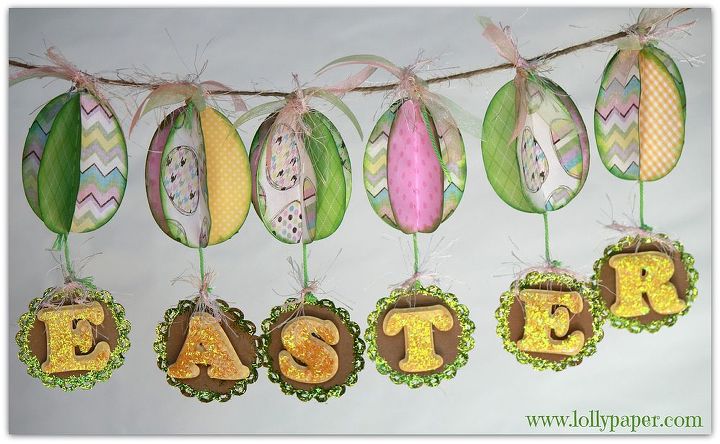
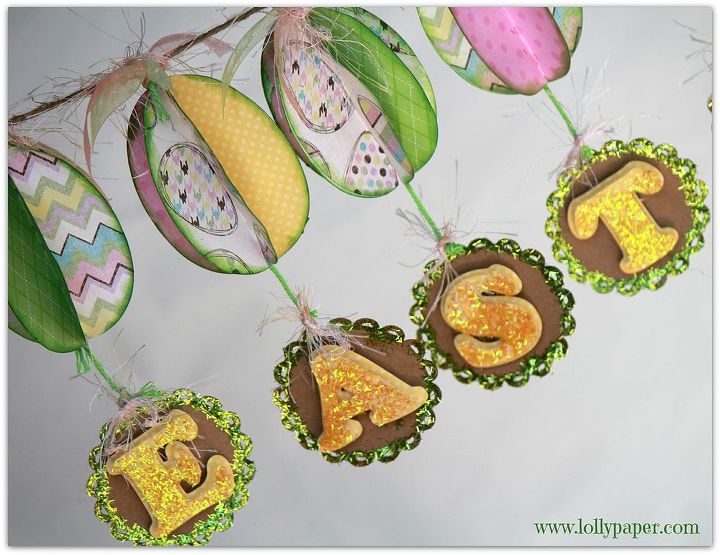
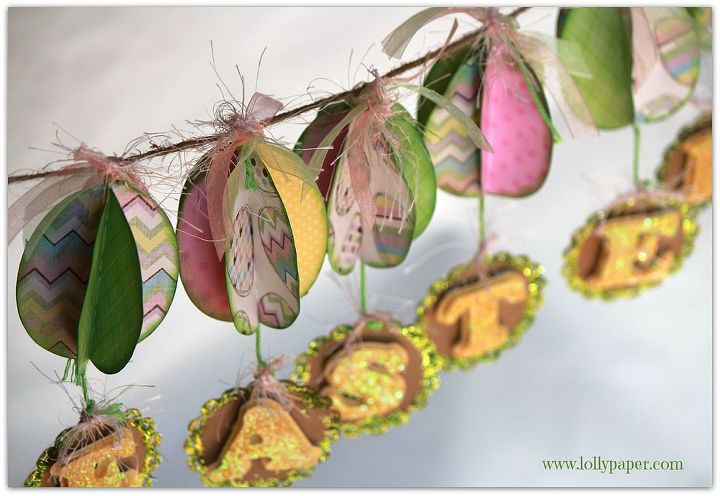
It’s hard to believe that Easter is just around the corner, isn’t it? I don’t know about you, but I’ve been in an Easter crafting mode lately. Today I have a banner to share with you that I made with my Silhouette Cameo.(Disclaimer: This is not a sponsored post…as I always say; I just love my Cameo).I started out with this 3-D egg I purchased in the on-line store. This cute little egg comes with holes designed to thread a ribbon through it. For this project I decided to remove the ribbon hole. I did this by using the “eraser tool”. If you haven’t used the eraser tool, it’s super easy…literally an eraser to remove anything you don’t want cut.I then re-sized the die to approximately 3 inches and started cutting. I chose 5 different coordinating papers to alternate between each fold.These are super easy and fast to put together. Simply fold on the perforated line, and glue with paper glue. I layed mine flat until the glue was dry. A large binder clip would work well too. Once the glue was dry, I took an 8 inch length of green twine and used hot glue to attach it in the middle of the egg.Once the eggs were assembled, I cut out the round “doilies” out of craft paper. I got this shape from the spring banner that was a free shape last week. I simply un-grouped the design, and deleted everything but the round doilies. I cut these about 2 inches in diameter. I then cut out the word “Easter” to fit within the circle. I used the offset feature to create a “shadow” letter for an extra layer. I love layers!I glittered the edges, and the top layer of the letter and assembled it with pop dots.Next, I tied the letters to the bottom of the string at the bottom of the egg. I learned after the first one, that it is much easier to tie the letter on to the twine before gluing it into the center of the egg. I also added a dab of hot glue at the top of the egg where it meets the jute, to keep it from spinning.Finally tie the egg to a piece of jute twine, and embellished with some colorful and coordinating ribbon.Here are some pictures of the finished project. I hope you enjoy!Happy Monday! Have a great week everyone!
Want more details about this and other DIY projects? Check out my blog post!


Frequently asked questions
Have a question about this project?