


The Punk Pillow

1 Material
2 Days
Easy
Many of you have already seen my Pomeranian (or should I say my husband's Pomeranian), Rascal. He is a tiny, full of himself, kinda guy. Because of this attitude, around our house he has lovingly been dubbed "The Punk" or Punk Dog. He hangs with my hubby on the couch in the evening and watches tv with him. He also helps himself to one of the decorative pillows that are on that couch. Of course it's not the one that I put there for him, he has to choose the more expensive one and the one I would call a 'just for looks' kind of pillow.
One day I remarked to my husband that he was on the wrong pillow. To which he stated "what do you mean the wrong pillow? Everything in this house is his anyway don't you know?"( ...true....) "and besides, he doesn't like the other pillow it makes him too hot" (too bad, so sad.....). "I guess you will just have to make him his own pillow"!.
Now, I am an obsessive pillow maven...it drives my husband nuts, for him to even suggest I make "another pillow" is unheard of, this is how much this little fart has melted his heart. : ) and mine too. I just had to make a pillow especially for him , but it couldn't be just any old pillow, it had to be special like he is....
So, I came up with a plan to make a cute pillow that not only went with my décor but also was made it clear that it was "his pillow". That way anyone visiting would know that it was his, and if they leaned against it or used it and got hair all over themselves... well they should have known better LOL I already had every thing I needed for this pillow in my arsenal. This is what I used:
1. cardboard to map out what I wanted
2. Stencil (purchased at michaels)
3. Chalk paint of varying colors (some purchased, some made)
4. Drop cloth material (yep , more drop cloth projects....)
5. Zipper (the one I had on hand was long enough to go down the entire side of the pillow)
6. Sewing machine and thread
7. Pillow (I used an old, regular bed pillow I had saved)
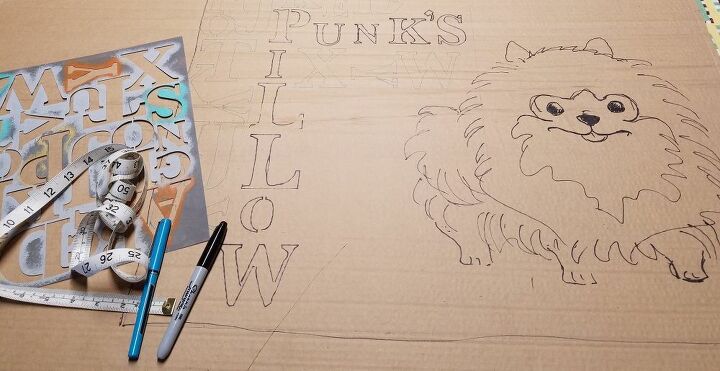
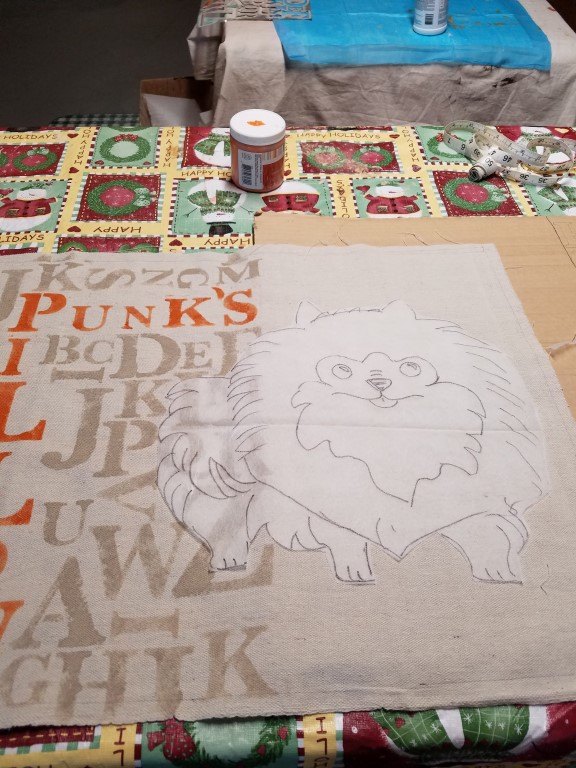
I first figured out what size I needed, drew that on cardboard and laid out my lettering. Then I found a cute pic of a pom online and free handed it onto the cardboard.
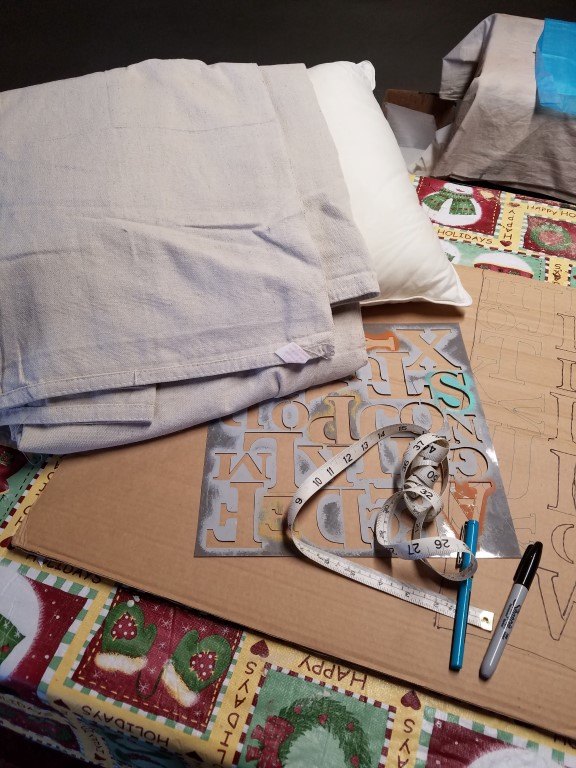
Showing some of the materials I used.
This is the drop cloth. I measured it and cut out two pieces the size I needed and adding on the right amount of seam allowance. This material ravels easily, so I allowed 1/2 inch and zig zagged over all edges before I sewed the pillow together.
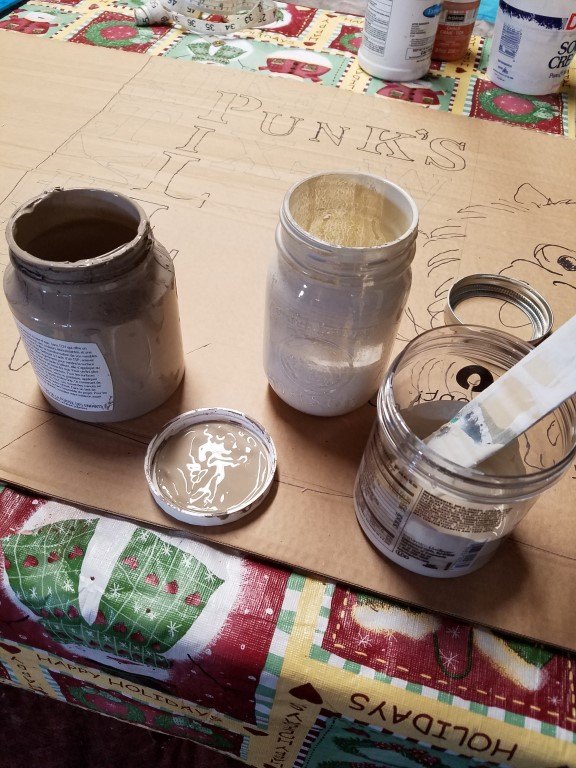
I wanted a tone on tone look for the letters that would be background 'filler', so I mixed these two colors together to come up with a lighter tan color.
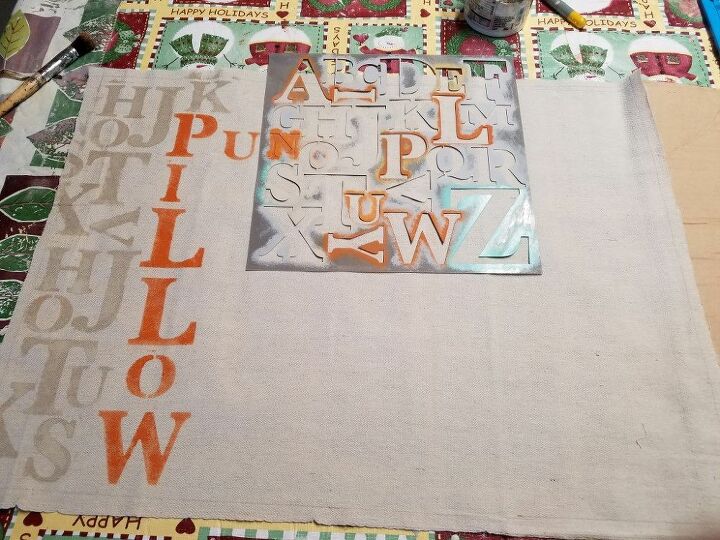
Since I have 'burnt orange' in and around my living room, and Rascal is orange, I choose orange for the wording I wanted to pop. This was done using Art Minds Cayenne. I did the word "pillow" first, then filled in with the tan letters, then started across with the word "Punk's"
I traced the pom picture onto some interfacing I had in order to be able to trace around it to get the placement right. I went over the lines on the back of the drawing with grey chalk, then used a pencil to draw on the font of it in order to transfer the picture to the material.

Here I am beginning to paint the Pom.
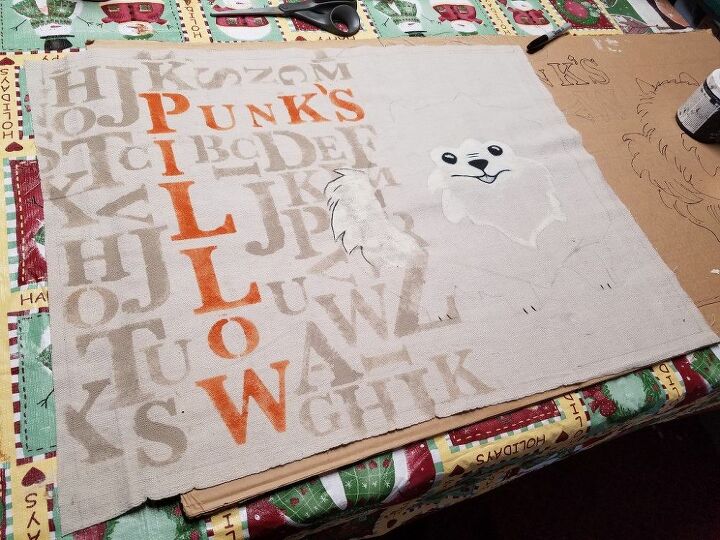
Letters complete and working on the dog.

All painted! I purposely did not do anything too solid, I wanted to retain the softness. No one wants to lay on some hard ole pillow!
I did use water with the paint to get it to go on better. After I let it all dry, I ironed it (on the back), with an old sheet on my ironing board in case of transfer. This helps to 'heat' set the paint.
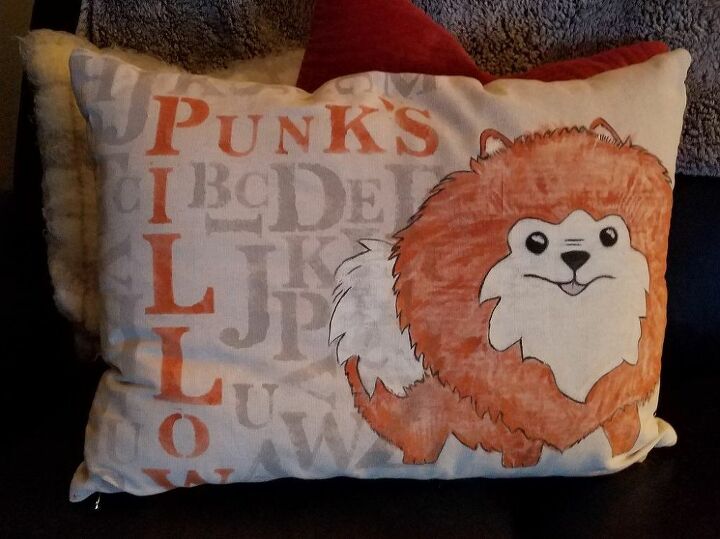
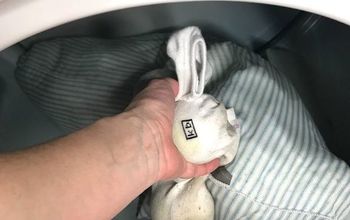
I sewed the zipper in first, then put right side to right side and sewed all the way around the pillow. Unzipped it, turned it right side out, stuffed in the pillow and zipped it up! Perfect!!
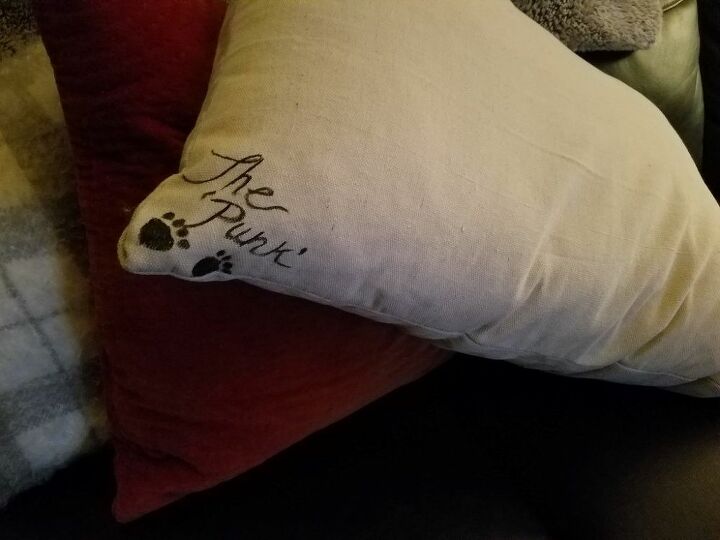
This is the backside of the pillow, also done and ironed before sewing. I just don't have any other pics of this part : )
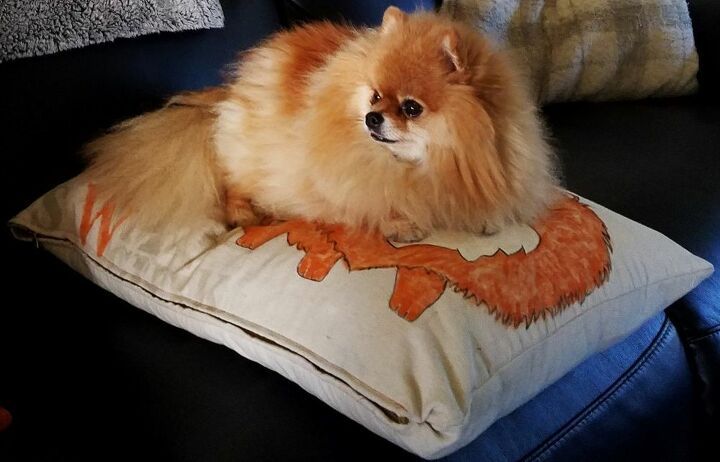
As soon as I was done, I took it over and put it on the couch. Rascal promptly and without further ado, waltzed over and claimed it : ) I swear I heard him say "Well, it's about time"....
Comments
Join the conversation
2 of 4 comments
-
I love your rendition of the Pom, so cute!
-
Thank you Wendy!


Frequently asked questions
Have a question about this project?