


Unique Christmas Tree Ideas for the Holiday Season

Looking for some unique Christmas tree ideas sure to spruce up your home for the holiday season? You’ve come to the right place! I’ve gathered six awesome ideas you’ll want to try for your own home. The best part is that you probably already have most of the materials needed. So take a look and choose the tree right for your space!
Tomato Cage Christmas Tree
Tools and Materials
- Tomato cage
- Cable tie
- String
- Christmas lights
Step 1: Gather Your Materials
No glue. No hassle. Three easy steps and four simple tools you can find at local stores. Just choose a corner where the Christmas tree should go and get to setting it all up. The creative process will go faster and smoother if you have everything you need within reach.

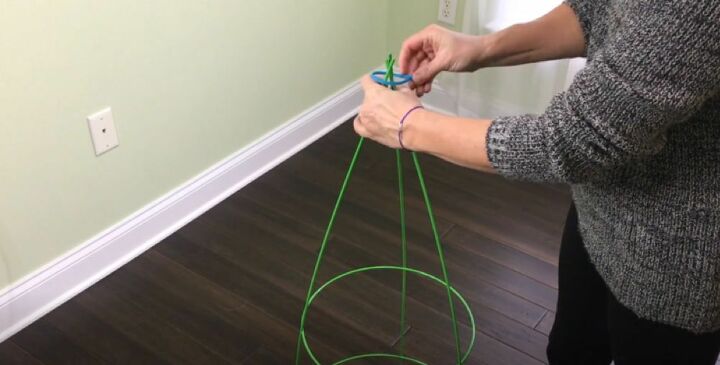
Step 2: Tie the Bottom of the Cage
Set the tomato cage upside down so the bottom wires are pointing up. Use the cable tie to bind these. Make sure the structure stands on its own, then get the string and tie several taught lines around and across the cage. I chose dark green string to fit the festive occasion, but so would a glittery red, which would shine nicely during the day.
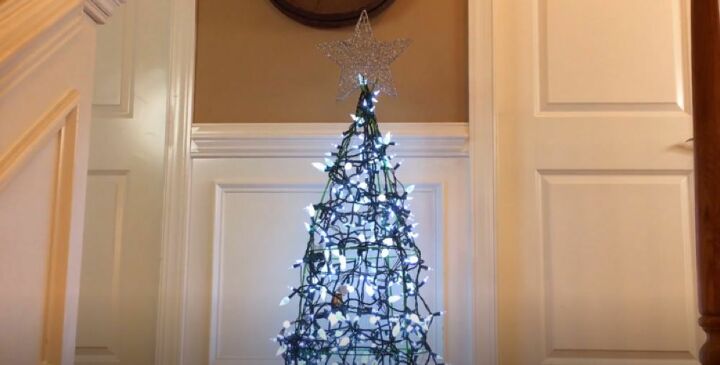
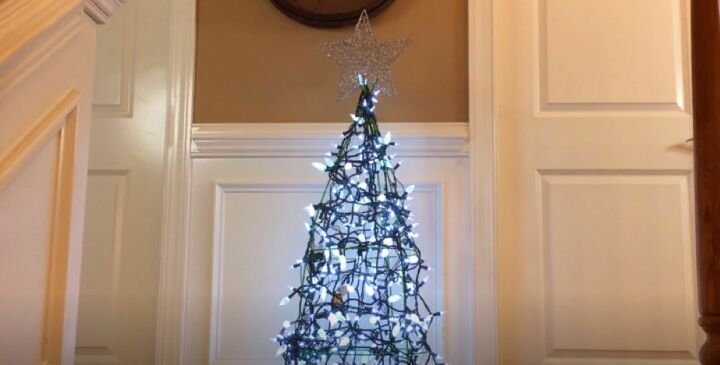
Step 3: Wrap with Lights
It’s time for the Christmas lights. Wrap them around the strings and wires of the cage, even the very bottom one. Use the whole cable to cover the tomato cage in pretty lights. Of all these Christmas tree decoration ideas, this is almost the closest to the image of a proper little tree.
Hanging Christmas Tree

Tools and Materials
- Splatter screen
- Fishing Line
- Beads
- Ornaments
Step 1: Gather Your Materials
Christmas tree ideas are becoming more and more unique. This project is a great option if you lack floorspace or if you're trying to keep your pets out of your tree. I used some pretty unique materials to create this tree, but they are all cheap and easy to find.
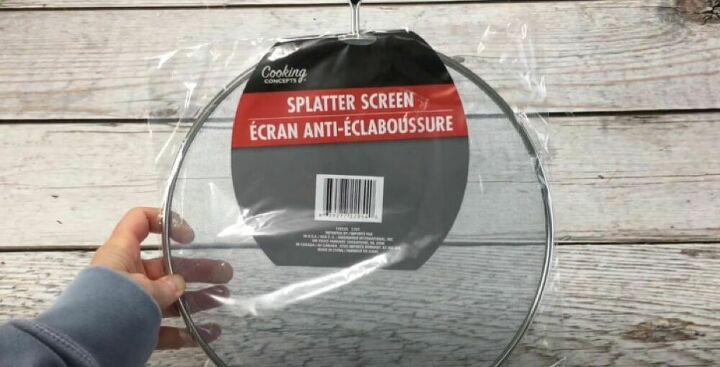
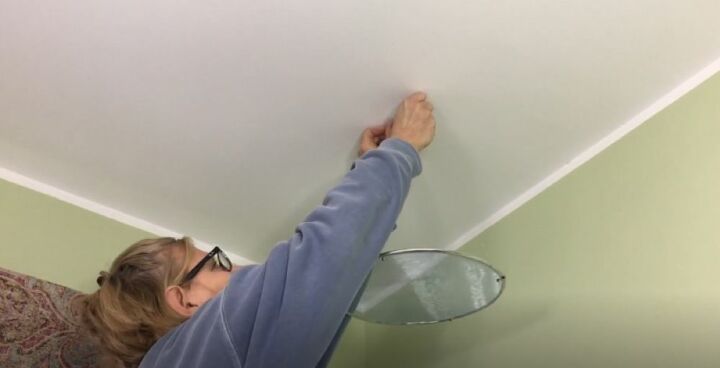
Step 2: Attach Top to Ceiling
Get the splatter screen. Thread a fishing line through the edge of the mesh. I added a bead and tied the line to secure the bead in place, then threaded three more beaded fishing lines through strategic places around the rim of the mesh and tie their ends together. The goal is to keep the mesh straight when it’s hung from the ceiling.
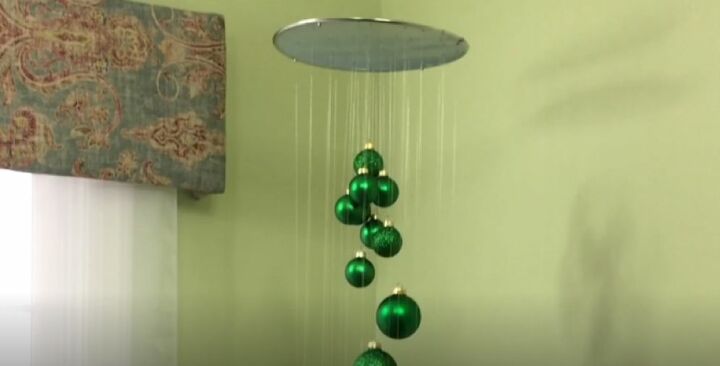
Step 3: Hang Ornaments
Now, all you need are many more bits of fishing line of varying lengths. Tie one end of each to the mesh and the other end to an ornament. If you design the project very carefully, you can achieve wonderful effects in terms of hanging patterns and ornament color combinations.
Newspaper Tree

Tools and Materials
- Wire netting
- Wire cutters
- Newspaper squares
- Hot glue
Step 1: Gather Your Materials
This next example of unconventional Christmas tree decorating ideas has a lot of potential you can play with. For now, follow the four simple steps of my project so you can see how it’s done. If you have lots of newspapers lying around, this is a great way to make use of them.
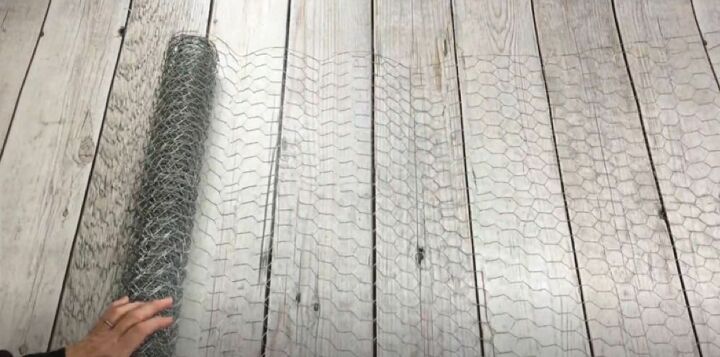
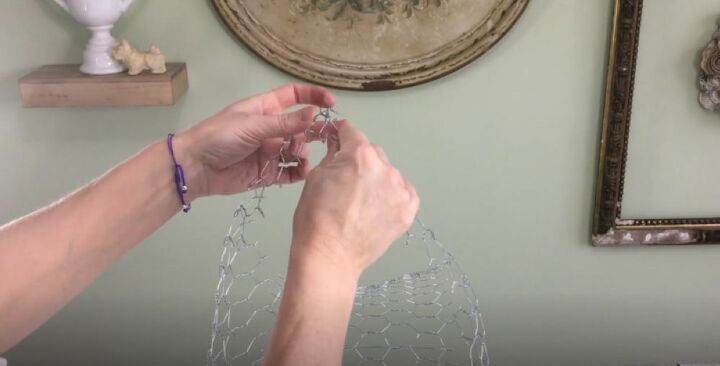
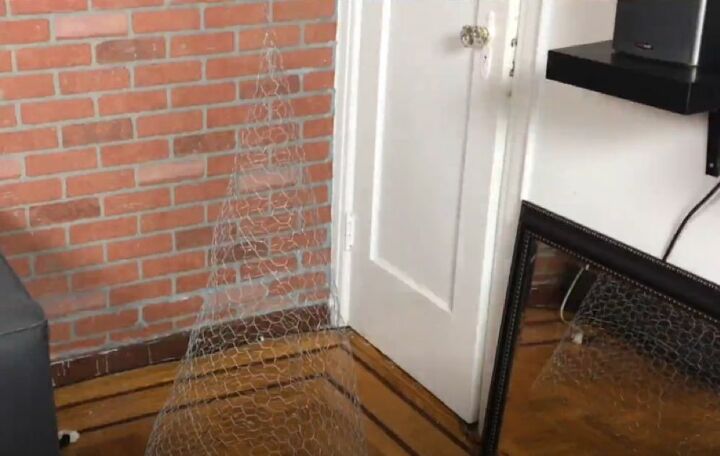
Step 2: Shape Chicken Wire into a Tree
Cut out a length of wire netting and tie either end into a cylinder. Stand it upright and cut the top half into four sections, which you then tie together until the whole wire structure takes the shape of a cone - or Christmas tree! I made sure to wear gloves so as not to hurt my hands.
Step 3: Form Newspaper Cones
Cut the newspapers into squares. Each of these squares needs hot glue applied to one end before rolling the other end onto the sticky side, you should end up with a cone. It doesn’t need to be perfect – it’s the shape that matters. Proceed to turn all your squares into cones, ready for the final step.

Step 4: Attach to Tree
Thread each cone through a hole of the wire tree, pointy end first. Fold that end over the wire so the cone stays in place. Add glue if necessary. Fill the tree with newspaper cones, until the wire beneath isn’t visible. I then placed the tree on a stabilized pot and topped it with a star. Project complete!

Mitten Tree
Tools and Materials
- Wire netting
- Wire cutters
- Mittens
- Hot glue
Step 1: Gather Your Materials
The Christmas tree ideas continue with a project that’s not too different from the newspaper tree above. Apart from more wire netting and glue, you’ll also need plenty of mittens - as the name would imply. It doesn’t matter if you use old pairs or dollar store finds, the lights will draw the eye more and hide any imperfections.

Step 2: Shape Chicken Wire into a Tree
Again, create the form of a tree out of wire netting. If you want to create a big tree with this technique without buying taller netting, you could attach another length of wire on top of the first and then mould the whole thing into the tree-shaped base. This would need double the number of mittens, but it’s an interesting idea regardless.
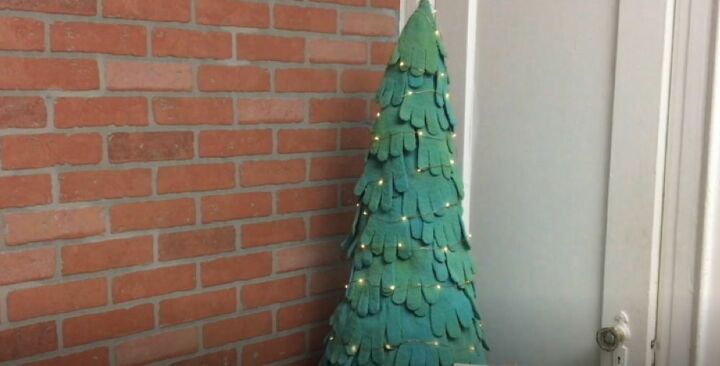
Step 3: Attach Mittens
Get the hot glue and start sticking mittens onto the wire tree. I began at the top and worked my way down, but the opposite direction is just as effective. If you use all green gloves, the completed project will resemble a Christmas tree more. However, different colored pairs may be easier to gather and can look even more unique when combined.

Step 4: Wrap with Lights
Starting from the top, wrap the gloved tree in Christmas lights. I used plain white lights, which contrasted well with the green of the mittens. Depending on what materials you’ve been able to find and the color scheme you prefer to aim for, adjust the crafting process as you wish.

Pallet Tree
Tools and Materials
- Pallet
- Christmas lights
- Nail gun
- Small wooden panel
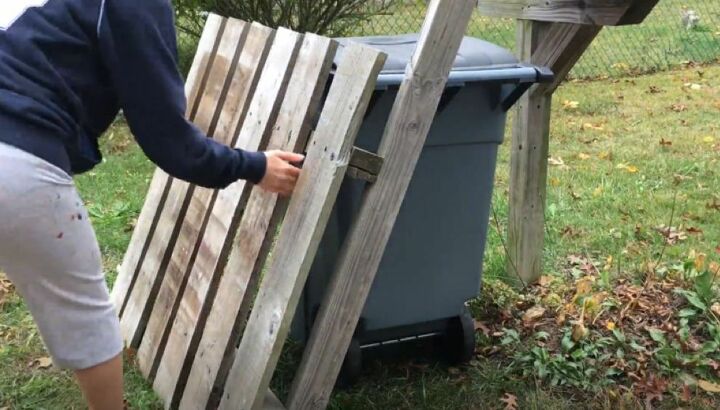
Step 1: Gather Your Materials
Any wooden pallet is good for the job, as long as it’s clean and presentable. While room can be made for this unique ornament inside, you could consider it along with any other Christmas tree decoration ideas you may have for outside the house. If there’s an accessible socket, it’s doable.
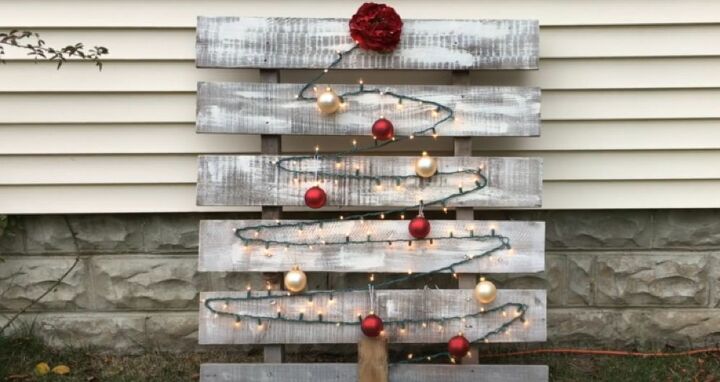
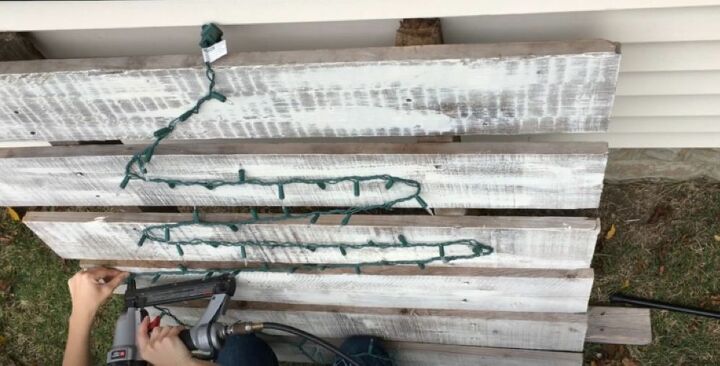
Step 2: Attach Lights
Arrange the Christmas lights on the pallet by securing the cable onto nails. Add them as you go along, attaching the whole length of the lights in a zigzag formation. Start from either above or below, depending on where the socket is. Don’t forget to add some extra nails within the tree.
Step 3: Add Ornaments
All that’s left is to decorate. Hang baubles and other ornaments from the nails. Making a plan before starting the project as to where you want the decorations to go ensures you have nails in the right places. I added a piece of wood to the bottom of my tree to serve as its base.

Canvas Tree
Tools and Materials
- Canvas
- Frame
- Hot glue
- Christmas decorations
- Christmas lights
Step 1: Gather Your Materials
This is perhaps one of the more creative of the Christmas tree ideas. You’ll need to get a canvas, as well as an attractive frame of the right size. Gather all decorations you want to design your tree with, but veer towards light-weight options so they stay on the canvas.

Step 2: Put Canvas Together
If you get a canvas and frame set, putting them together should be a simple matter. Buying them individually isn’t that much more complicated, except you may end up with the wrong sizes. Take measurements before you go shopping for these parts. Once ready, assemble your canvas and prepare to decorate it.

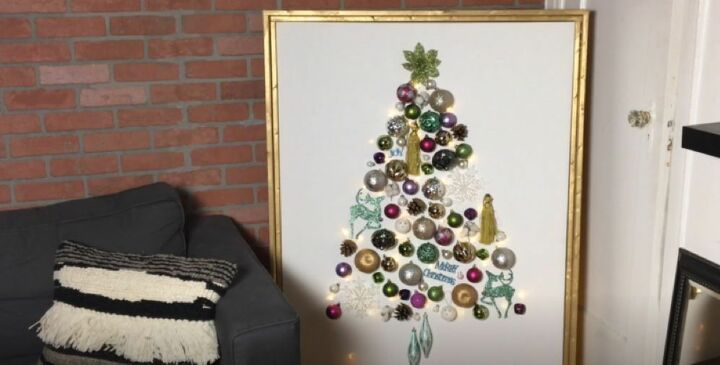
Step 3: Attach Ornaments
With the glue gun in hand, stick Christmas decorations onto the canvas. Work your way down, arranging them all into the shape of a tree. I went for a sparkly, multicolored effect on a white canvas. An interesting idea would be to actually paint something as a background to the tree, such as a lovely wintery scene.

Step 4: Add Lights from Behind
This stage is even more clever. Turn the canvas around and push each Christmas light through the seams. What you get is a magical and neat effect as only the lights are visible from the front and all the awkward cables are hidden at the back. Position the finished project against a wall and admire your handiwork.

Six fun Christmas tree decoration ideas to make you feel proud of your home’s festive yet unconventional look and your own creative skills. Some of these projects add a truly alternative twist to the decorating process, while others’ styles suit goals of kitsch and glamor. An important factor to consider is that all of them can come into existence at half the cost of an actual Christmas tree.
Don't forget to create more fantastic ornaments and share them with your friends, inspiring more people to try alternative Christmas ideas!


Frequently asked questions
Have a question about this project?