


Rustic DIY Christmas Ornaments

by
Brianna
6 Materials
$15
2 Hours
Easy
While walking through our small woods the other weekend, I had the idea of putting to use some of the fallen lumber.....
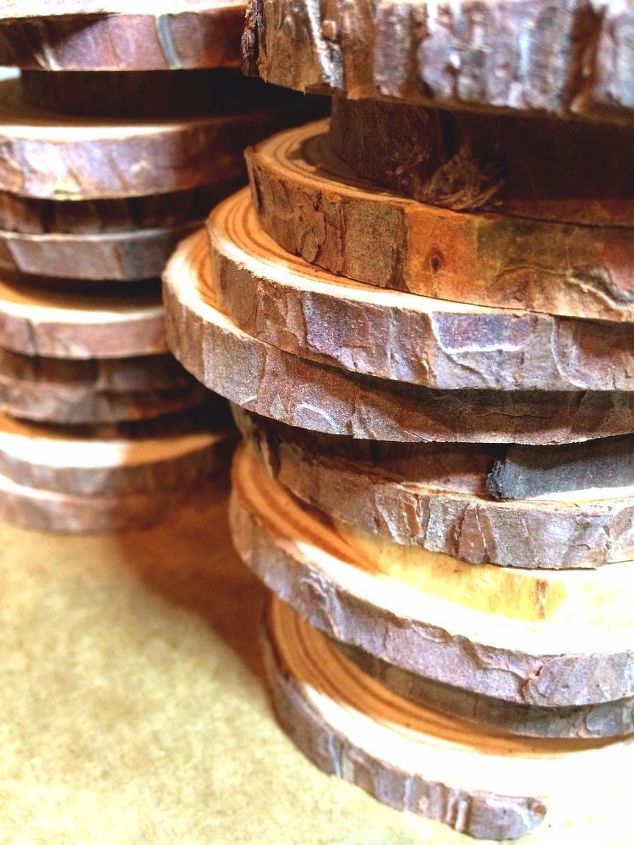
Unfortunately, the wood was too wet and took too long to dry. So, I did the next best thing, I ordered pre-cut and pre-drilled ones off of Amazon here.
Step One: I started this DIY project off by gathering the rest of the supplies. I then grabbed an old cardboard box and cut it flat to protect my work surface (my kitchen countertops). The list of the supplies needed for this project is listed below.
{
"id": "4498914",
"alt": "",
"title": "",
"video_library_id": "7458",
"thumbnail": "https://cdn-fastly.hometalk.com/media/2017/11/29/4498914/rustic-diy-christmas-ornaments.jpg"
}
{
"width": 634,
"height": 357,
"showRelated": true,
"noautoplay": ""
}
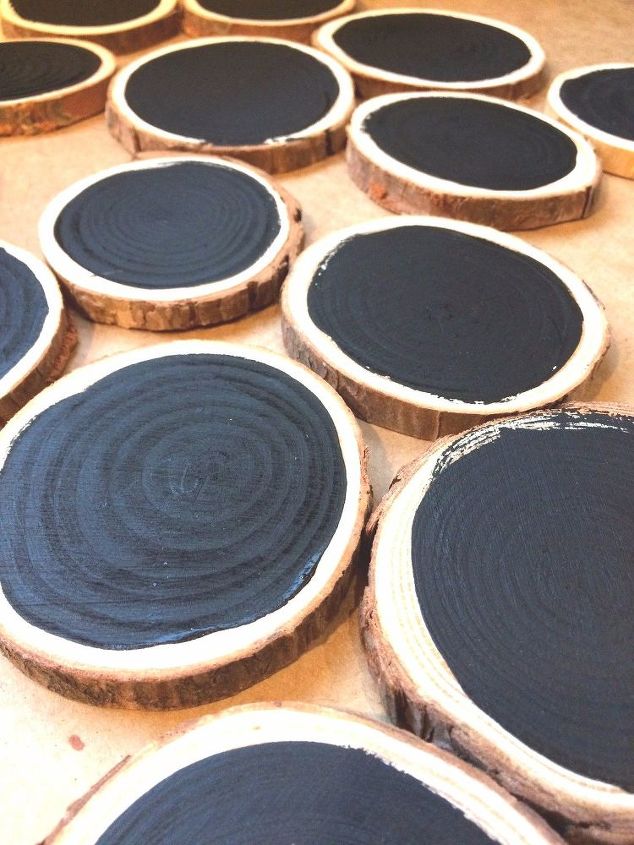
Step 2: Paint the slices (front and back) with an artist brush and the chalkboard paint. Let your first side dry for 1-2 hours before painting the other side.
{
"id": "4498921",
"alt": "",
"title": "",
"video_link": "https://www.youtube.com/embed/WjaLLN8aapY",
"youtube_video_id": "WjaLLN8aapY"
}
{
"width": 634,
"height": 357,
"showRelated": true
}
Step 3: Decorate your painted slices by drawing on them with chalk or create cute designs by using Charming Chalker Transfers and Chalkology Paste as demonstrated in the video above.
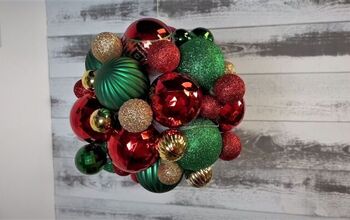
As you can see, this project is really simple, a lot of fun, and is great for any Christmas theme (but especially if it's a rustic theme). I enjoyed making several of these with my two year old (yay to easy family projects) for easy homemade Christmas gifts this year. I hope this tutorial inspired you to make your own ornaments too.
To see the final results and full tutorial, visit http://prairiepinedesigns.com/rustic-diy-christmas-ornaments/
Happy DIYing,
Brianna
Resources for this project:
See all materials


Any price and availability information displayed on [relevant Amazon Site(s), as applicable] at the time of purchase will apply to the purchase of this product.
Hometalk may collect a small share of sales from the links on this page.More info
Want more details about this and other DIY projects? Check out my blog post!


Frequently asked questions
Have a question about this project?