Looking for some Christmas craft ideas for my Grade 1's and 2's.

Related Discussions
How to make a Christmas bow tree topper?
How do I make a bow topper for my Christmas tree?
How to make a Christmas bow with wired ribbon?
How do I make a Christmas bow out of wired ribbon for Christmas? I’d like to make pretty bows for my Christmas gifts and arrangements. I’d like it to be full and ... See more
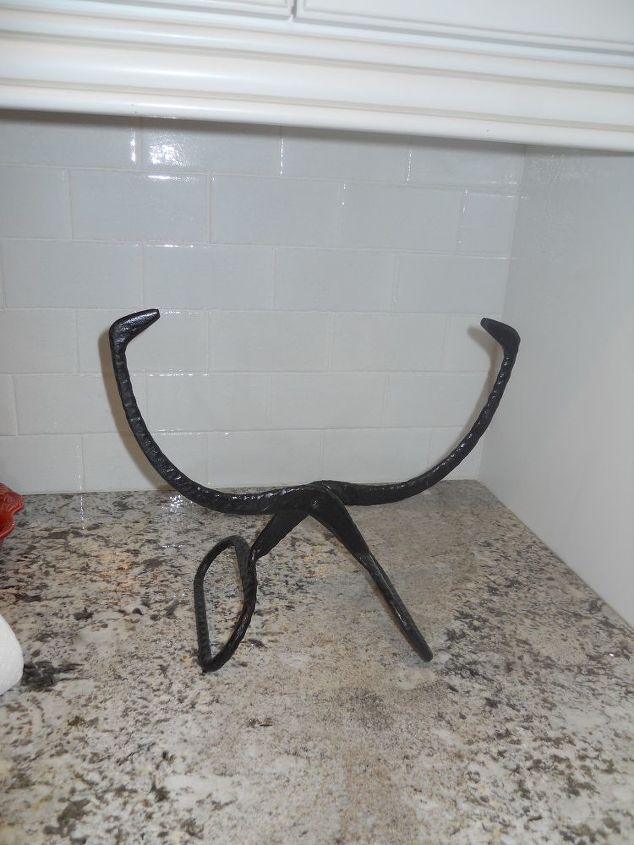
Does anyone know what this is?
Just turn them upside down and open them, then insert a roll of paper towel and tada, you have yourself a brand new paper towel holder that is not only beautiful, but... See more
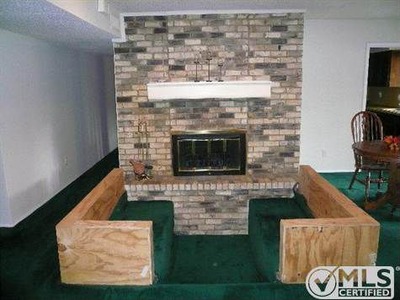
1970s sunken conversation pit
Our new house has a sunken conversation pit in front of the fireplace. It's about 6X6 and has three steps into the 'pit' and booth-like backs on each side. My adult... See more
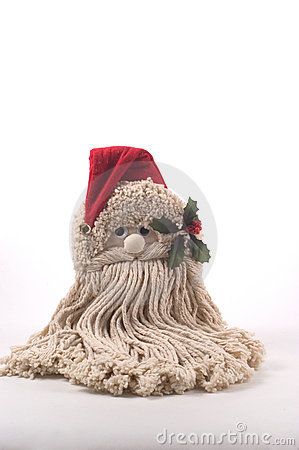
Santa Mop Head Instructions
Does anyone know where I can find instructions for this specific Santa mop head project? I've been unable to find anything except the image in my searches. I've tried... See more
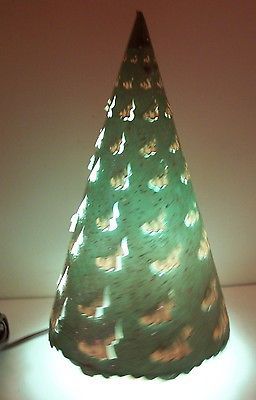
How can I re-create this vintage Christmas tree light?
My sister and I each had one of this and my mom let us keep them on in our bedroom before we fell asleep--nice memories. And the tree would spin when the lightbulb he... See more
Ideas on How to Make Realistic Tree Bark? Artificial Christmas Tree...
I would like to trim the pine needles on some of the branches to look more open and realistic but I would like to first figure out a way to disguise the metal pole to... See more
https://www.pinterest.com/joann_ellis1/2nd-grade-christmas-ideas/
I made a nativity scene with Mary Joseph & Baby Jesus out of mini flower pots, beads & material. Paint each pot a different color except the baby Jesus. His is brown for the mange. You don’t have to paint faces. Glue a bead on the upside down pot for Mary & Joseph. Trim each with a strip of material to look like robes. Baby Jesus you glue his head to the pot at the edge then glue a square of blanket over him. I put a cotton ball in the pot before so he was’t so flat. budget wise you can use kcups for the pots. The beads just need to be a size close to your pots or cups & jesus just needs to be smaller. Good luck.
https://www.hometalk.com/search/posts?filter=christmas%20kids%20crafts
Get a new man's white sock. Put a toilet paper roll,put it inside sock. Tie off top with festive ribbon. Use cut out felt for face and glue on. You have a snowman.
Homemade clay cookie cutter ornaments
Materials: flour, salt, water, cookie cutters, rolling pin or empty jar to roll out dough, cookie sheet, toaster oven or conventional oven (you can let them dry naturally if you have low humidity), paint, glitter, etc., and ribbons or ornament hooks.
I did this with pre-k students once, but had to cut, bake, and prime for them. 1st graders could probably mix, roll, cut out and decorate.
Mix 1 part salt with 2 parts flour, and add enough water to form dough. If it’s too sticky, add more flour. Roll out about ¼” thick, then cut with cookie cutters to make ornaments. You could use only outline type cookie cutters, or more elaborate ornament type cookie cutters. Be sure to make a hole in the top with a toothpick before baking so that it can be hung from an ornament hook later.
Once the ornaments are cut out, place on cookie sheet and bake at about 200 degrees until it dries out dough completely. If in doubt, cook for about 30 minutes then allow to cool completely. If they’re still soft, bake again. They will turn a lovely light golden brown when done.
You can have students decorate any way you want. When they’re finished, seal with a clear spry sealer so that they don’t absorb moisture (high salt content), and they will last for years.
Once I just baked them, and they looked exactly like sugar cookies. I put them out as decorative cookies.
Hope you have fun!
Here is a photo frame with Nativity theme:
I’m going to assume you have access to a few things since I don’t know. You are also fortunate you can use the nativity scene in your class crafts.
1. You need 3 craft sticks for each child, either small or large sticks, but plain, or very light colors.
2. You need a photo of each child, large enough to fill the space behind the triangle of sticks the children will make. If you absolutely can’t get photos of the kids, have them draw a self portrait in a triangle of paper.
3. Glue the three sticks in a triangle shape. I’m sure you know this, but you can pour a couple of tablespoons of glue in the center of half a sheet of paper in the center of the table for each group. Give each child one Qtip to be the glue brush. The child puts a drop of glue on the end of a stick, then puts the next stick on the glue, another drop of glue for the next, and the next. With supervision he/she will have a triangle.
4. More tricky. The child puts glue on all three corners, then glues his/her picture to the corners—backwards. When the corners are dry, he/she turns the triangle over to see his/her own picture.
5. Now put two dots of a medium hue paint (or a flesh color that is similar to the student’s) on the glue paper or on different paper they can use as their personal pallet.
6. Each child will make three finger or thumb prints. For Mary, the fingerprint will go on the left stick, near the center. For Joseph’s face, a fingerprint goes on the right stick, higher up than Mary’s face. The third fingerprint for Jesus’s head goes on the bottom stick, near the center. Clean all the fingers!
7. All the children need about two drops of blue paint, two drops of brown not used for any skin tone, and two drops of purple or green. They need three Qtips each.
8. Each child uses a Qtip dipped into blue paint to paint over the top of the left fingerprint, then down to create Mary’s blue robe (no details needed).
9. Each child uses a Qtip to paint above Joseph’s head, with either purple or green, then down the stick to make Joseph’s robe.
10. Each child dips into the brown (or tan) paint to paint around Jesus’s head, then toward the left a inch or so for His swaddling clothes.
11. At the very top of the triangle, give each child a star to stick on.
Materials for 17:
51 craft sticks. 85 Qtips
4 colors of paint, flesh, blue, brown/tan,
And purple or green
White Glue (or flour and water paste)
Thanks so much, Jewell. I really appreciate the step by step instructions.
Have fun with little ones.
I have several ideas that might help you https://chascrazycreations.com/diys/seasonal/winter/