


Painted Vintage Cross Cut Hand Saw With Winter Scenes
2 Materials
$5
2 Hours
Medium
Not sure when I picked up this saw but the plan was to paint a nice scene on one side and make it available. I got as far as painting in the background woods and foreground fields and then the saw hung in the corner for a long time. After recently seeing a hand-painted saw that featured a snowman on it I decided that it was time to get something done. What would be different about this saw is that the front and the back would have something painted on it.
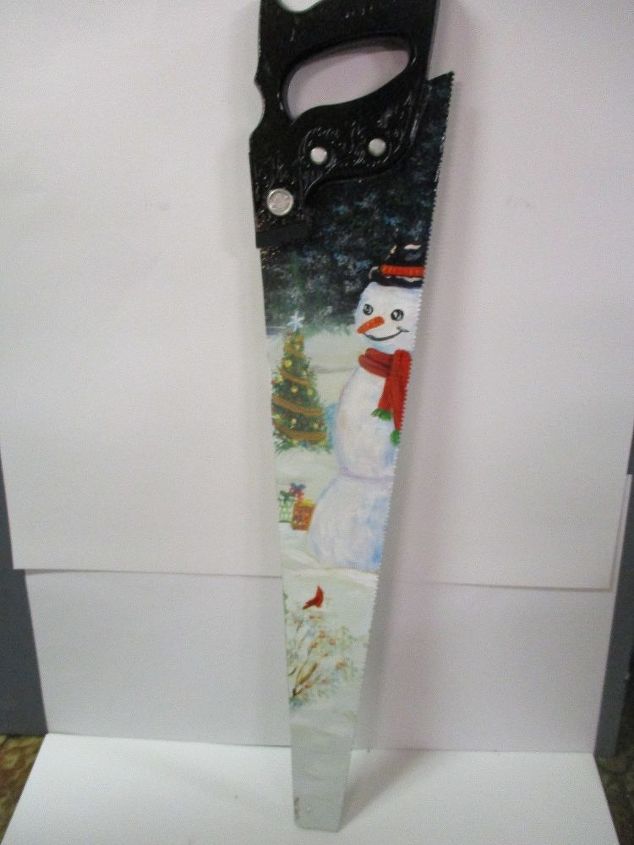
With a scene on each side the saw can be displayed in a window.
Not sure which is the front and which is the back. But here is how I did the painting and will share that with you by painting another saw.
But here is how I did the painting and will share that with you by painting another saw.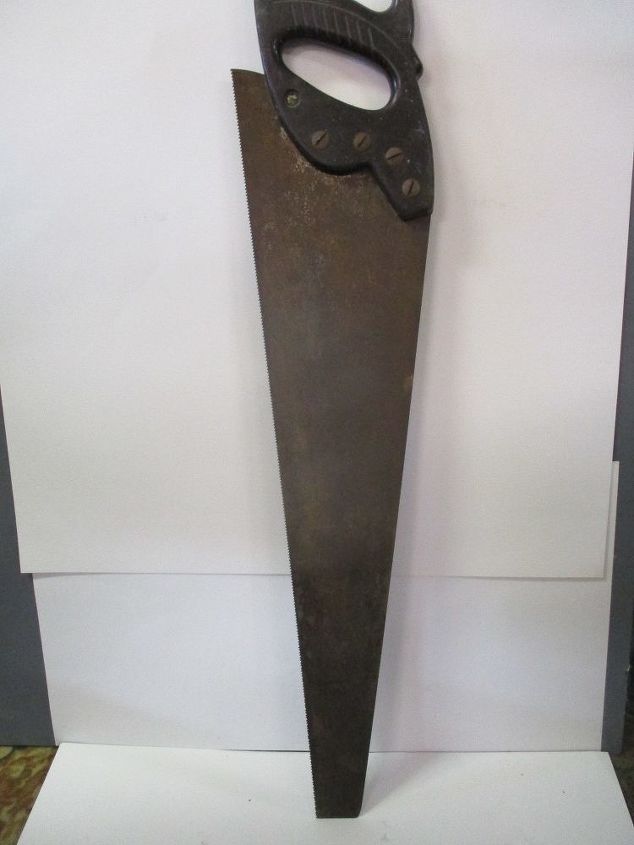
I worked on this saw this morning not because I wanted another painted saw just yet but from working through the two scenes on the other saw and only taking one picture of the start and finish.
The process is to sand the saw blade where needed then apply a coat of Zinsser primer. Because I use the primer paint as a tint base this base coat is not always necessary.
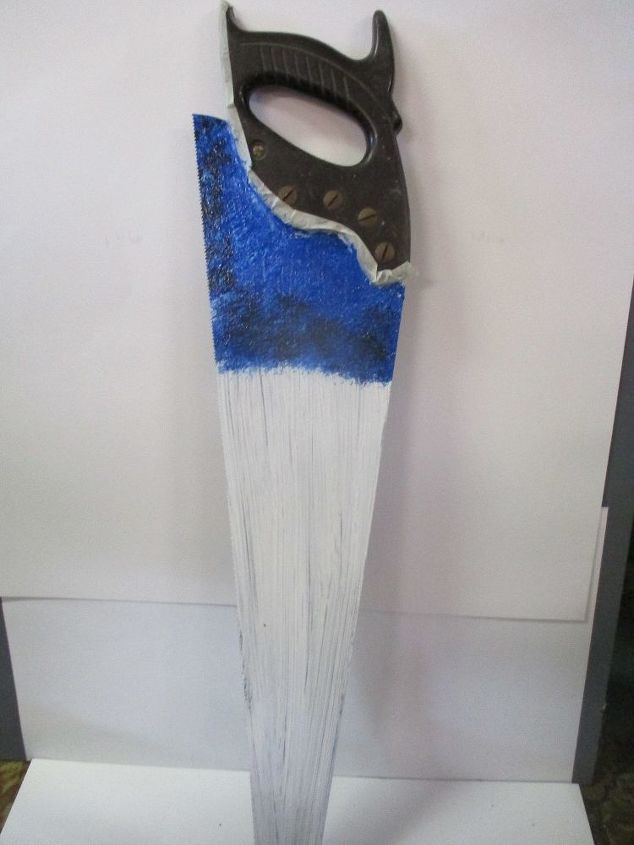
The background was started using Thallo blue and a touch of white and dabbed it on. Next, I deepened a green and tapped this on over the blue while the blue was still wet.
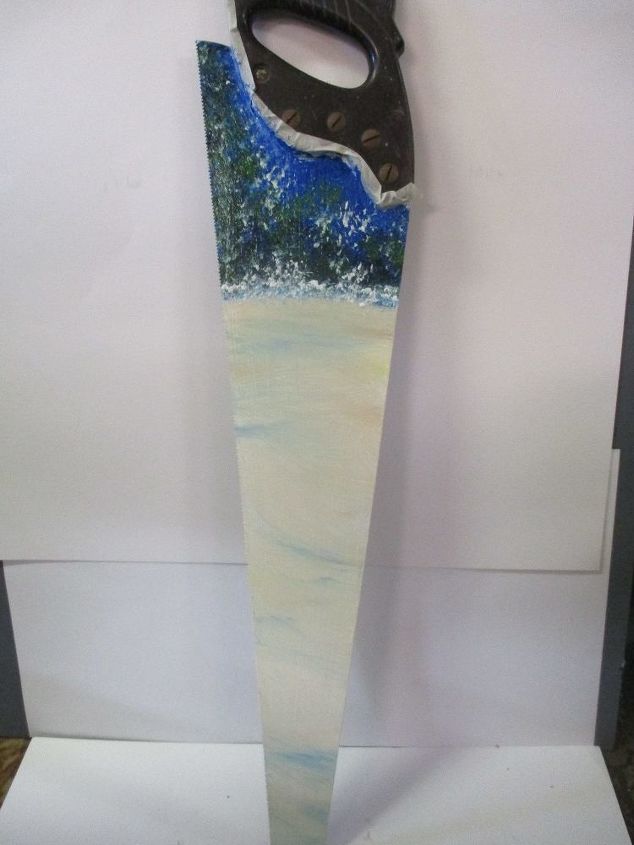
The trees were highlighted and then the foreground snow area was painted.
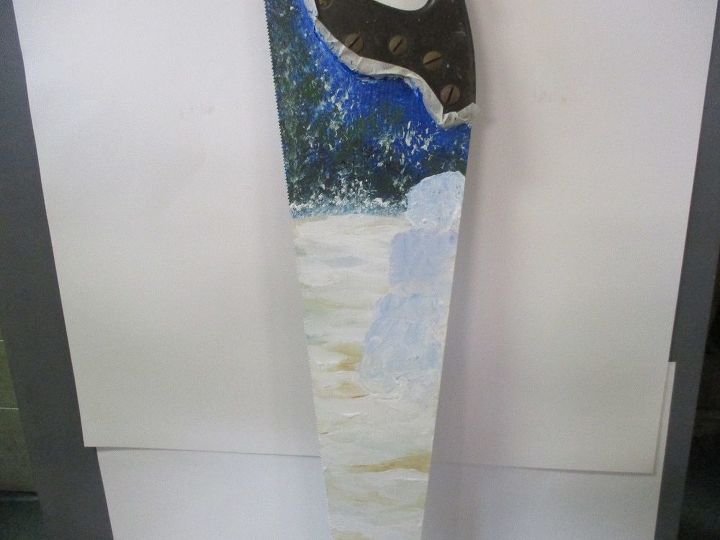
The snowman's base color was painted on and let dry.
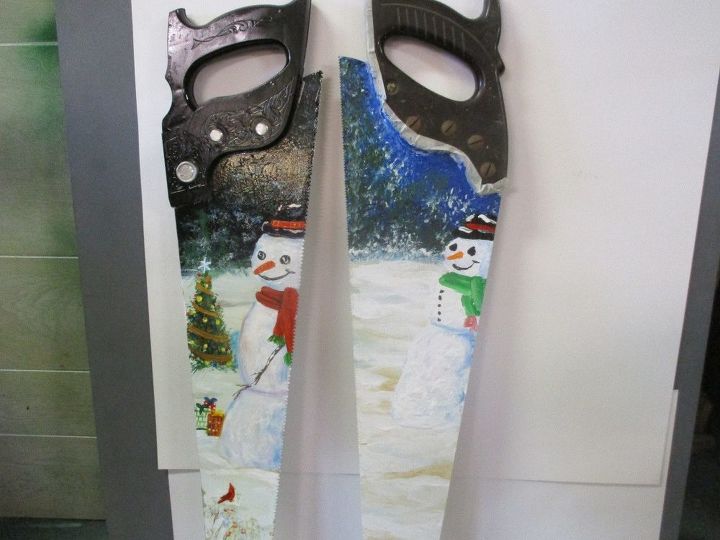
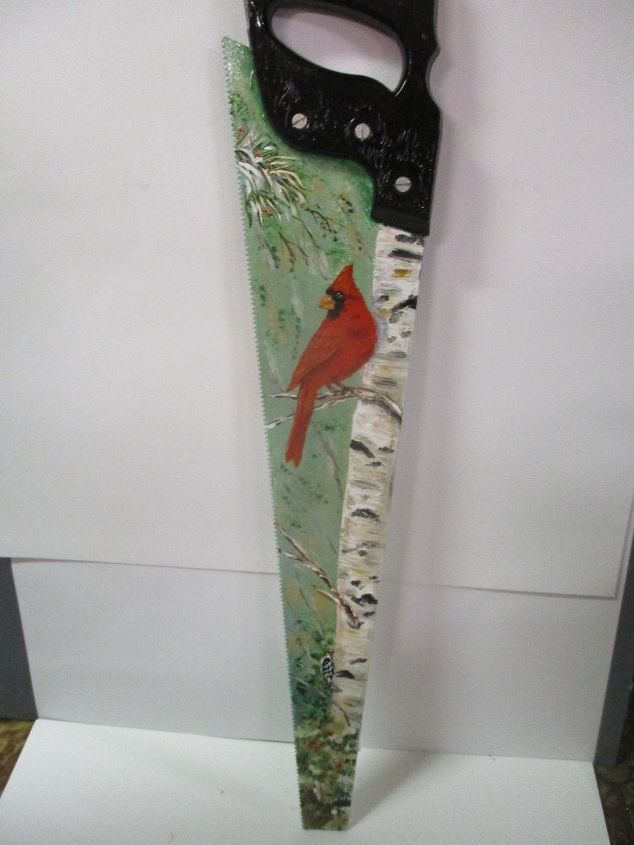
Each scene takes on its own personality. A couple fence posts were added as well as a Cardinal. The snow was highlighted and the scarf was finished.
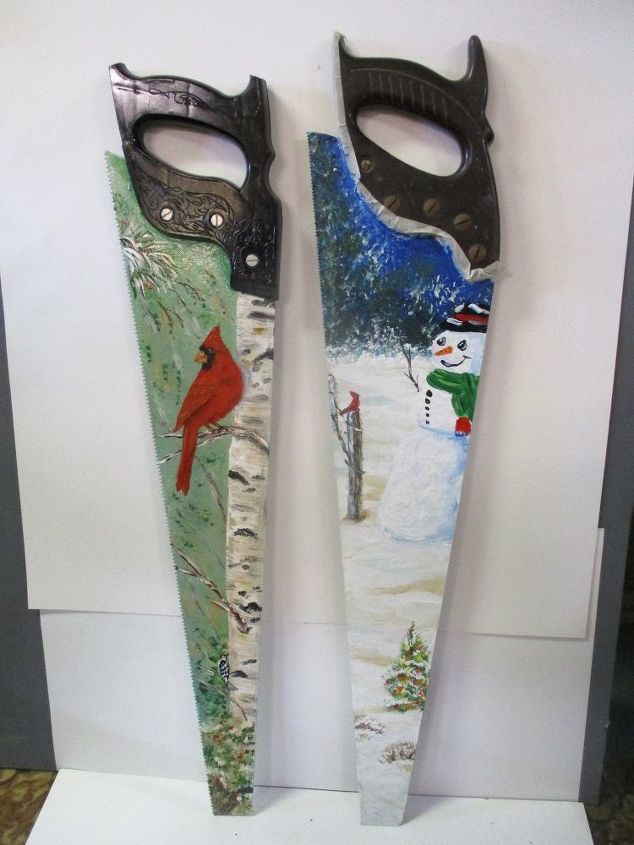
To finish up, a couple of fence posts were added and the little pine was given a few lights. Later a coat of clear gloss was applied and let dry then a coat of Rustoleum was sprayed on. I found that if the Rustoleum interior/exterior gloss is applied by itself some of the colors will bleed a bit and that is not good for a finished piece of work.


Any price and availability information displayed on [relevant Amazon Site(s), as applicable] at the time of purchase will apply to the purchase of this product.
Hometalk may collect a small share of sales from the links on this page.More info

Want more details about this and other DIY projects? Check out my blog post!
Comments
Join the conversation
4 of 10 comments
-
You are very artistically talented! I don't have patience, time, nor skill to do this but I love your work. I'll be watching your pieces offered on your webpage.
-
very talented


Frequently asked questions
Have a question about this project?
What kind of clear gloss did you use?