


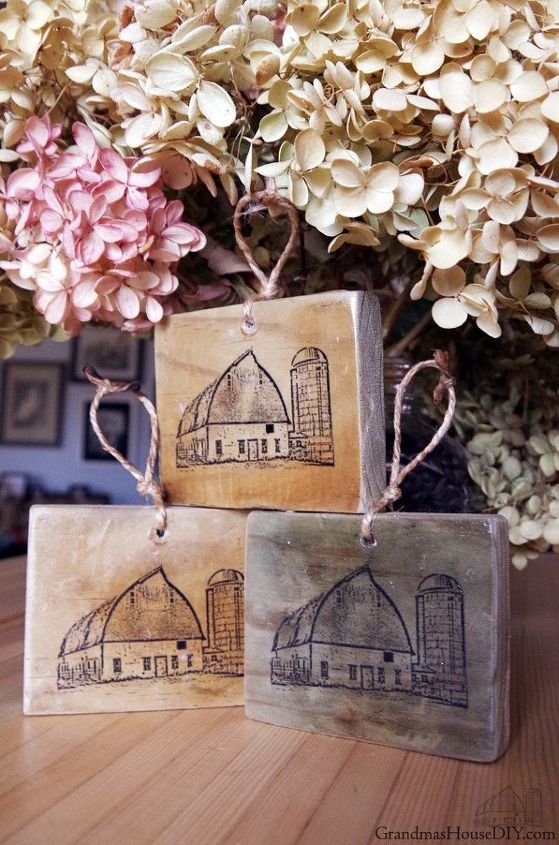
Barn Christmas Ornament Using Mod Podge Photo Transfer
How to make a simple Christmas ornament with mod podge! I was looking to make something sentimental for my family as Christmas gifts this year. And it came to me that I could make something using the mod podge photo transfer method. I used it a few weeks ago on a sign for my Fall Vignette and learned a lot on how to do it. So, I got to work!
Once this idea came to me it was pretty obvious what photo I wanted to transfer. I decided to put it on both sides and make three ornaments: one for me, one for my aunt and one for my mom. My mom and my aunt grew up here on this old farm and the barn means a lot to them as it does to me too. I wanted them small and light weight so my print outs of the barn are not much bigger then the dimensions of a business card and then I just cut my wood to fit. It is important to use a laserjet and to make sure that you “mirror” the image (flip it horizontally so its backwards) so when you lay it face down it will be correct.
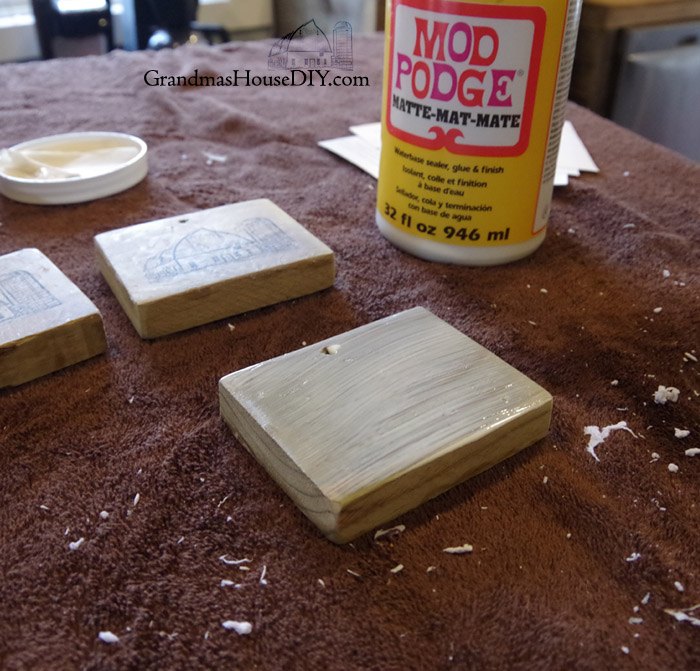
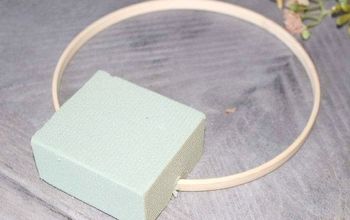
With my three little pieces of wood cut, sanded down and hole drilled into the top of each of them I gathered my supplies. My print outs of the barn, a little brush, a jug of mod podge, a roll of twine and poly acrylic for finishing it later.

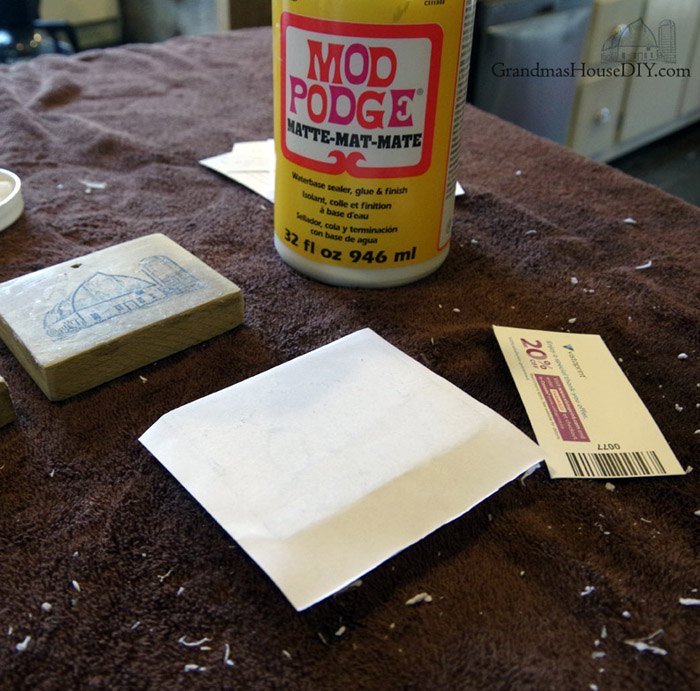
I put a good even layer of mod podge on the piece of wood and then laid my print face down on it. I used a business card to smooth it out and press it down hard and evenly across the whole piece of wood. I did this with all three of them and then let them dry over night. (You don’t need to wait over night that’s just what worked for me. In fact, just a couple of hours would be plenty of time.)
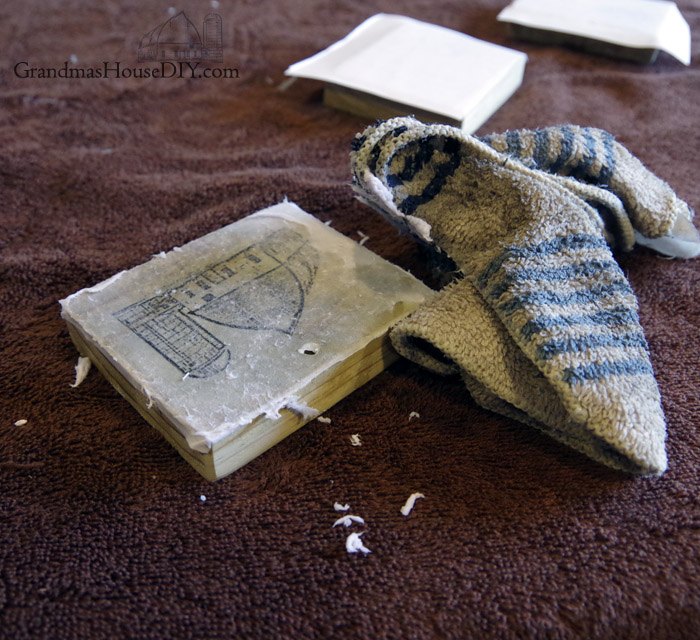
From there I soaked an old rag in the hottest water my sink will give me and then rang it out completely before laying it over the ornament, I pressed down hard and made sure it completely covered the ornament and then I let it sit a few minutes.

Then I just used my fingers and the rag to rub all of the paper off and unveil the print underneath. This is not hard to do but there will be little bits of paper left behind that may or may not drive you crazy. With both sides complete I dated them by signing the bottom of the ornament with the year and holiday (Xmas 2017). Then I covered them entirely with one coat of poly acrylic.
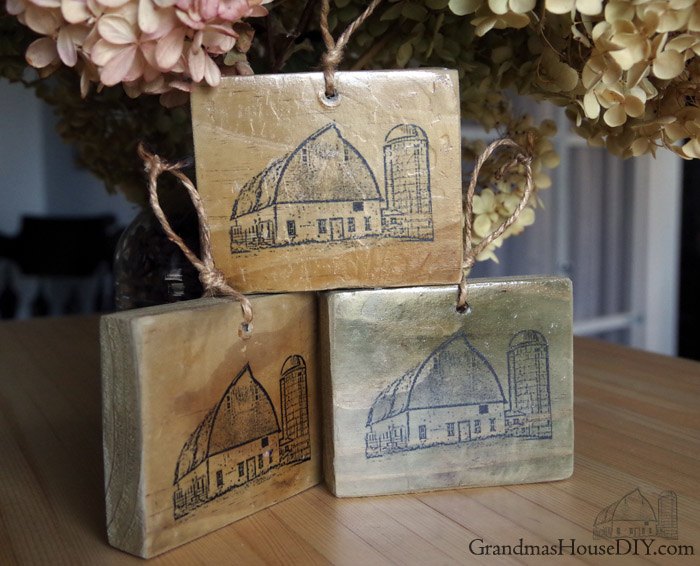
With them dry all I had left to do was to tie a piece of twine to hang them up! Tip when working with twine: Once you get it through the hole and all tied up like you want to your going to have a crazy amount of fuzzy flyaways. What’s the answer? Burn them! Just take a lighter and run it all over the twine, blowing it out as you go etc. All of the flyaways are gone and the ends won’t unravel!
I can't wait to share these with my family this Christmas!
Resources for this project:
See all materials


Comments
Join the conversation
-
Beautiful!
-
If you don’t poly acrylic,modpodge will work😄


Frequently asked questions
Have a question about this project?
I am doing a project similar to this one and I ordered my prints online. They came on Fujicolor Archive paper though and the backing won’t rub off when I apply water. I don’t want to ruin the image and would like to find a way to make this work. Any suggestions on how to dissolve the backing of photo paper? I tried hot lemon juice, rubbing alcohol and also water. Nothing seems to be working.