


Christmas Tree Ornament With Leather and Wooden Beads
If you love this project, grab your quick start DIY guide & subscribe to our blog!
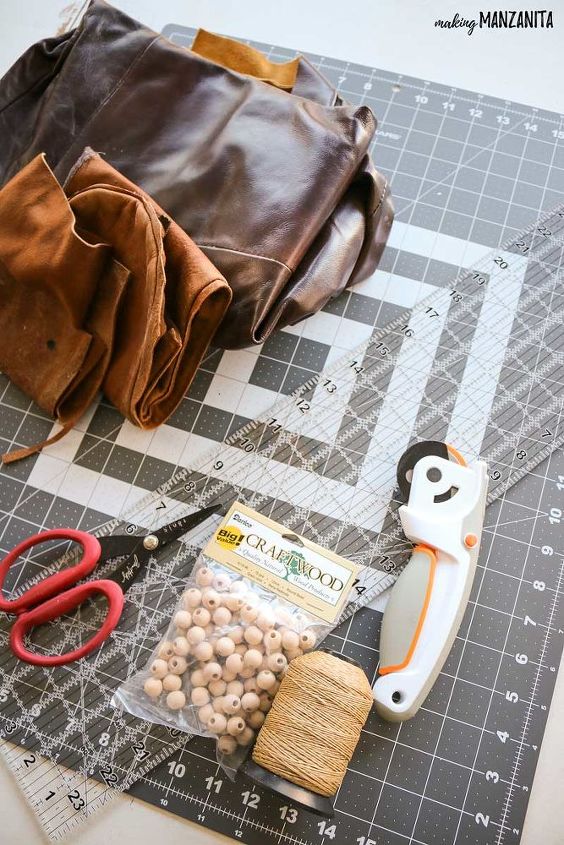
These DIY leather ornaments fit right in with the modern farmhouse home decor style and are such a great budget-friendly Christmas craft! This easy to follow tutorial will walk you through how to make this Christmas tree ornament with leather and wooden beads.
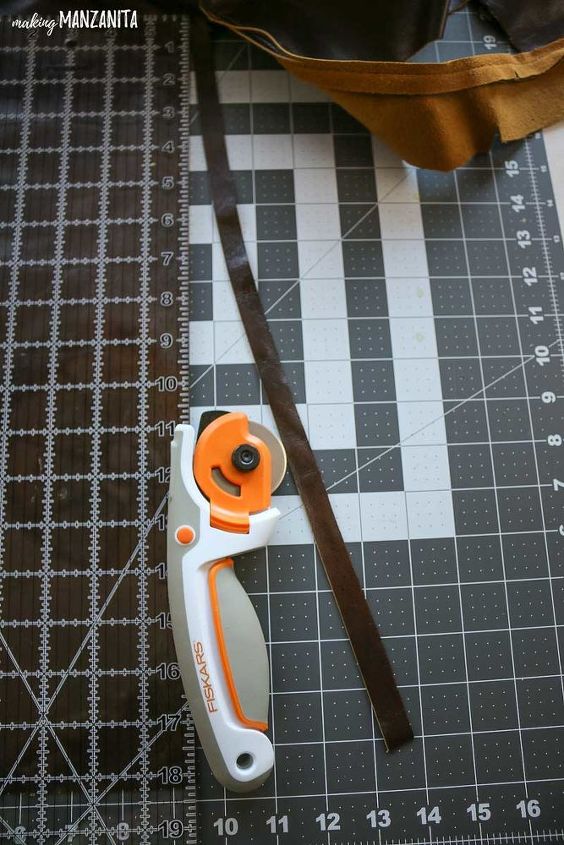
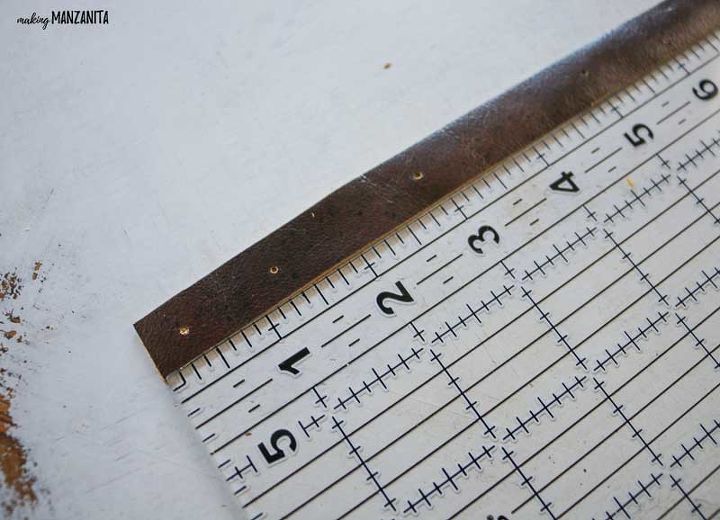
STEP 1: CUT STRIP OF LEATHER.
You will need one piece of leather about 1/2” wide and 18” long.
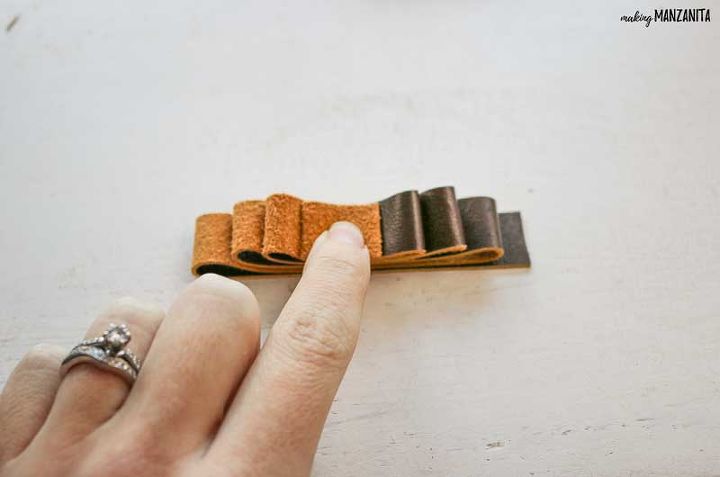
STEP 2. FOLD UP LEATHER.
Next, fold up your leather in the general shape of the tree (getting smaller as you fold up). The base of my tree is about 3 inches wide and the top was about 1/2 inch wide.
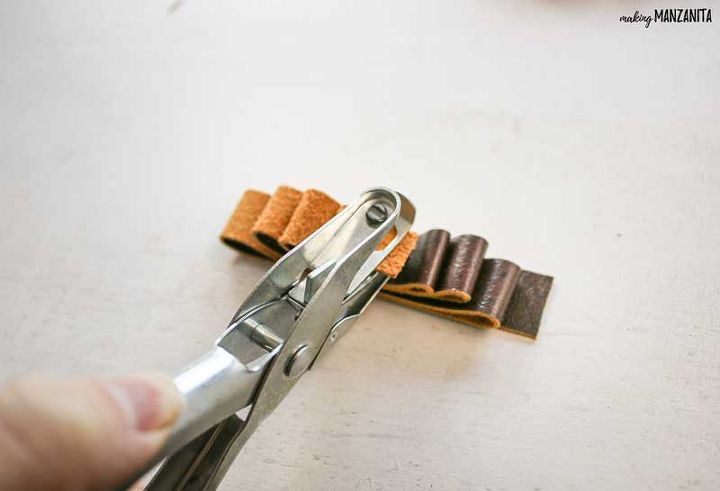
STEP 3. PUNCH HOLES IN LEATHER.
If you’re using the same measurements as me (1/2” x 18”), then this part will be easy for you because I write down the measurements at which you should punch your holes (see below bullet points), but if you mini Christmas tree with wood beads is going to be smaller or larger than me, this is how I did it. Punch a hole in the middle of the top piece on your folded up tree. Then, using a mechanical pencil (or pen), make a mark through hole on the to next layer of leather underneath. If you are having a hard time seeing the pencil on the dark leather like I did, if you push hard enough, there will be a little indent so you know where to punch the hole. Then, peel back the layer with the hole and punch a hole where you marked with the pencil. Continue this steps until you’ve made it all the way down to the bottom of the tree with your holes punched.
If you are making yours 1/2” x 18”, you can just punch your holes on these measurements on the strip of leather. This will make it easier for you!
- 3/8” is where your first hole should be punched
- 1 1/4” is where your 2nd hold should be punched
- 2 7/8”
- 5”
- 7 1/8”
- 9 7/8”
- 12 7/8”
- 16 3/8”
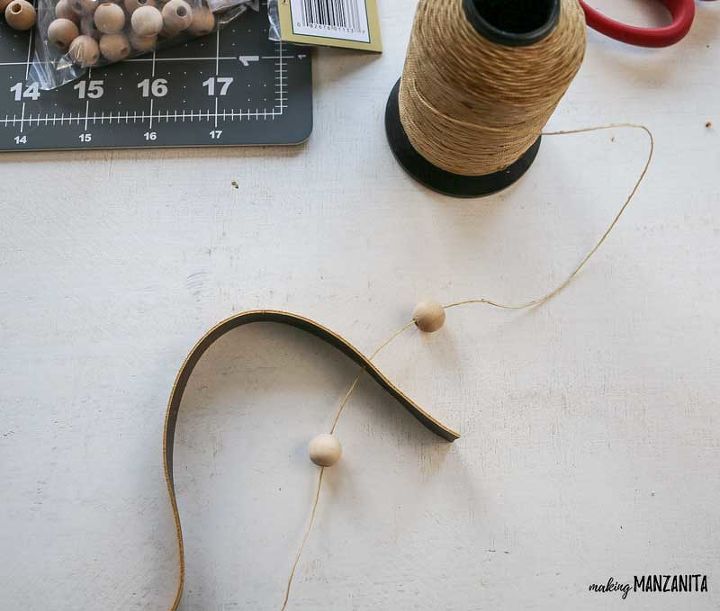
STEP 4. THREAD TWINE THROUGH BEADS AND LEATHER.
Starting at the bottom of the tree, add a wood bead to your twine and then push the waxed twine through the first hole in the leather. Next, add another wood bead, fold the leather over and push through the next hole in the leather. Continue this process until you’re at the very top of the tree. Add more bead on top of the last piece of leather.

STEP 5. SECURE BEADS AND TWINE ON THE BOTTOM.
Next, cut off the twine so you have about 8 inches to spare at the bottom. Add more more bead to the twine and then loop the twine around the bottom bead and up through the top bead (coming from the bottom) as shown in the photos above. Pull the twine to tighten and secure with a knot. Cut off extra twine.

STEP 6. SECURE TOP BEAD.
Cut off the twine so you have about 10 inches to spare at the top of the mini Christmas tree. Take the end of the twine and loop it back through the wood bead coming from the bottom. Pull the twine to tighten.
STEP 7 . KNOT THE LOOP OF TWINE.
Lastly, just put a knot in the loop of twine directly above the top bead for a hanger.

I just love how this mini Christmas tree with wood beads turned out!
Hop on over to this post to see a more detailed tutorial and get more leather craft ideas!
Resources for this project:
See all materials


Frequently asked questions
Have a question about this project?