


My Version of a Hollywood Mirror for Less Than $30.

by
Dana
4 Materials
$22
6 Hours
Easy
I have always wanted a Hollywood Mirror from the first time i saw them in TV shows and movies when I was a young girl. Growing up, we didn't have a lot of money for things like this, so I didn't get one. As an adult, the cost of purchasing one already assembled is still out of my budget, so I decided it was high time i DIY'd myself one. Heres how I did it for under $30. SWEET! :)
I decided to use LED strip lights instead of the standard round bulbs & brackets; mainly for easier assembly and cost. i ordered a roll of 10mm LED strip lights in the color "Daytime (as it is supposed to provide light closest to natural sunlight), a pack of 10mm LED corner connectors (10 per pack), and the power adapter from Amazon. Then I went to my local Goodwill Store and purchased a mirror close to the size I wanted...for $5.00 - SCORE!! Total cost for this project is $22. While the mirror frame it isn't exactly the style I wanted, it still has good bones. Off to a good start!!
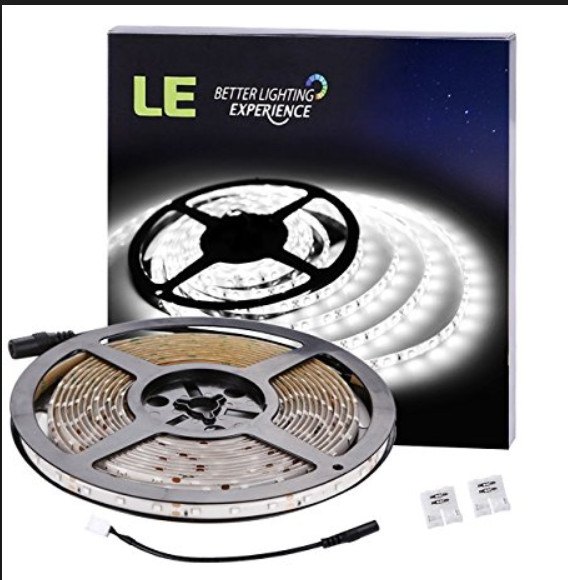
These are the LED Strip Lights I ordered from Amazon.com for $9. They are size 10mm, 2-Pin and came in a 16 ft roll. They also have a self-stick backing to adhere onto anything you want. NOTE: These lights do not come with power adapter. You need to order it sepatately. You can also purchase a roll that comes with a remote control - for higher cost. I opted for no remote (just yet...).
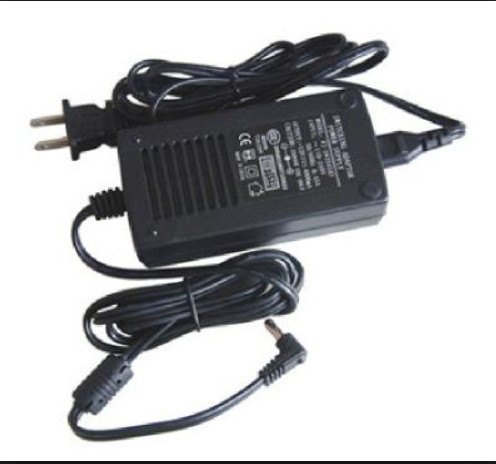
This is the power adapter I ordered from Amazon.com for $5.
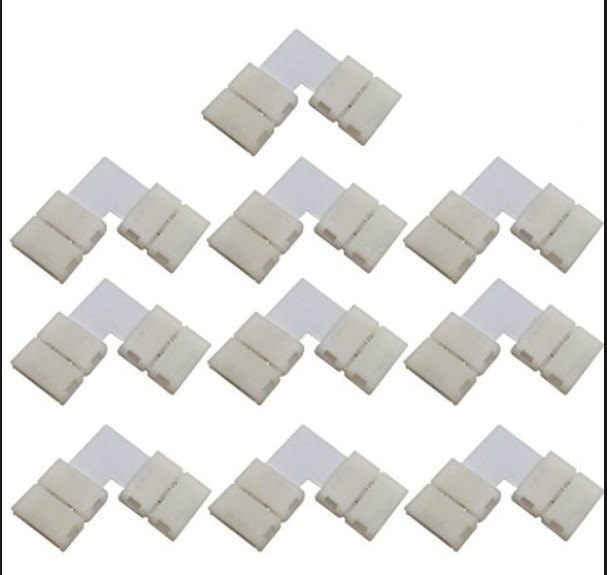
Here is what the corner connectors look like. Also ordered from Amazon.com for $3. If you choose to use these, just make sure you are ordering the correct size to fit the light strip you order. My lights are 10mm; 2-Pin - so I made sure I ordered the same in the connectors.
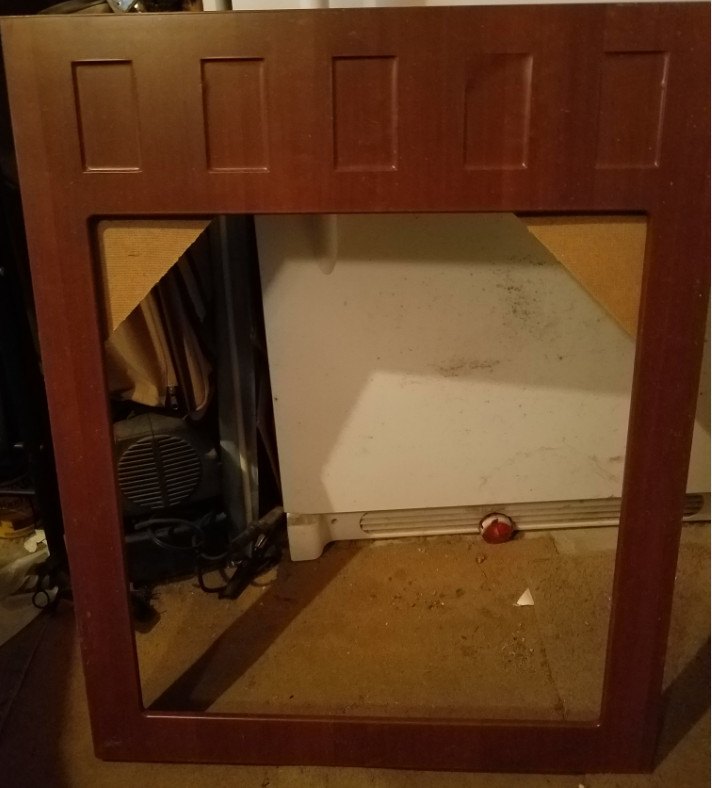
Here is the mirror with frame I purchased for $5 at my local Goodwill Store. In this picture, I have already removed the mirror (safety first!) so I can begin sanding the shine away from it. Unfortunately, I do not have a picture of the sanded frame. Once sanded, I used a tack cloth to remove any and all dust. Next up - primer.
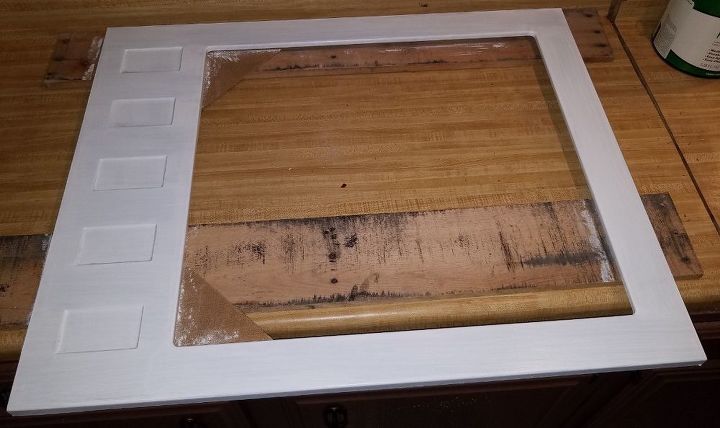
I used 2 coats of KILZ Primer - letting each coat dry completely. I already had this on hand from previous projects. (no cost)
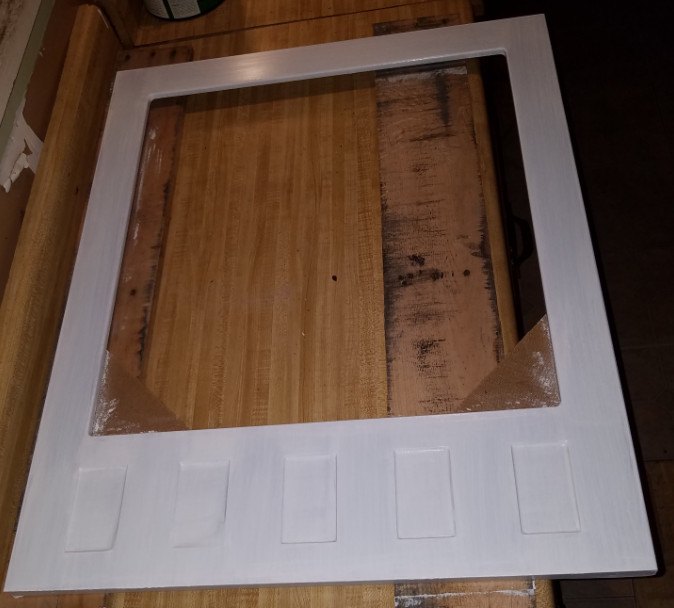
Next, I applied 2 coats (letting each one dry throroughly in between) of ColorPlace Flat Interior paint in a light gray color. I decided that I liked the frame much more painted as it "hides" the 5 little indentations at the top of the frame. I used paint I had left over from other projects - so no additional cost here.
Once the frame was fully dried of paint, I gave it 2 coats of PolyCrylic (letting each coat dry); in semi-gloss to protect the finish. I replaced the mirror. I also made sure to clean the mirror very well before beginning to add the strip lights.
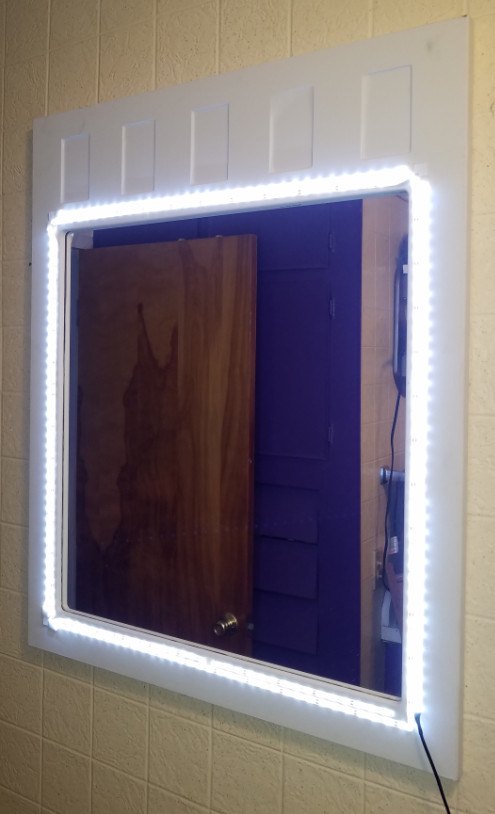
I don't have pictures of how I attached the lights, but the directions in the box are pretty straight forward and easy to read. I just followed the instructions, testing the lights each time I added a corner connector. I had to play with the placement a bit and I had enough strip lights to go around this mirror twice.
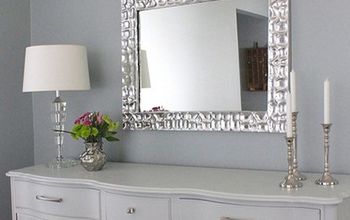
I hung the mirror on my bathroom wall and plugged it in to see the final result. I LOVE IT!! It was easy to do and what a difference it makes using it when applying make-up, tweezing eyebrows or even styling hair.
Resources for this project:
See all materials


Any price and availability information displayed on [relevant Amazon Site(s), as applicable] at the time of purchase will apply to the purchase of this product.
Hometalk may collect a small share of sales from the links on this page.More info


Frequently asked questions
Have a question about this project?